CAISO ADS Client Configuration Example
The following steps show how to configure N3uron to receive ADS requests using the CAISO ADS Client module. Below you can find a template that will make it much easier for users to get started using this module and to speed up the set up process with only minimal adjustments necessary.
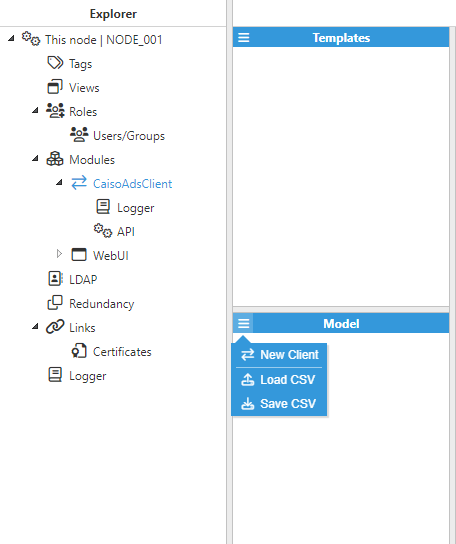
- Step 1: Create a module instance: (Config => Modules => Model => New module)
.png)
- Step 2: Provide a name for the module (in this example CaisoAdsClient), assign the module type (in this example CaisoAdsClient) and save the new configuration.
.png)
- Step 3: Configure the Logger and API sections (the default values are usually sufficient). Save the configuration settings.
- Step 4: Create a New Client to connect to CAISO ADS API. In this example, we have named it ads.
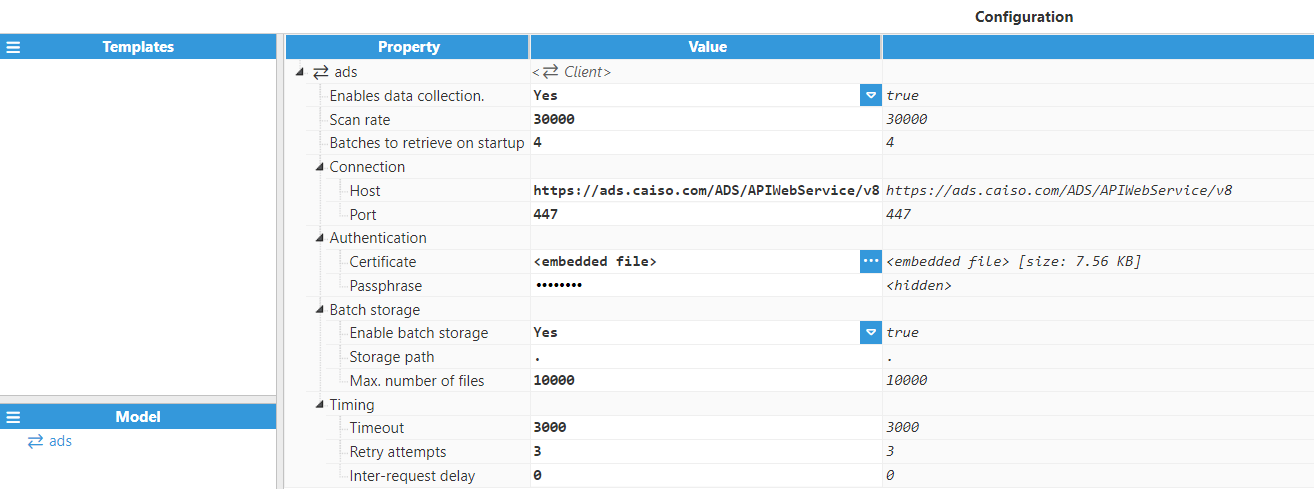
- Step 5: Configure the client we have just created (ads) to connect to the CAISO ADS API server.
- Host: Enter the Hostname/IP address used to connect to the server. The current address is https://adsws.prod.caiso.com/ADS/APIWebService/v8
- Port: Enter the port used to connect to the server. The default value is 447.
- Step 6: Enter the Certificate and Passphrase provided by California ISO to grant access. Save the configuration.
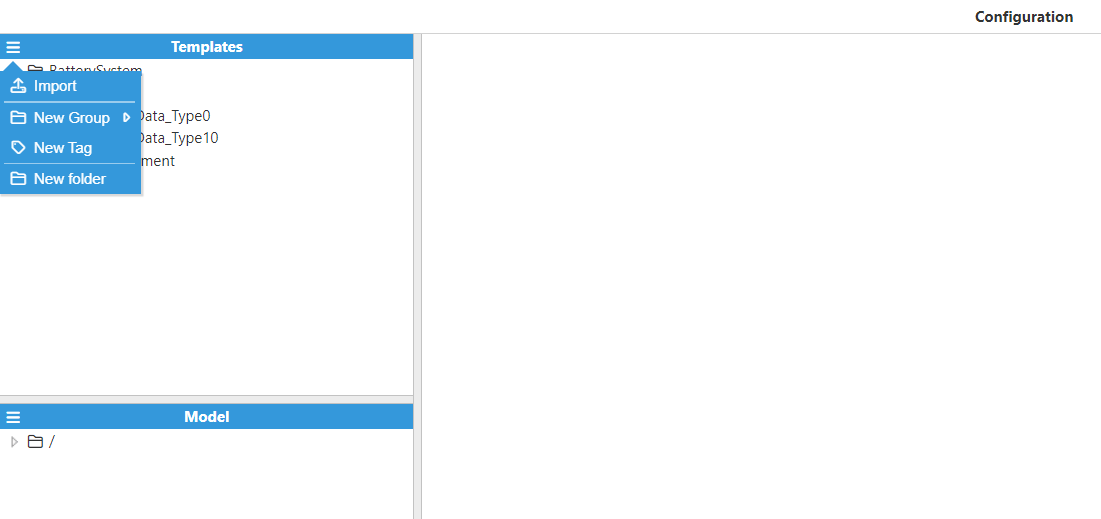
- Step 7: Import the zip file, attached above, as shown in the image below.
- Step 8: Create, delete, or adapt the template including the Custom properties, as well as the tags within it, according to your needs.
- Step 9: Review every tag within the template and especially the fields under the Source section in order to verify that the Custom properties are correctly assigned, whether they have been used alone or as part of an expression.
- Step 10: Create a new instance of the template: Config => Tags => Model=>New Group=>CAISO_BatchData_Type0
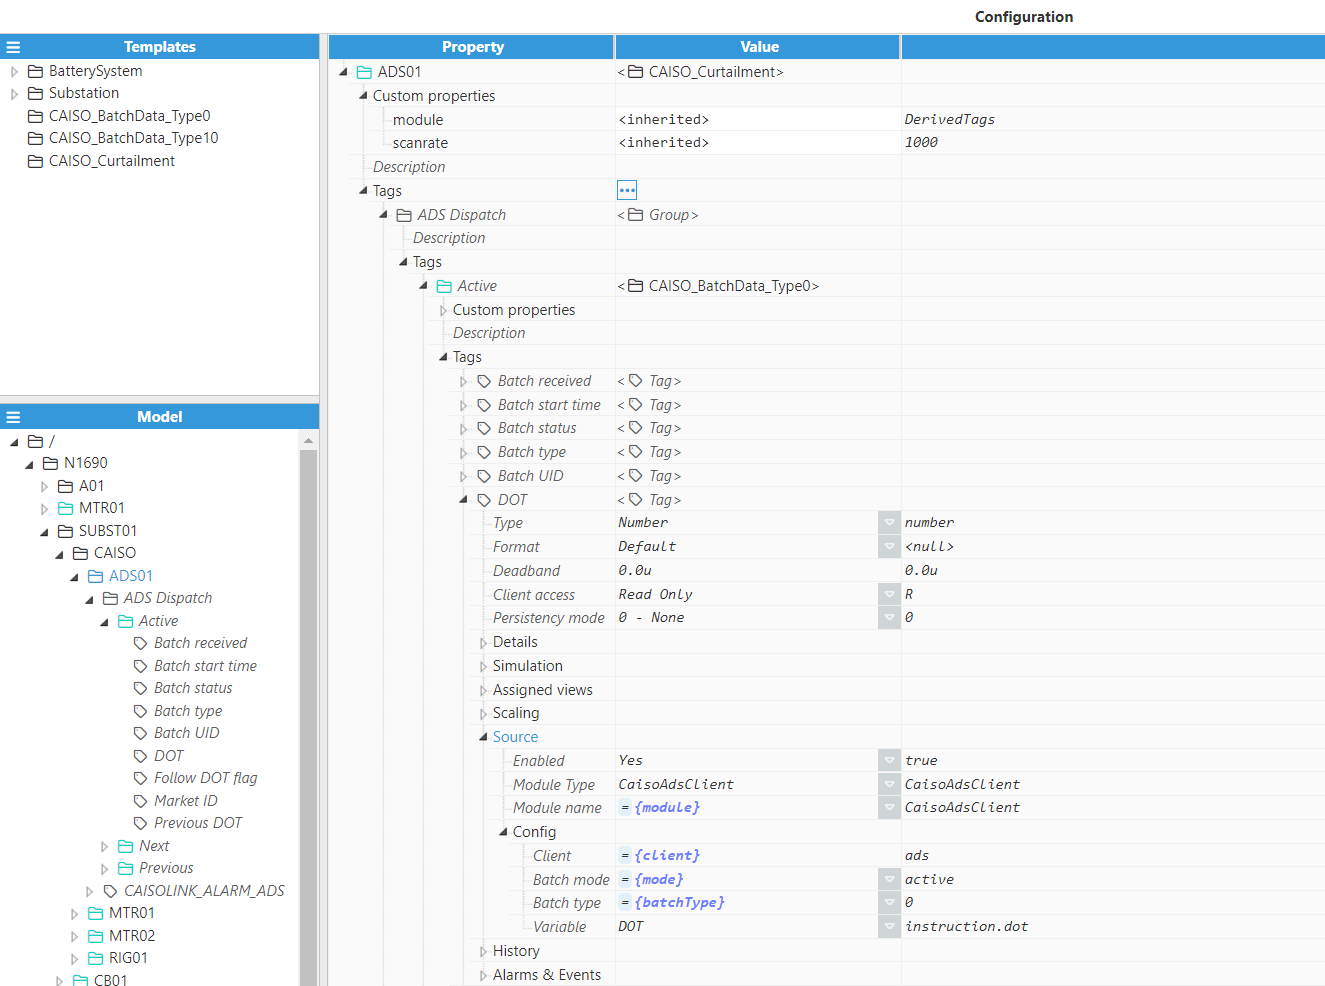
- Step 11: Enter the values of the Custom properties for the instance you have just created, as shown in the image below. The following settings should be common to all the tags and have the same values according to what has been configured so far:
- Source.Enabled: True
- Source.Module Type: Caiso Ads Client
- Source.Module name: CaisoAdsClient (the module created in previous steps)
- Source.Config.Client: ads (the connection created in previous steps)
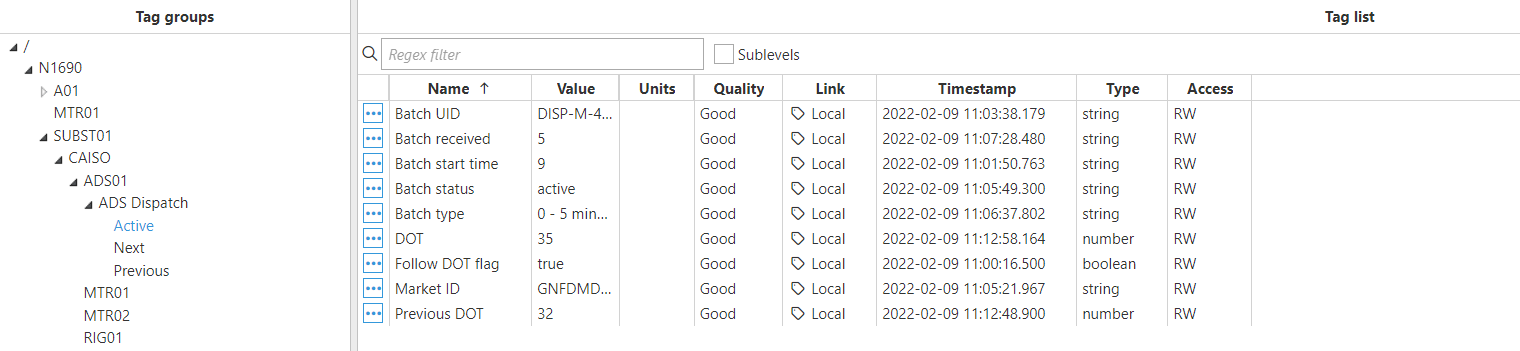
- Step 12: Save the changes and go to the Data/Real-Time section in the Navigation panel, where you should be able to see the data displayed as good quality.
CAISO ADS Full Product Details