Exploring the Nodes Section
The Nodes section is where you can create, manage, and monitor all your nodes.
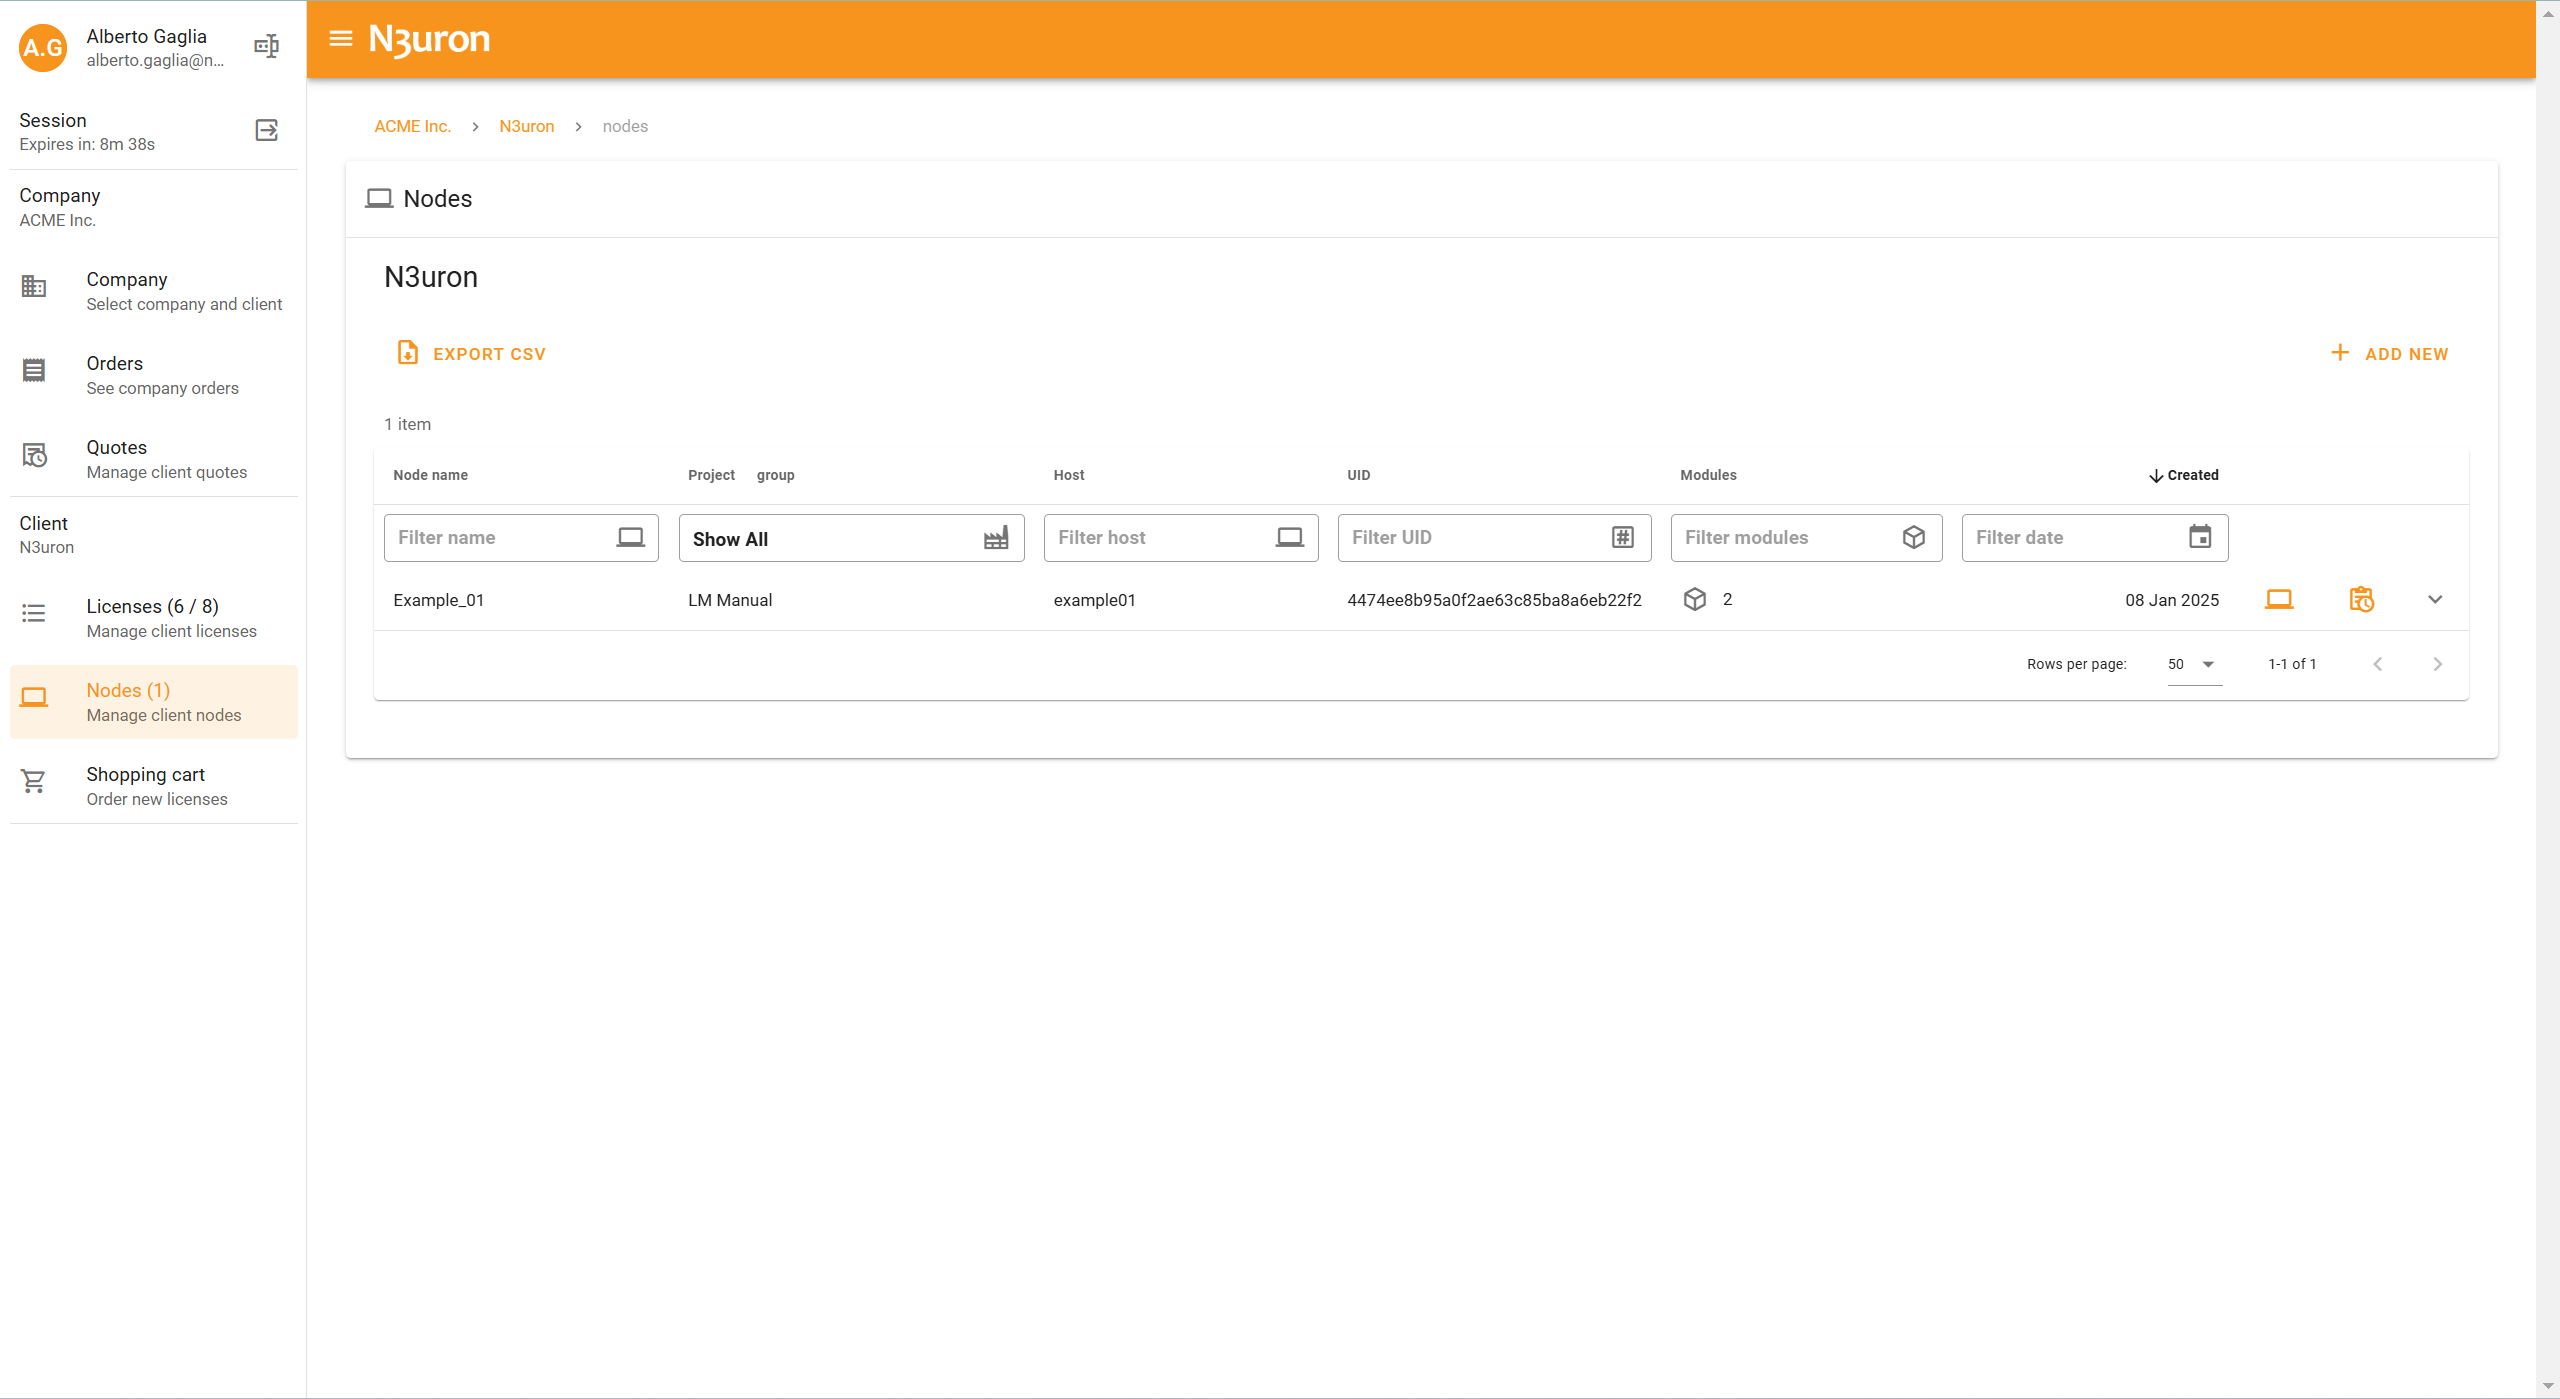
Initial Interface
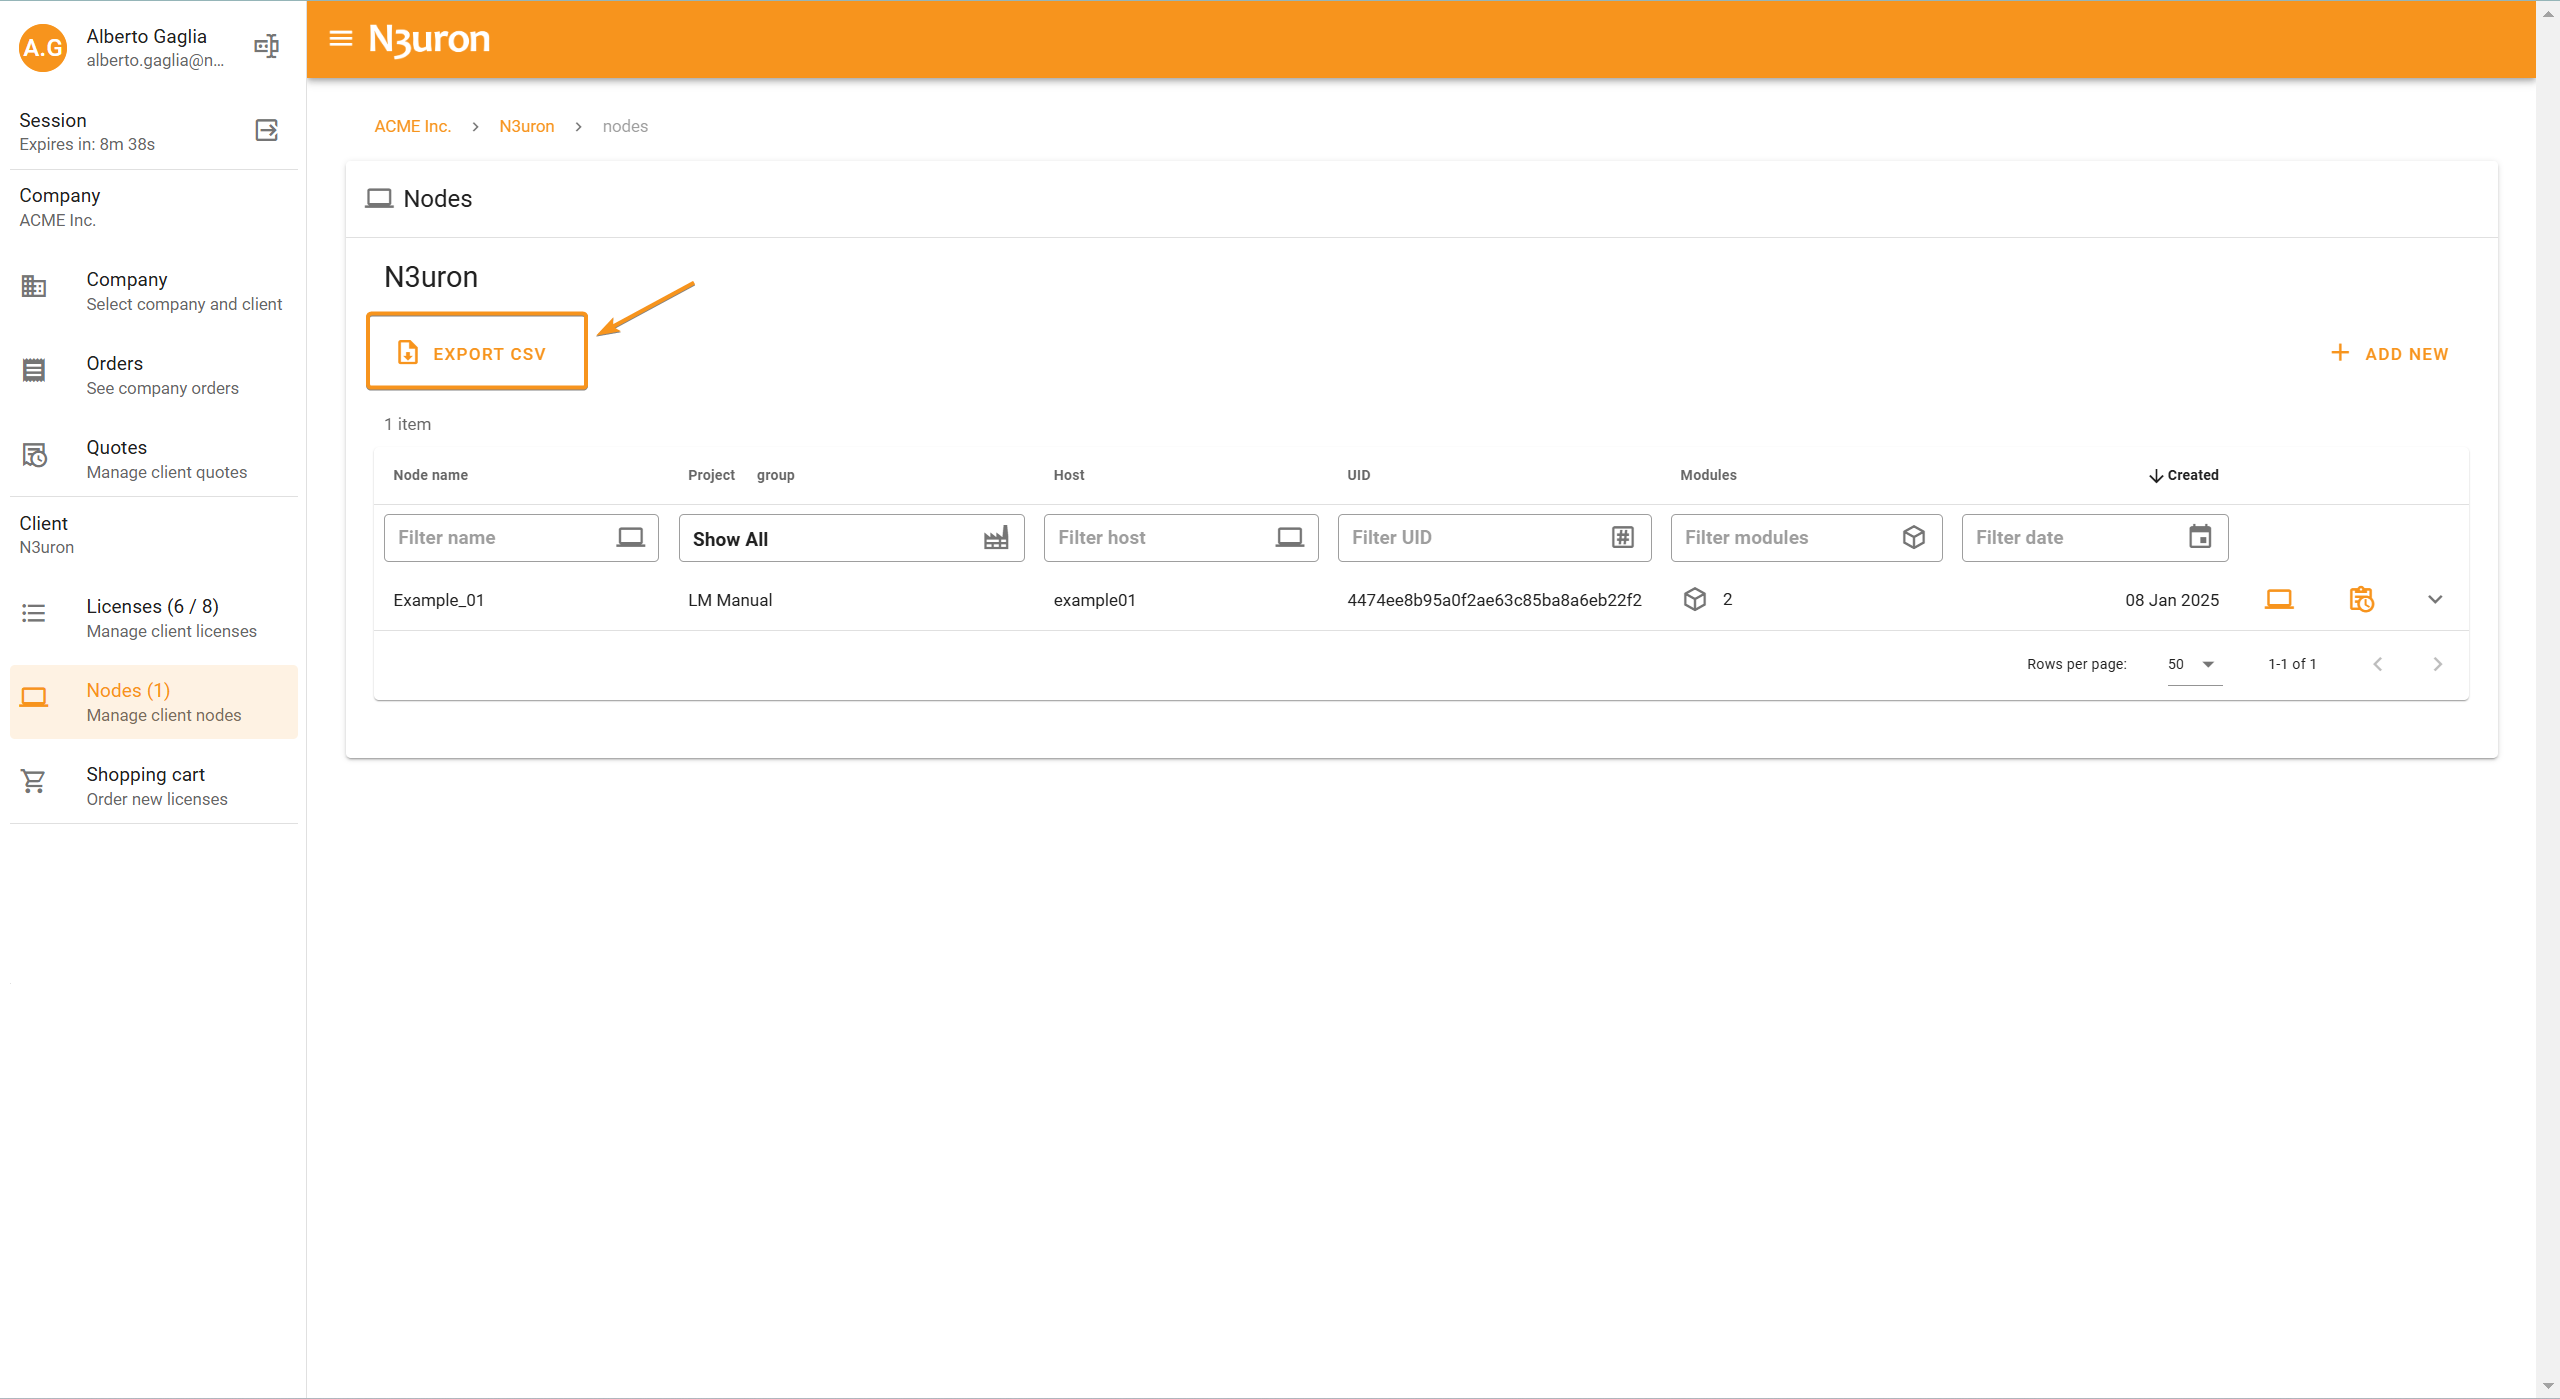
At the top of the interface, there are two main buttons:
Export CSV: This button lets you export a complete list of all your nodes in CSV format.
Add New: This button opens a pop-up window where you can create a new node. You’ll be prompted to fill out key fields such as the node’s name, project, hostname, and UID. We’ll delve deeper into the process of creating nodes later.

Node Table and Filters
The table below these buttons displays information about all your nodes.
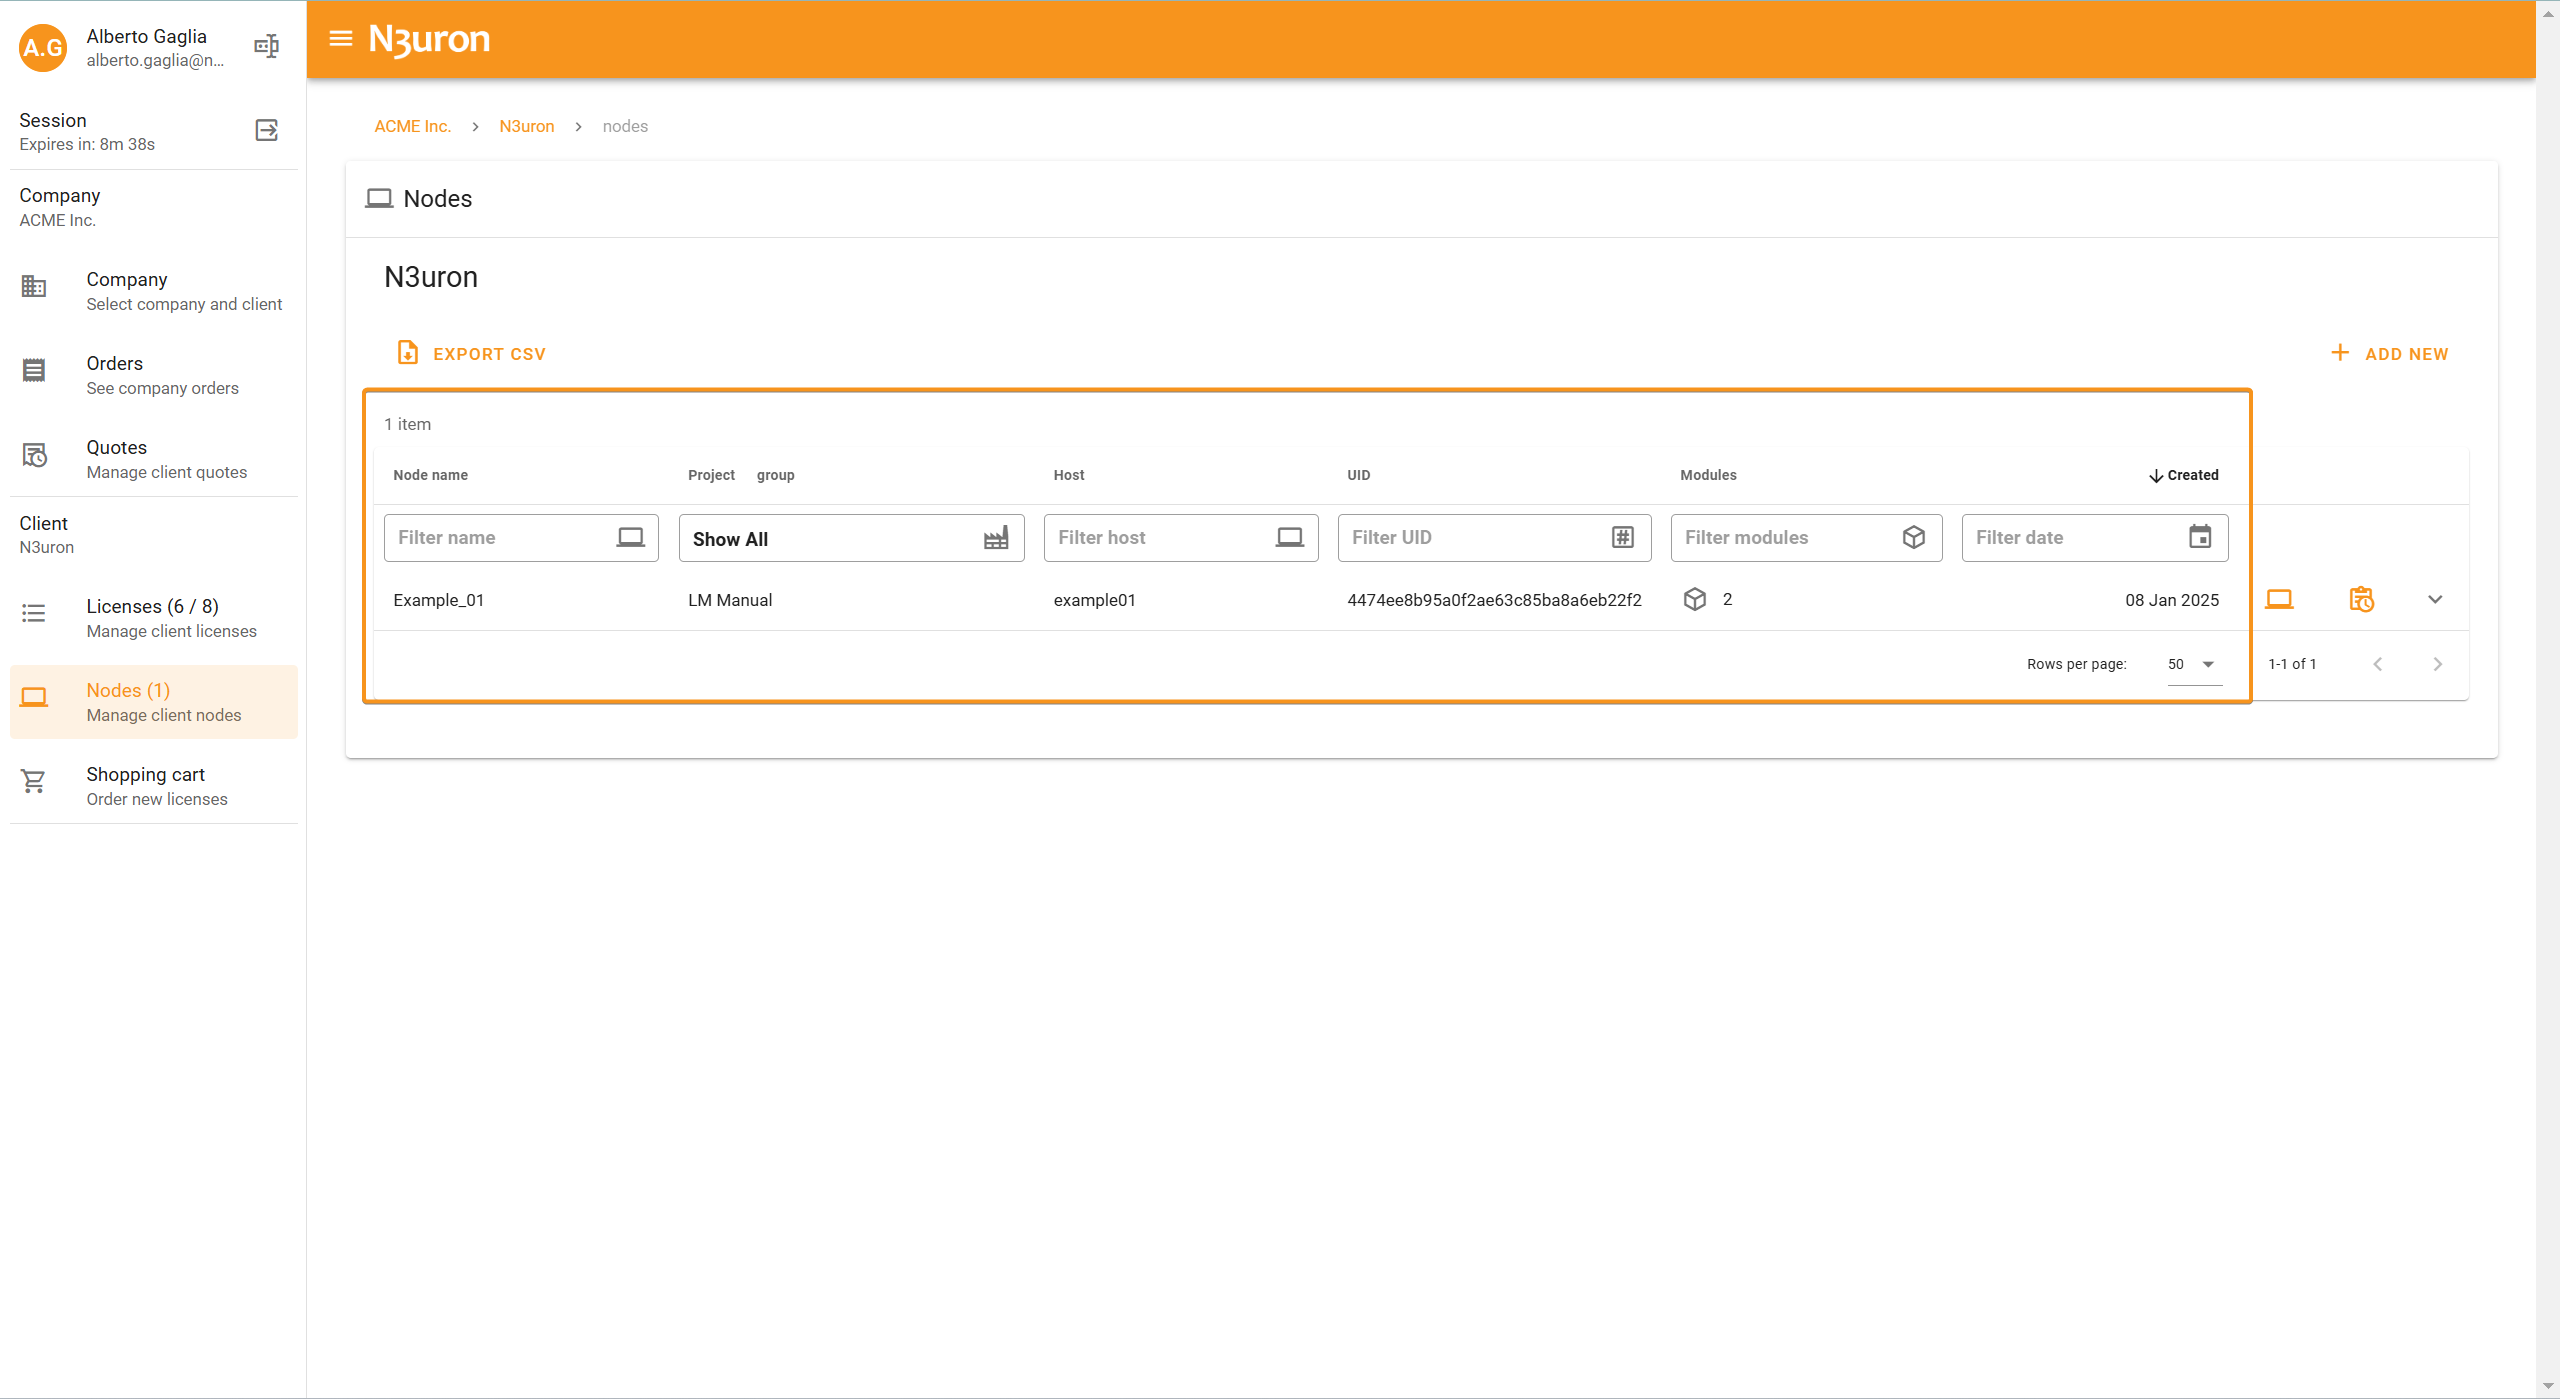
Each column serves a specific purpose:
Node Name: This column lists the names of your nodes. You can use the text filter here to search for specific nodes or narrow down the list.
Project Group: This column organizes nodes by their associated project. Filtering by project name helps you focus on nodes related to a specific initiative.
Host and UID: These columns allow you to filter nodes by their host or UID values.
Modules: This column shows the number of modules assigned to each node. You can filter nodes based on the minimum or maximum number of modules they contain.
Created: This column displays the creation date of each node. Using the calendar filter, you can identify nodes created within a specific timeframe.
Node Management Options
To the right of each node in the table, you’ll notice two icons and a dropdown arrow:
1. Open Node: Clicking this icon opens the node details page.
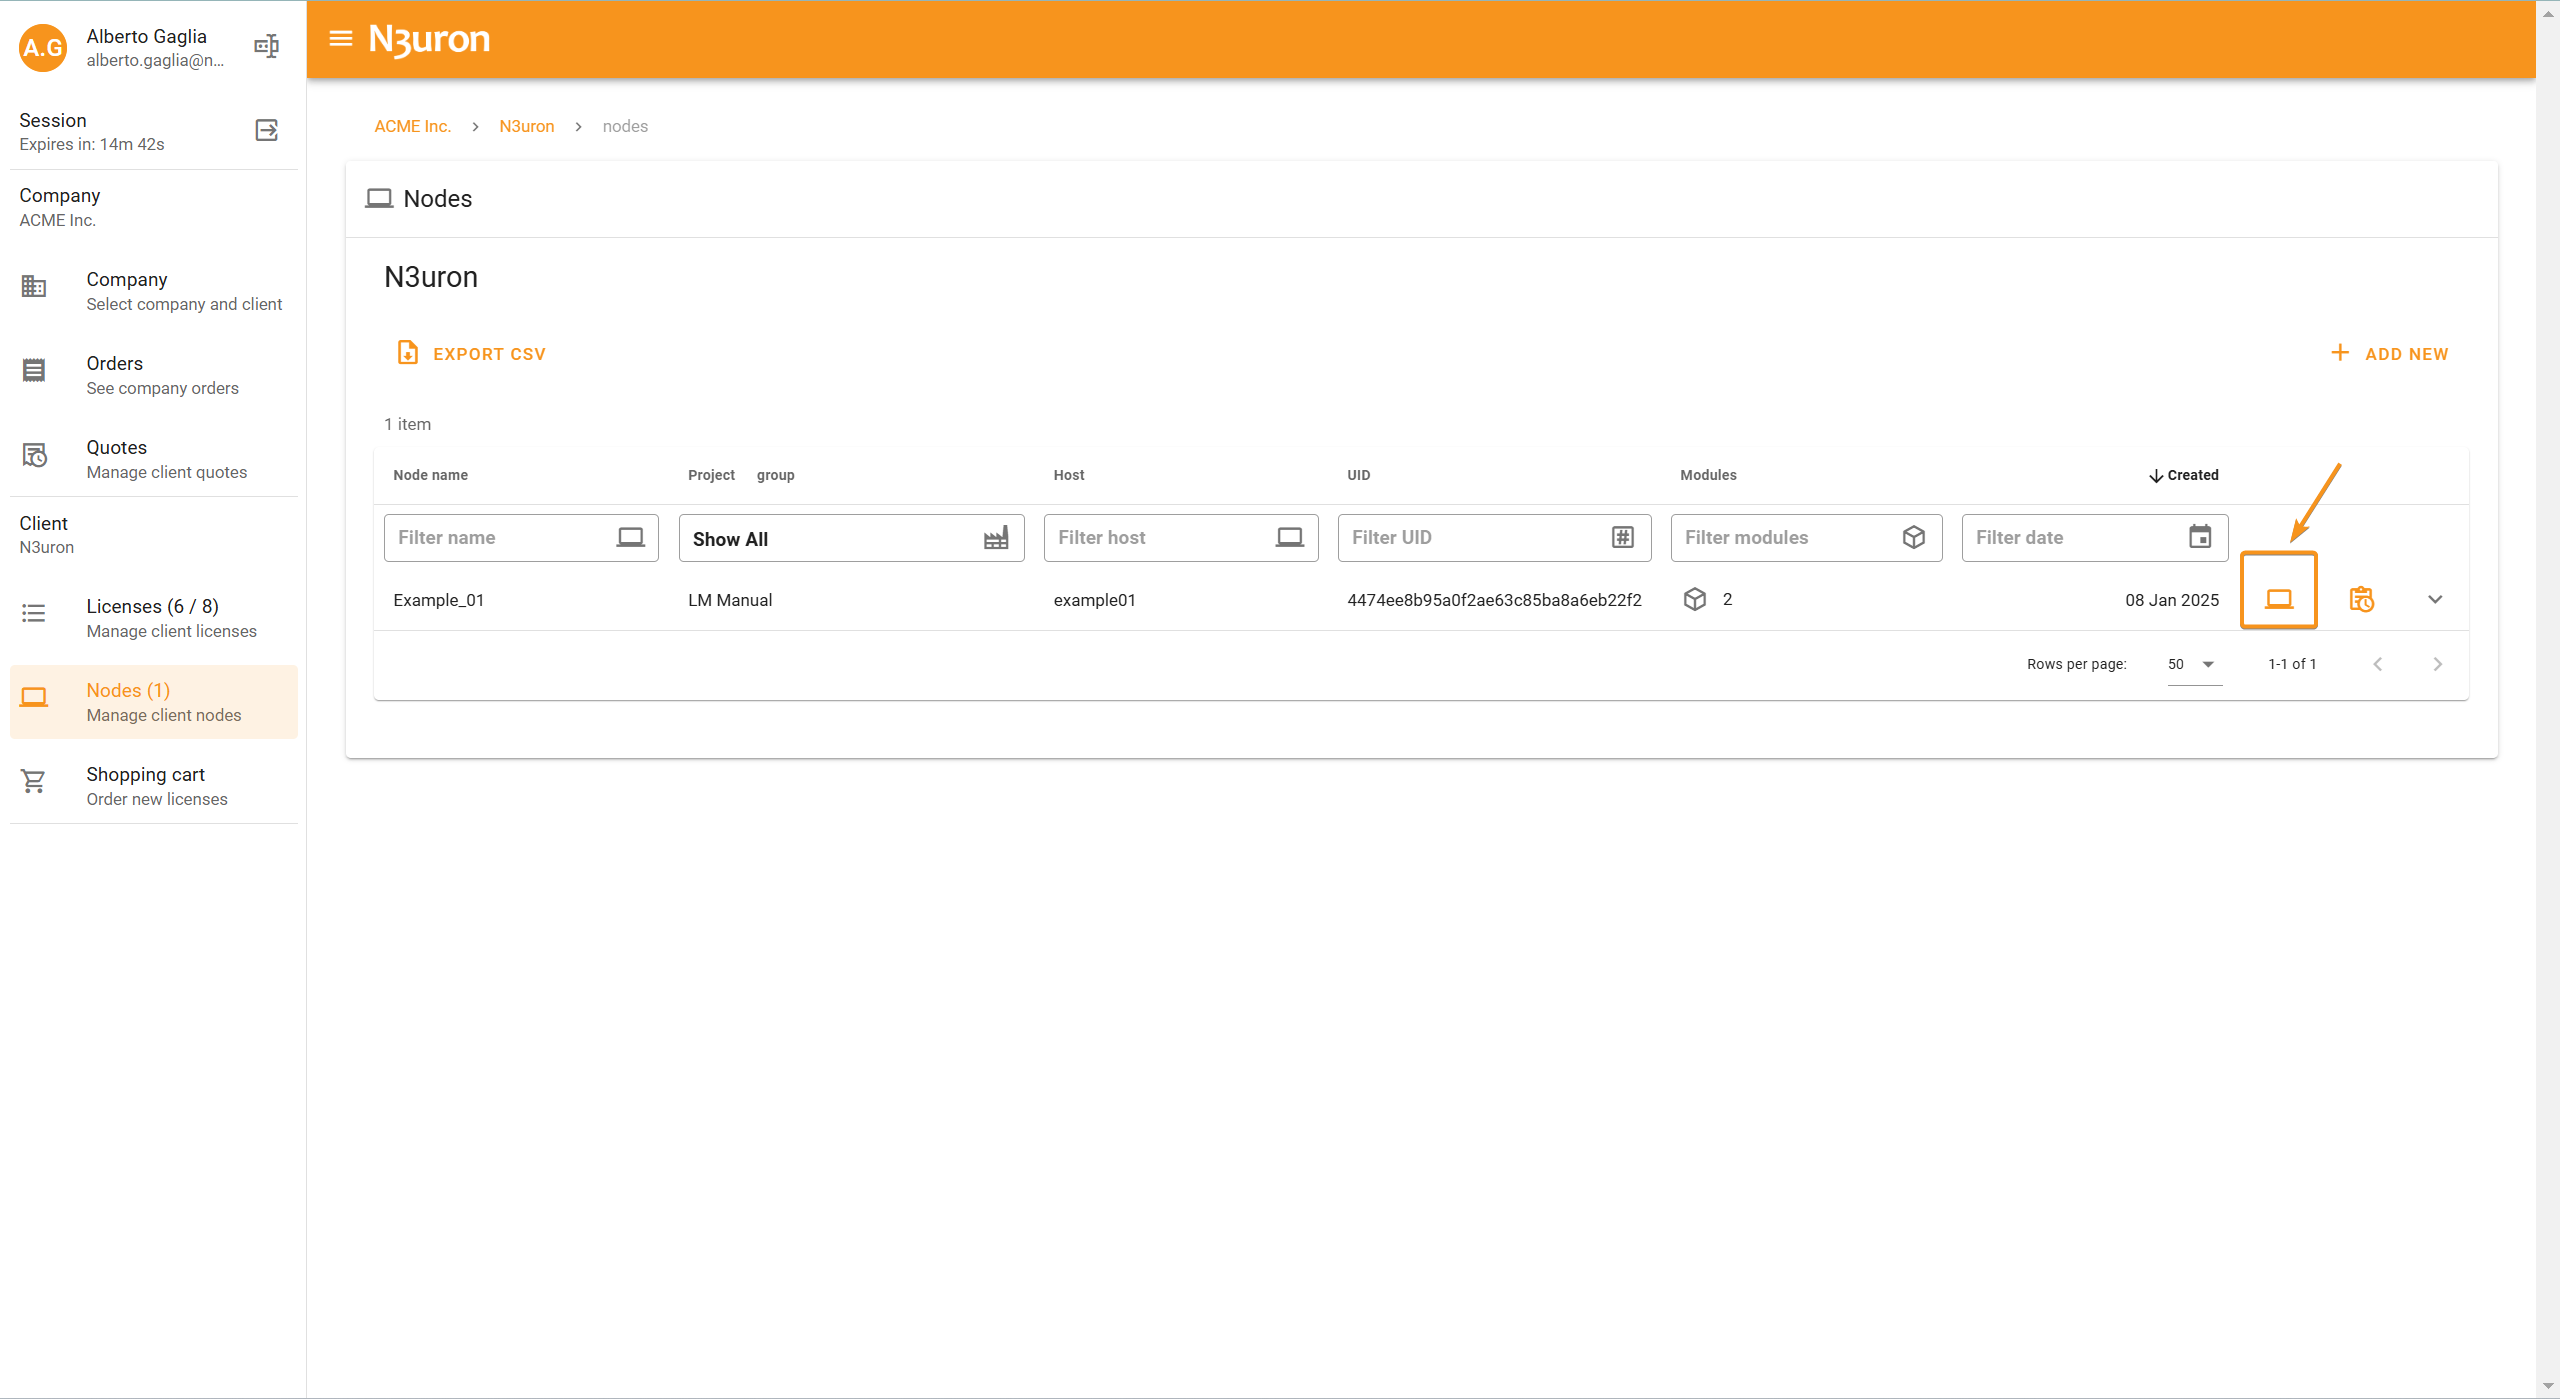
Here, you can view comprehensive information about the node, including its configuration and associated modules. Additionally, this page provides several buttons for further actions:
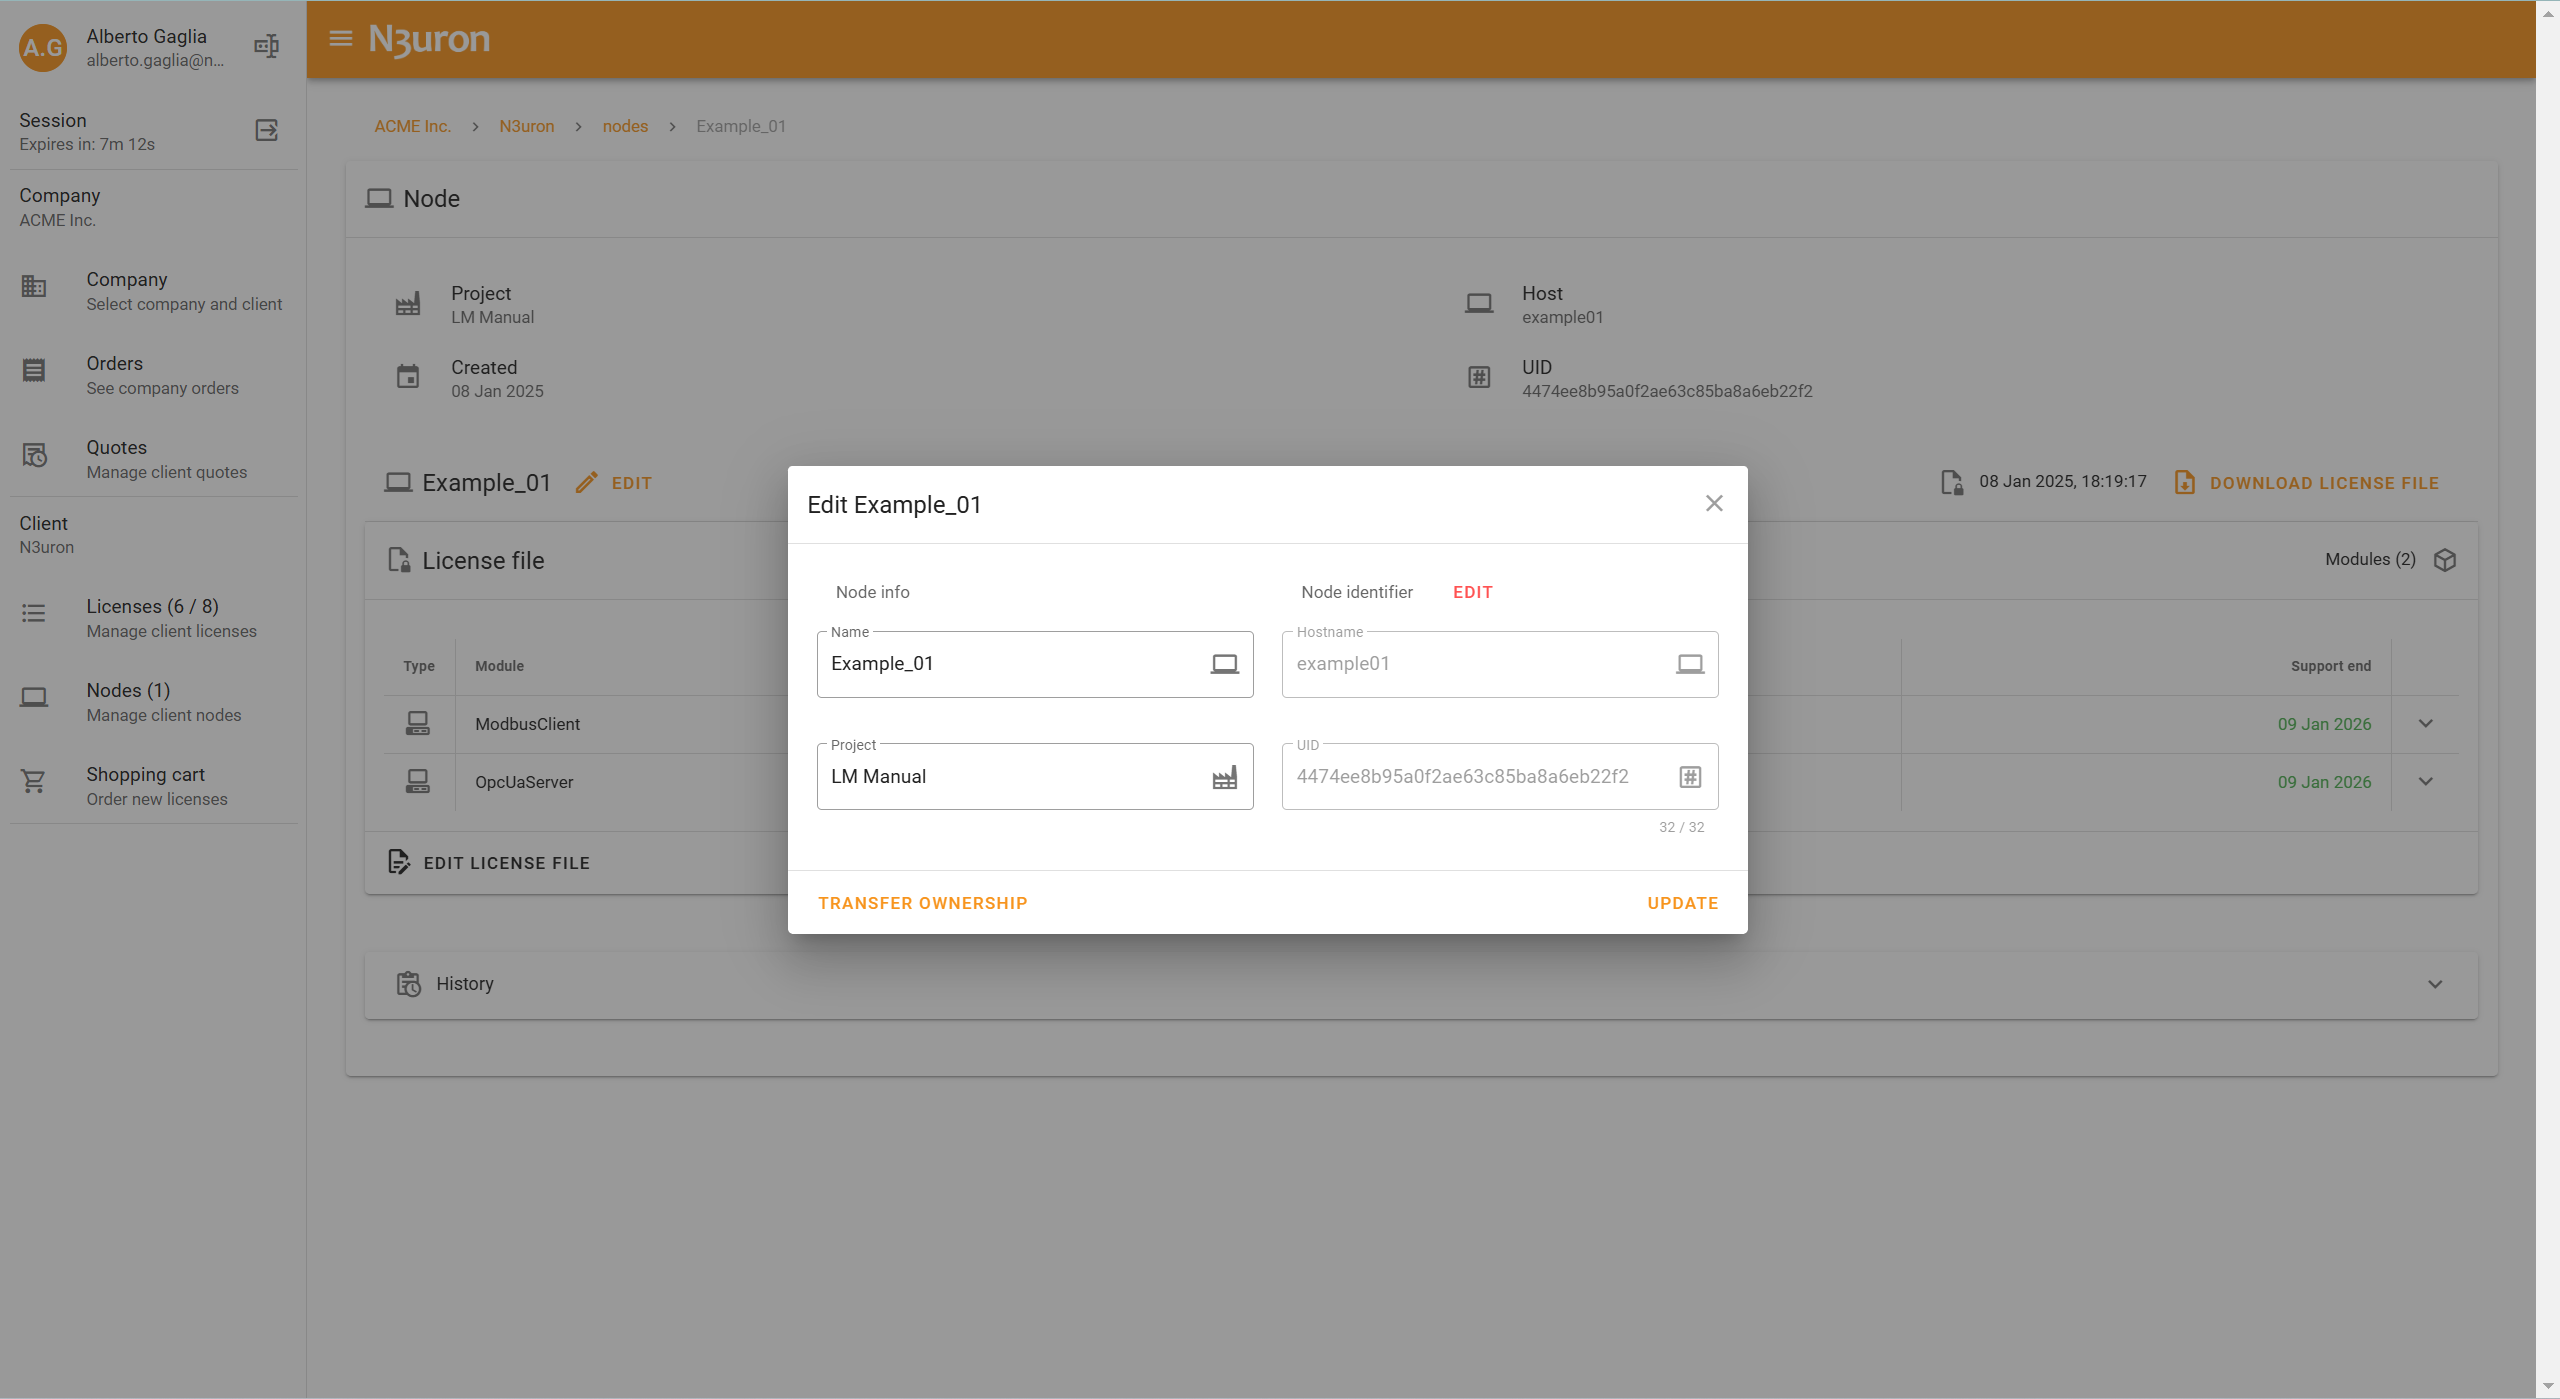
Edit: Allows you to modify the node’s details.
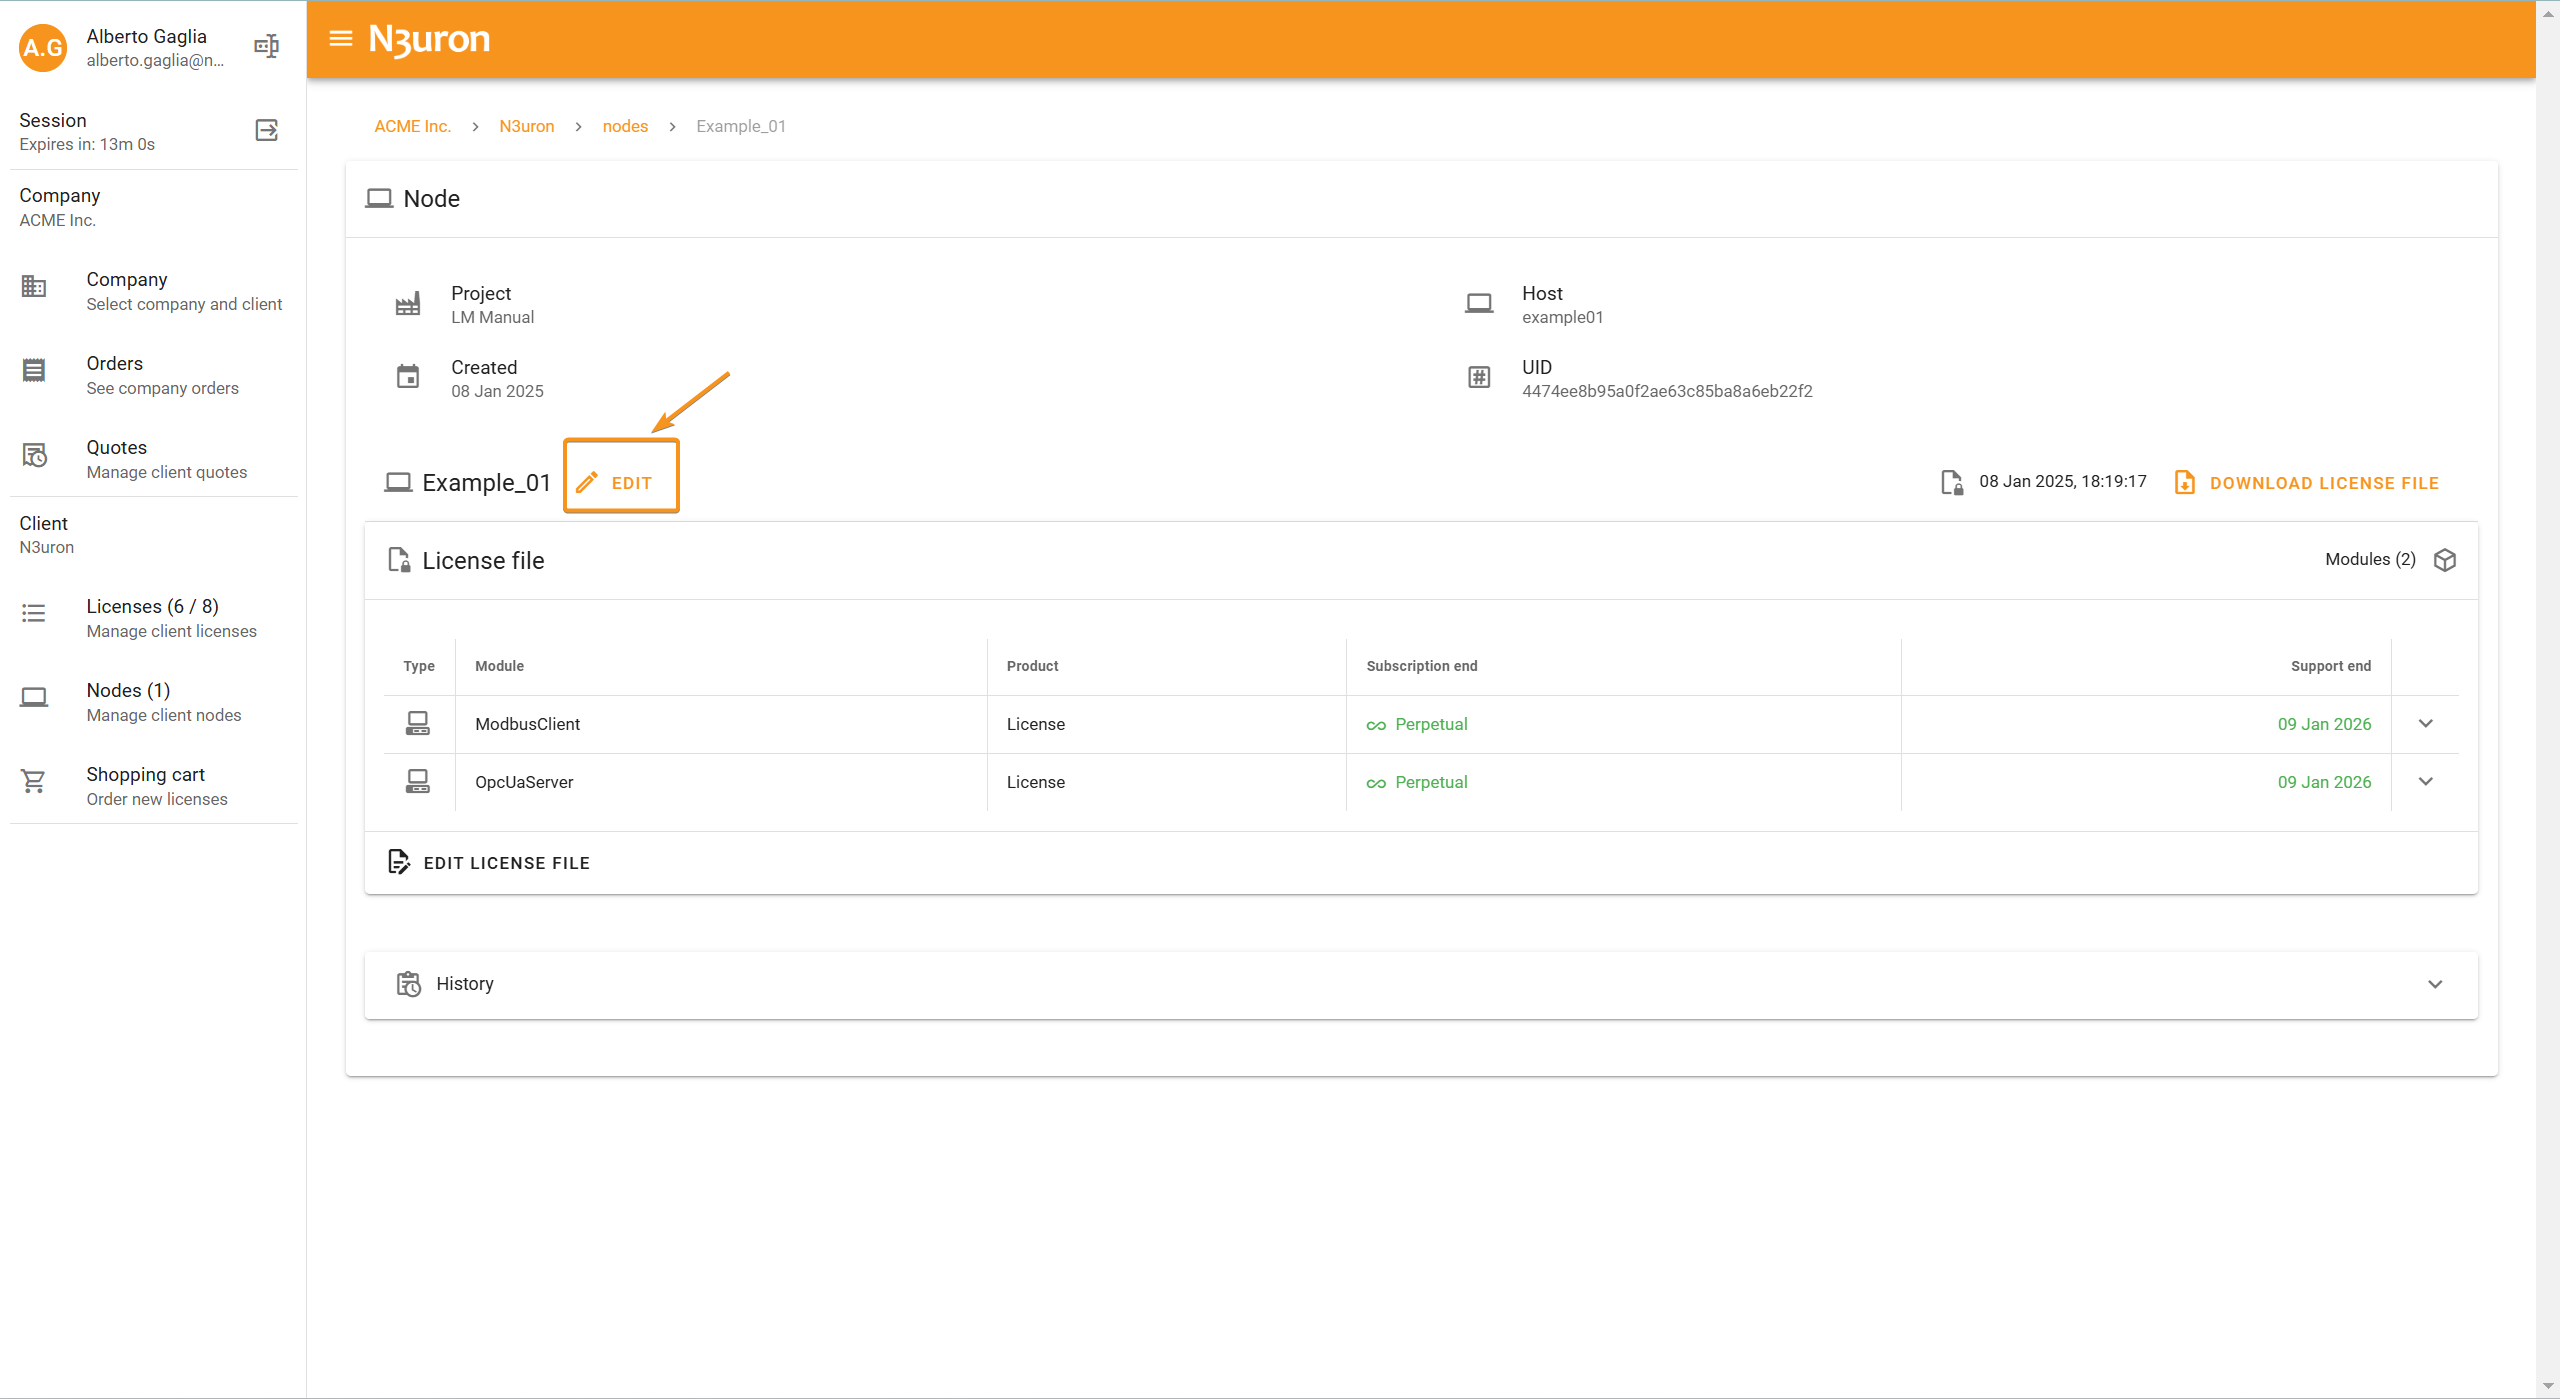
Download License: Lets you download the license file associated with the node
.png)
Edit License File: Opens the license file for editing.
.png)
.png)
History: Displays a detailed history of the node, including who created it and any changes made over time.
.png)
.png)
2. History: This icon directly opens a pop-up window with historical details about the node. It’s a quick way to review changes without navigating away from the main table.
.png)
.png)
The dropdown arrow next to these icons provides a summary of the node’s key details in a compact view.
.png)
.png)
Creating a Node and Assigning Licenses
To create a node and assign licenses, start by clicking Add New.
A pop-up will appear where you’ll need to fill out several fields:
Name: User-defined name that helps to easily and descriptively identify the node. You can choose any name that best suits your organizational needs.
Project: A project is used to group multiple nodes together. Project names can be chosen freely and may represent a geographic area, a portfolio, a production site, or any other grouping that fits your requirements.
Hostname: This is the hostname of the device where the license will be installed. You can find the hostname in the Licensing section of the node’s WebUI.
UID: This is the unique identifier of the node where the license will be installed. It can also be obtained from the Licensing section in the node’s WebUI.
.png)
To avoid copy-paste errors, we recommend going to N3uron and using the Copy to Clipboard option. Once copied, paste it into the Hostname field, which will auto-fill both fields. Finally, click Create, and your node will be added.
.png)
.png)
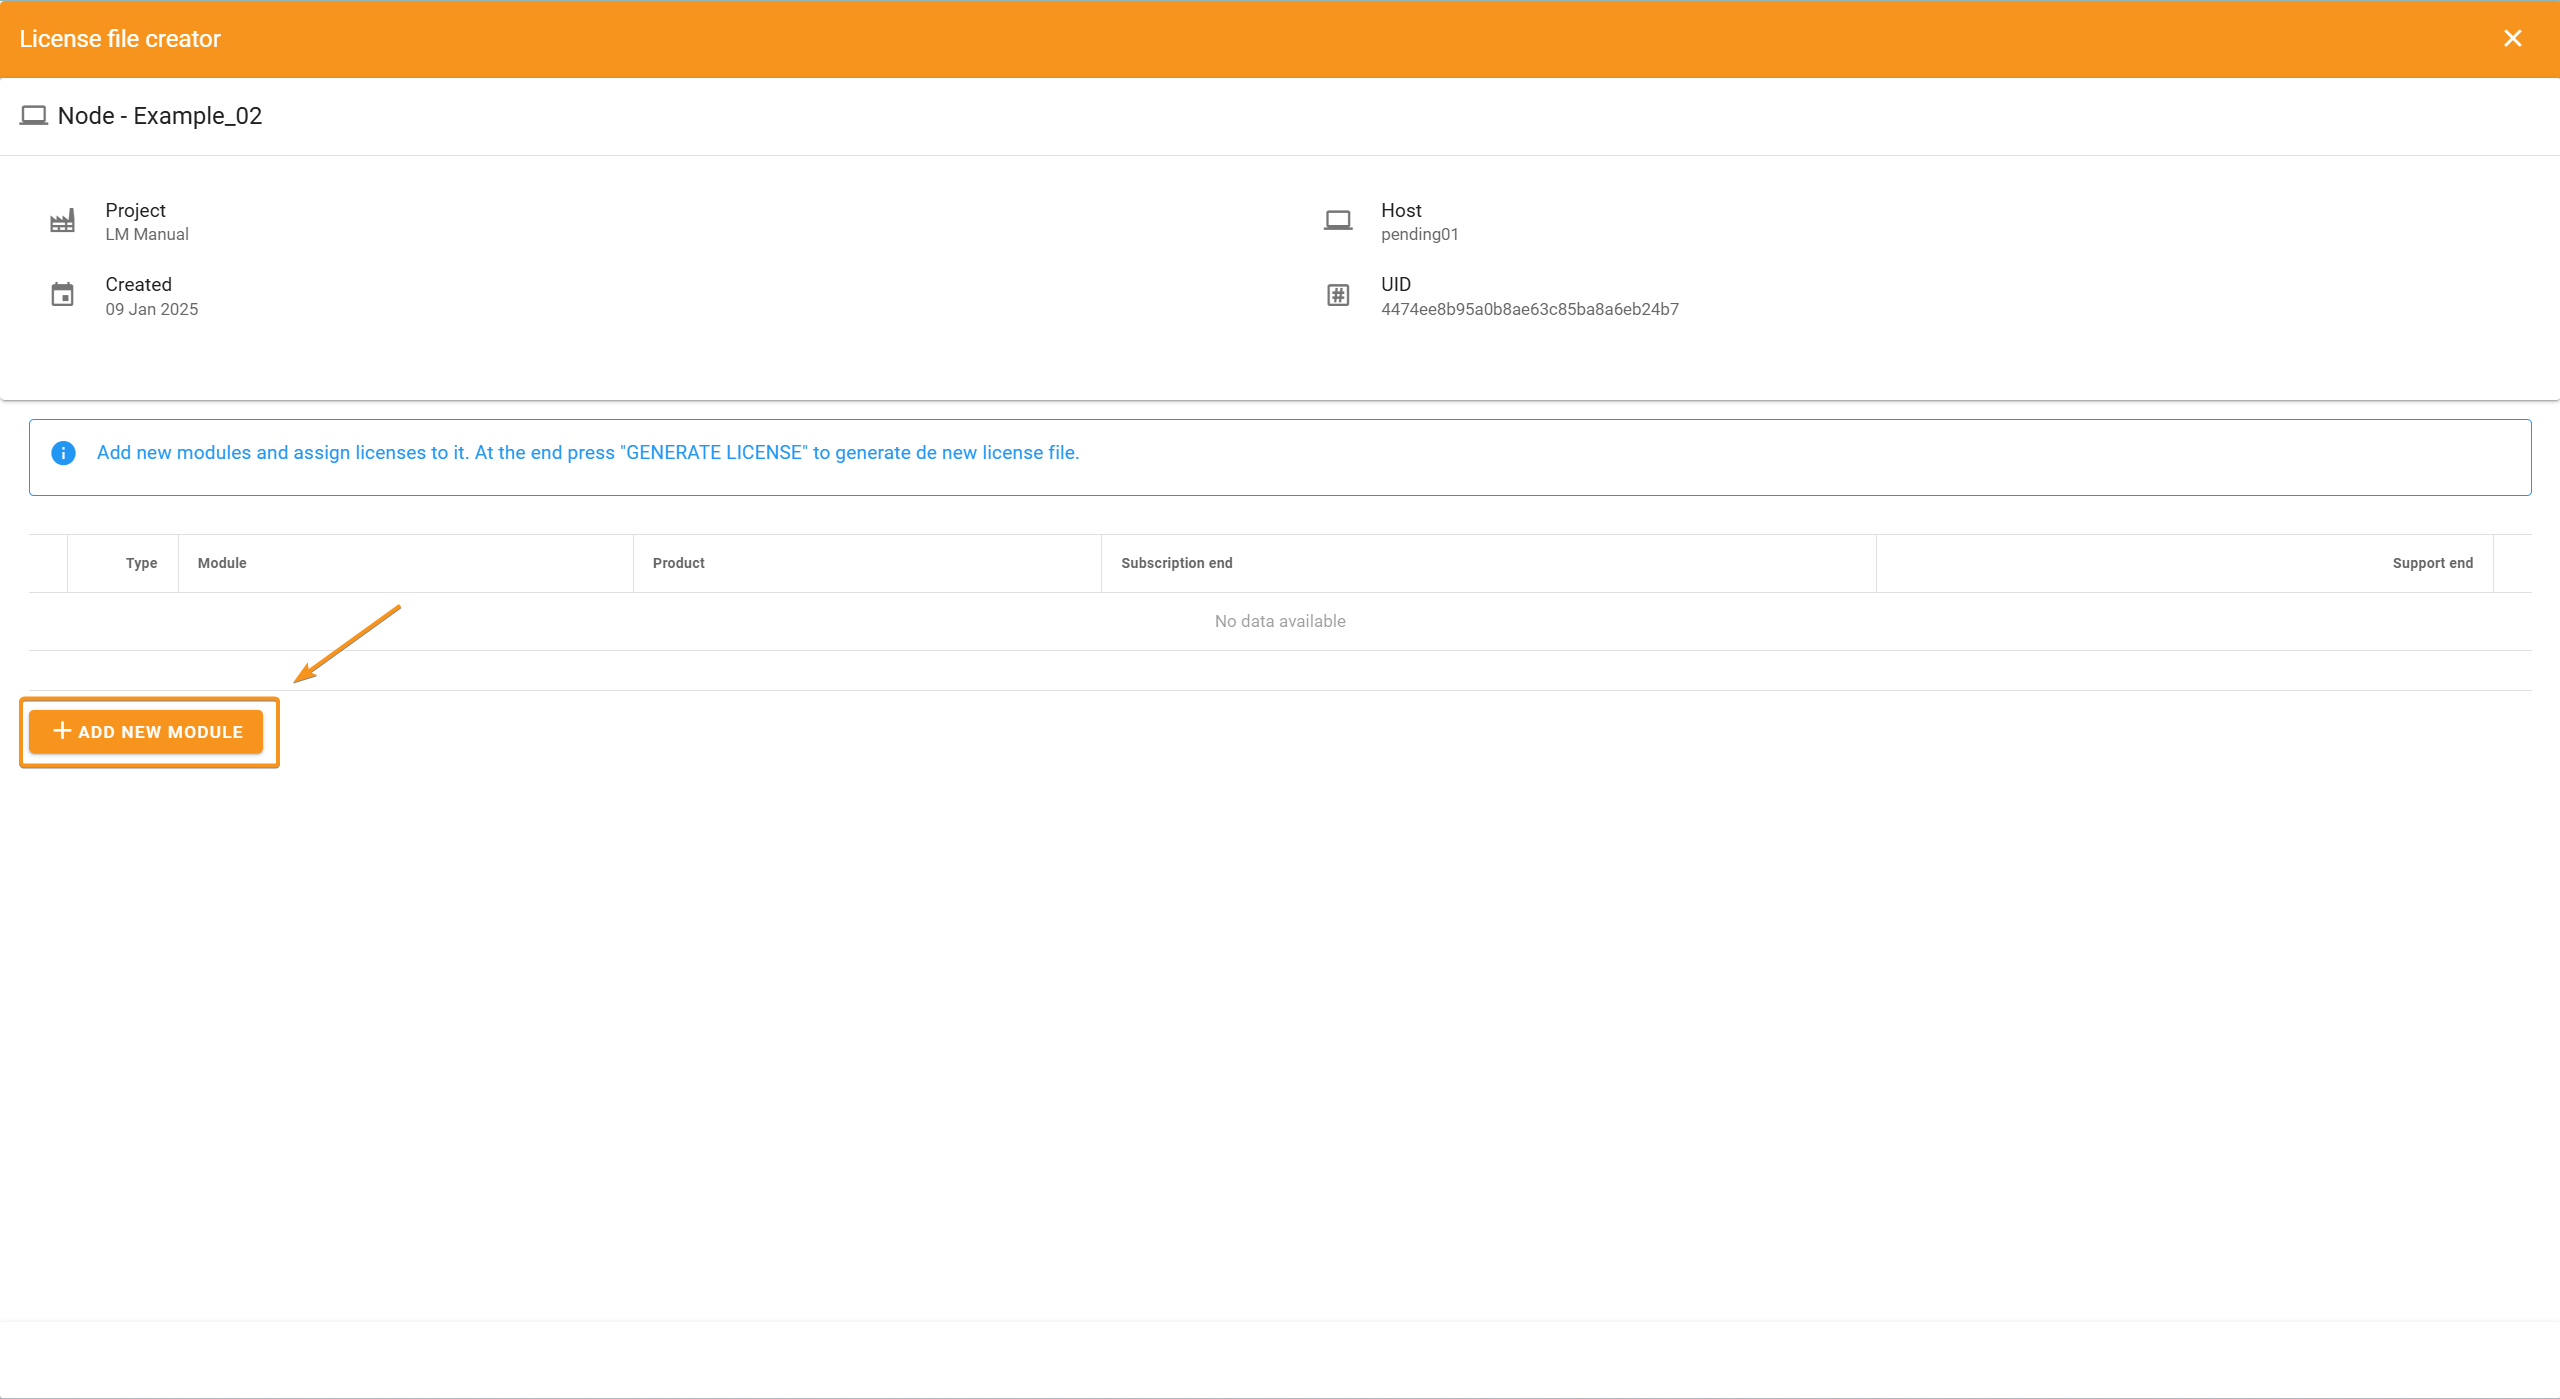
Once the node is created, expand it to find the Create New License File button.
.png)
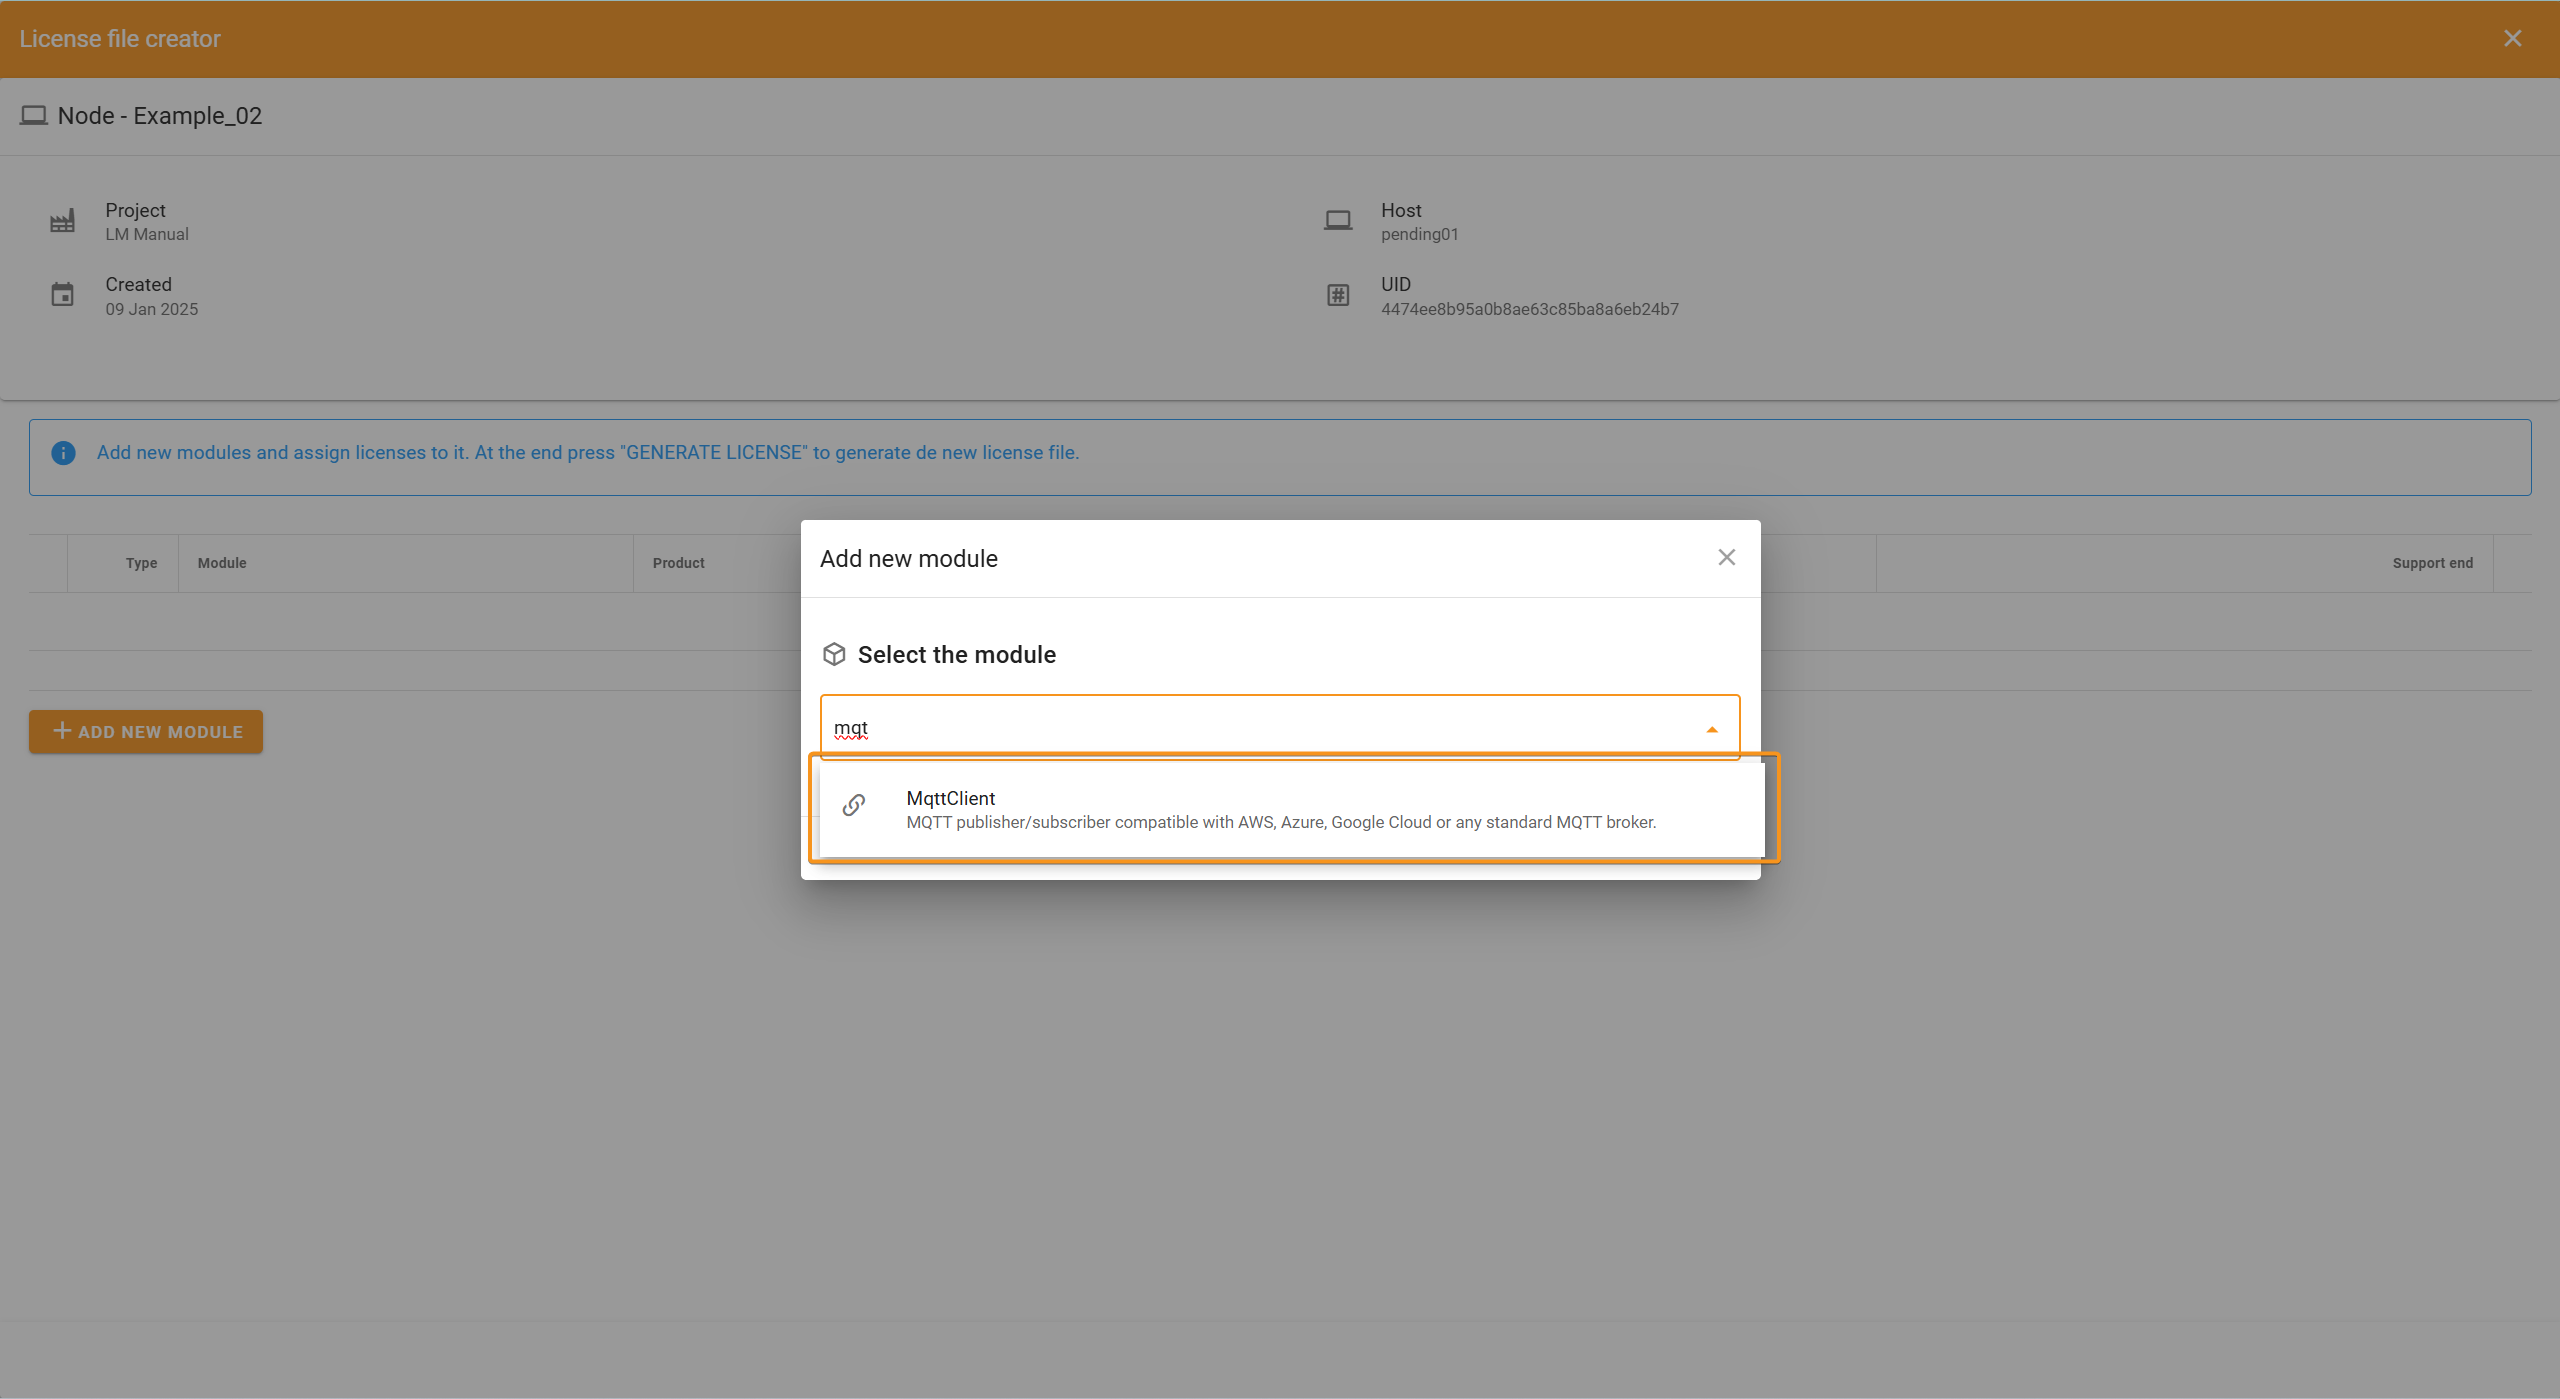
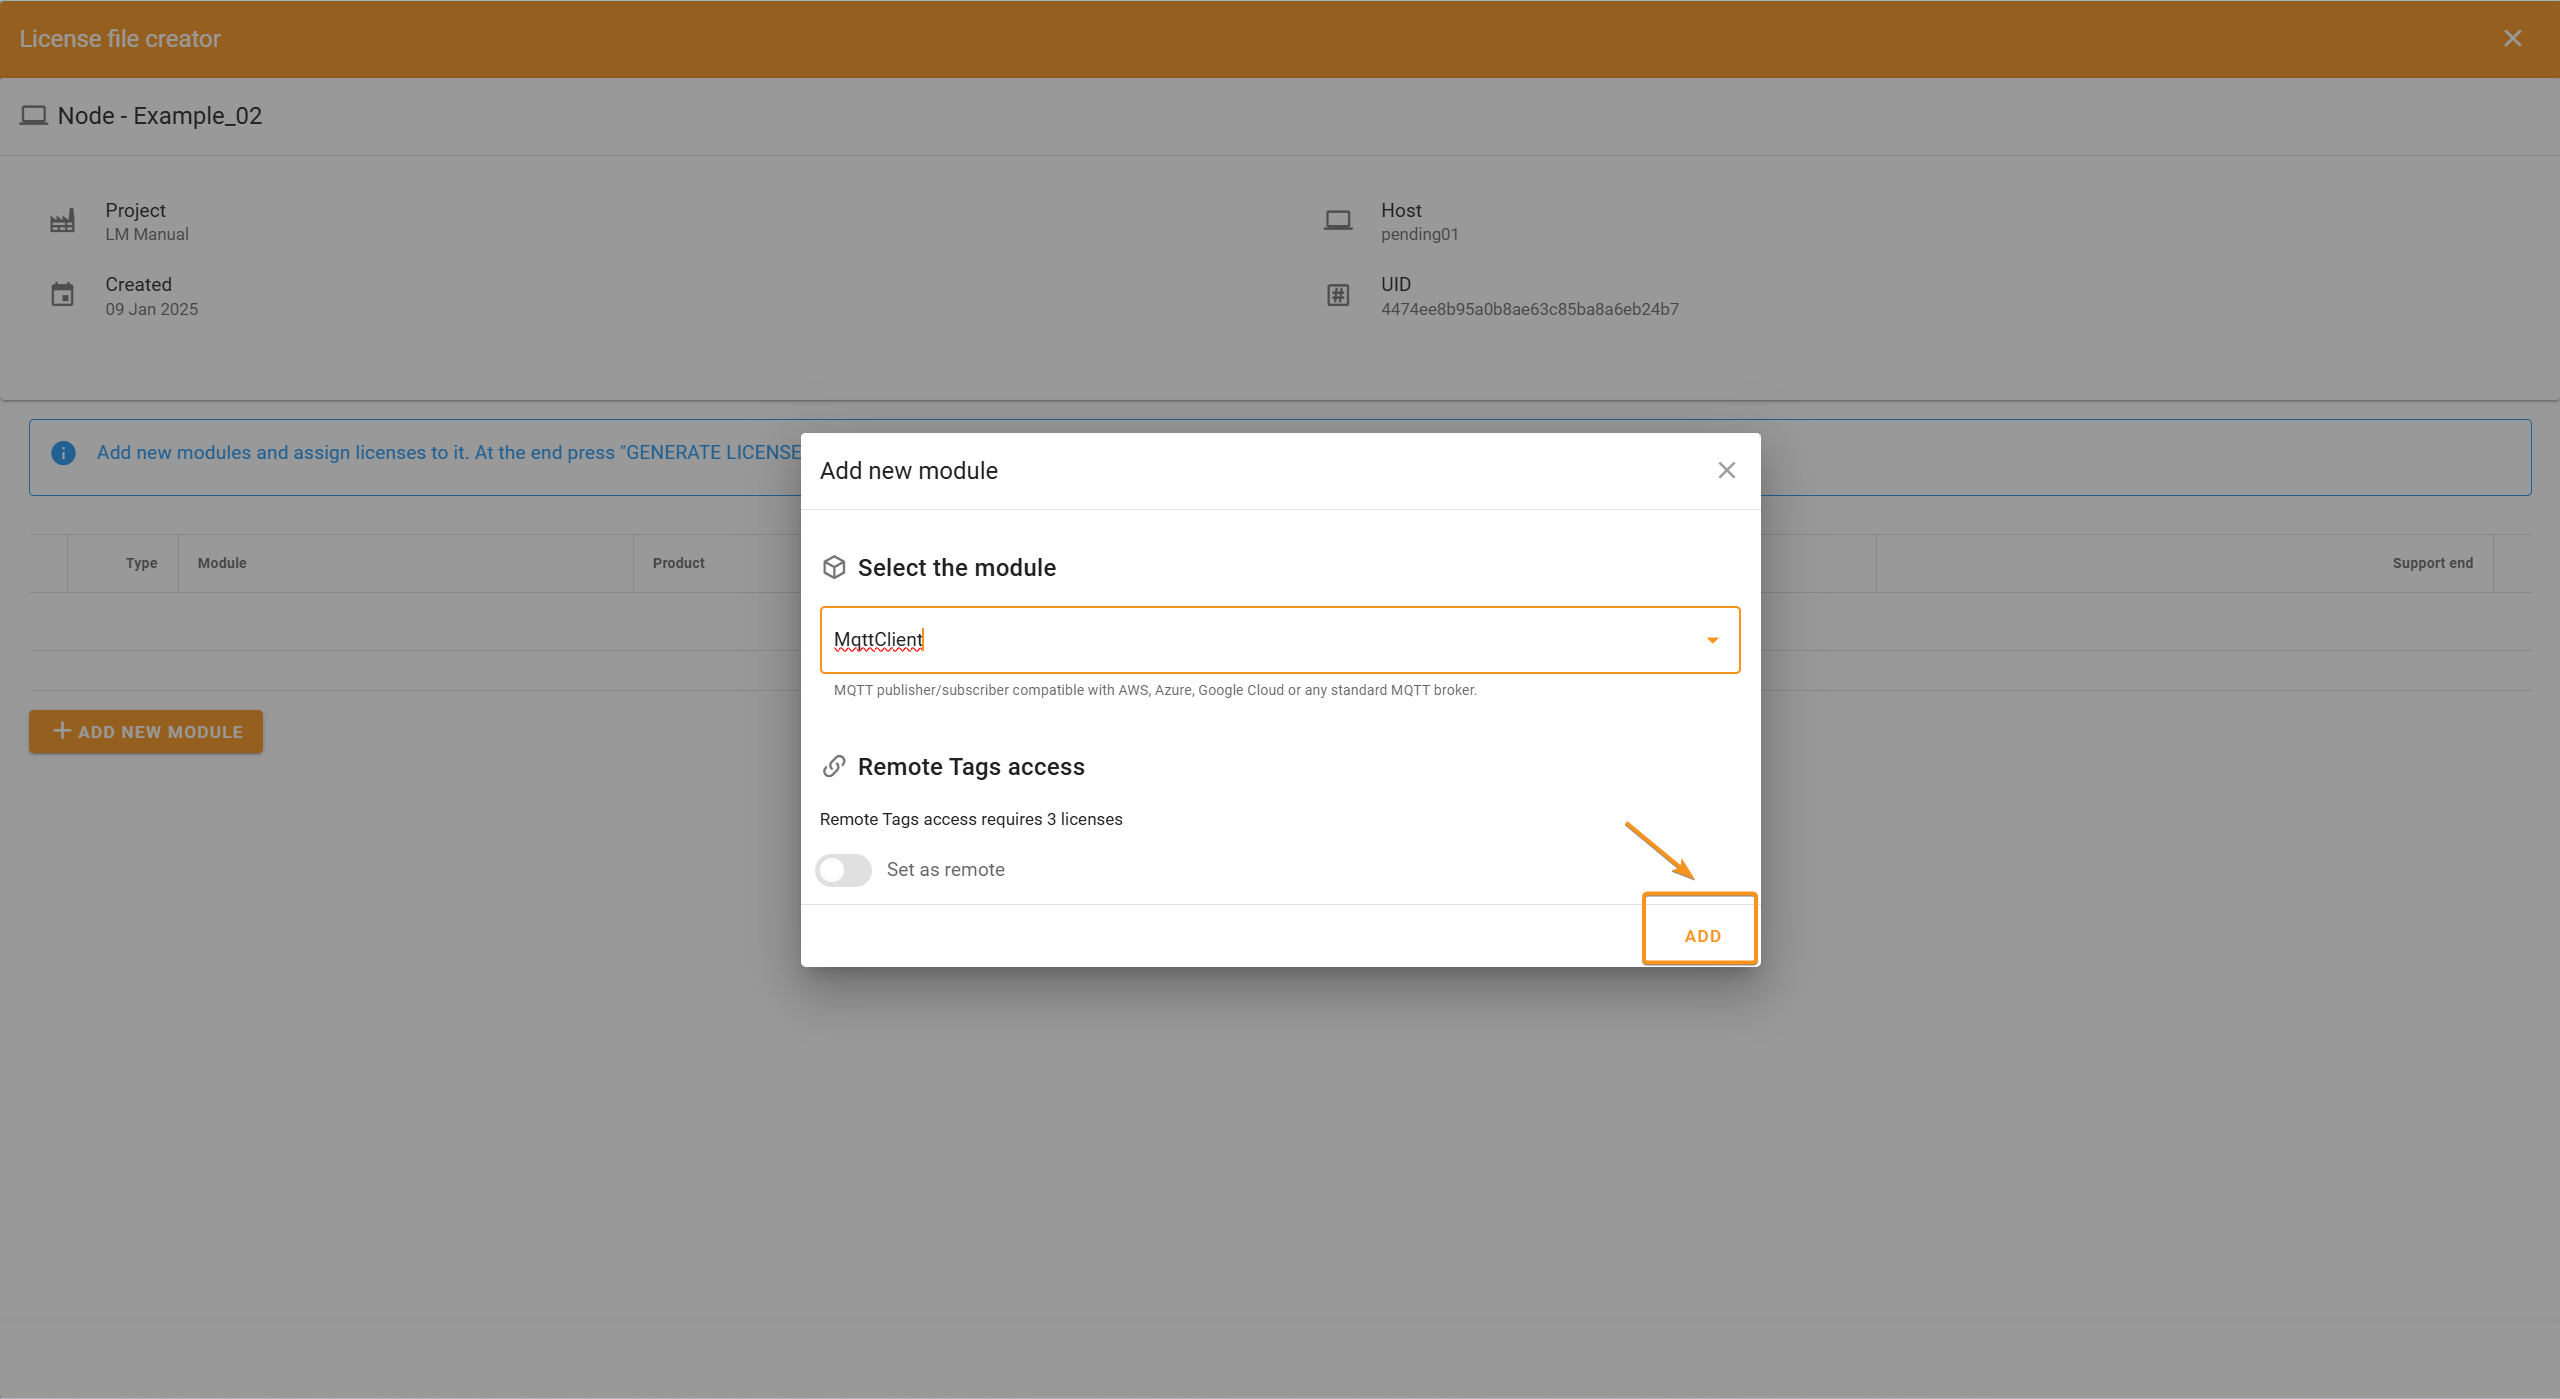
Clicking this will take you to the License File Creator. Here, click + Add New Module to begin adding modules.
A pop-up will appear with a dropdown menu labeled Select the module, listing all the available modules in N3uron. Choose the modules you wish to add to your node one by one. For example, let’s select MQTT Client.
After selecting the module, a new window appears. Here, we can see the the Remote Tags Access. The Remote Tags Access property allows N3uron modules to access tags that are received from other N3uron nodes via N3uron Links. This functionality is essential when a module needs to interact with data that is not generated locally but instead comes from remote nodes within the N3uron network.
Note:
Enabling Remote Tags Access requires 3 licenses per module. Remote licenses can only be assigned to specific modules, including REST API Server, Data Exporter, Web Vision, Notifier, Audit Trail, Data Diode, Derived Tags, Scripting, Historian, Linked Tags, and UFL Exporter.
Example:
Remote Tags Access is required for modules that handle or process tags from other nodes. Examples include:
Historian: To store tags centrally from multiple remote nodes.
WebVision: To visualize tags from remote nodes in a centralized dashboard.
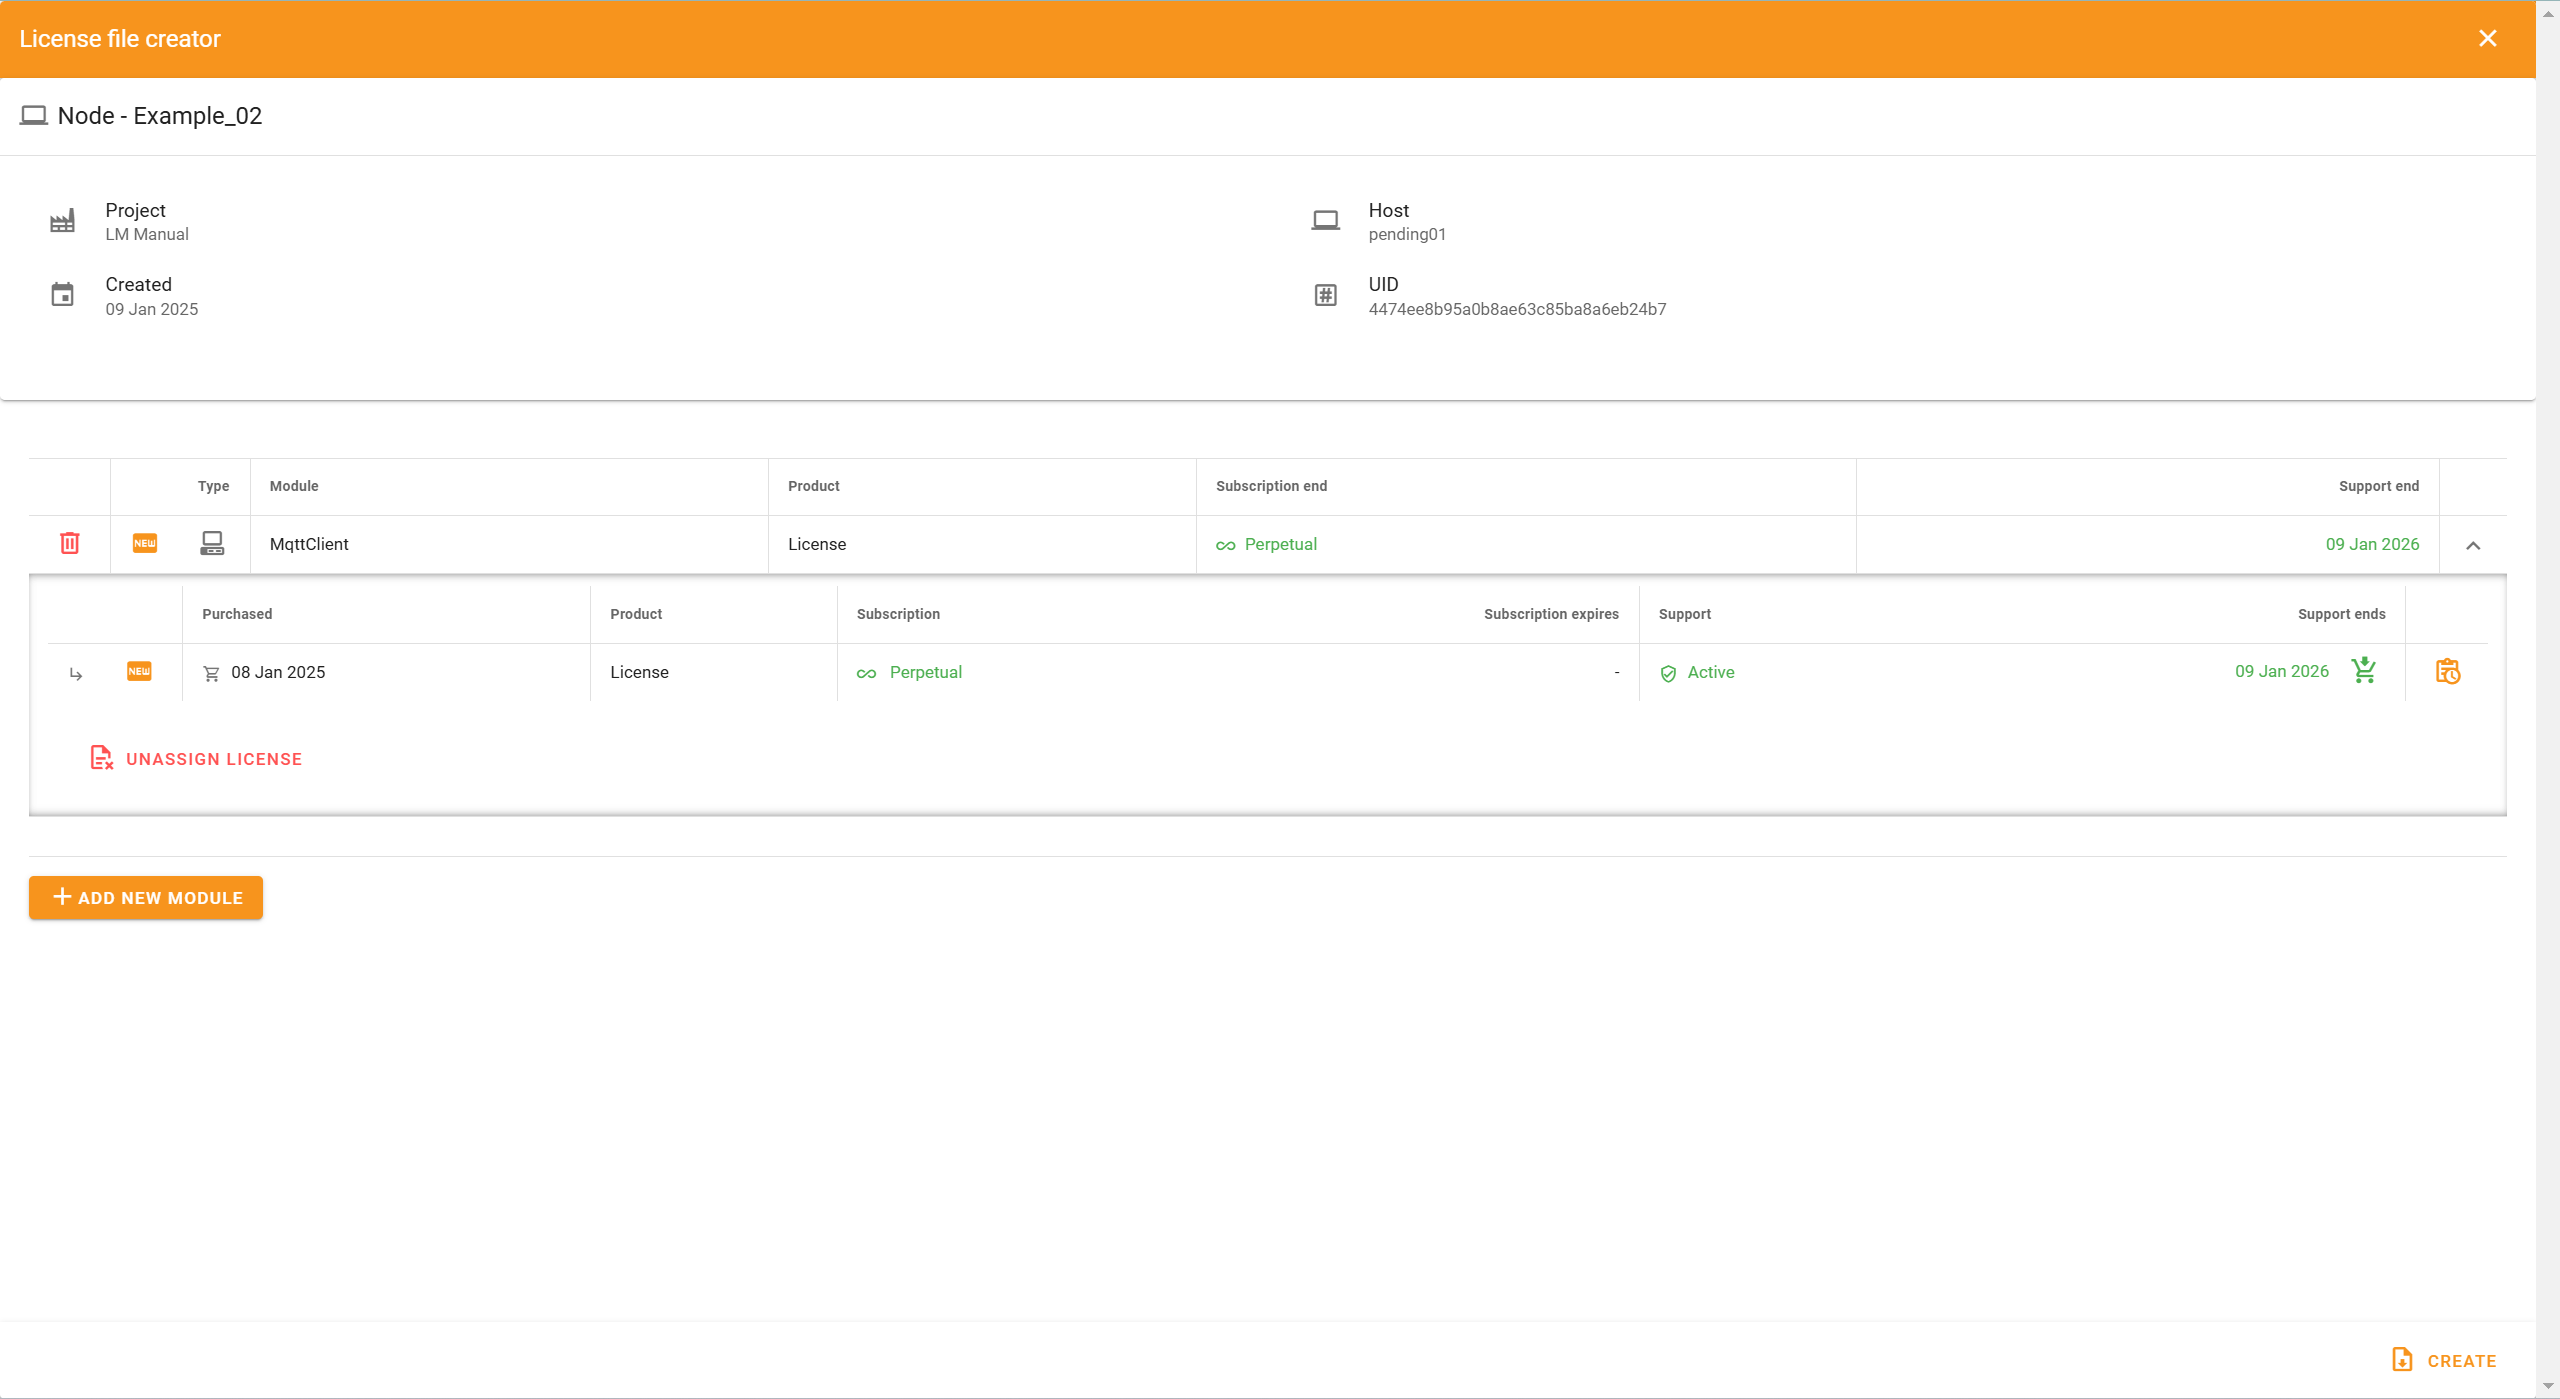
In this case, we continue by clicking on Add to assign a local license and then we will explore a complete example explaining how to assign a module with Remote Tags Access.
Another pop-up will display your available licenses; select one and click Select.

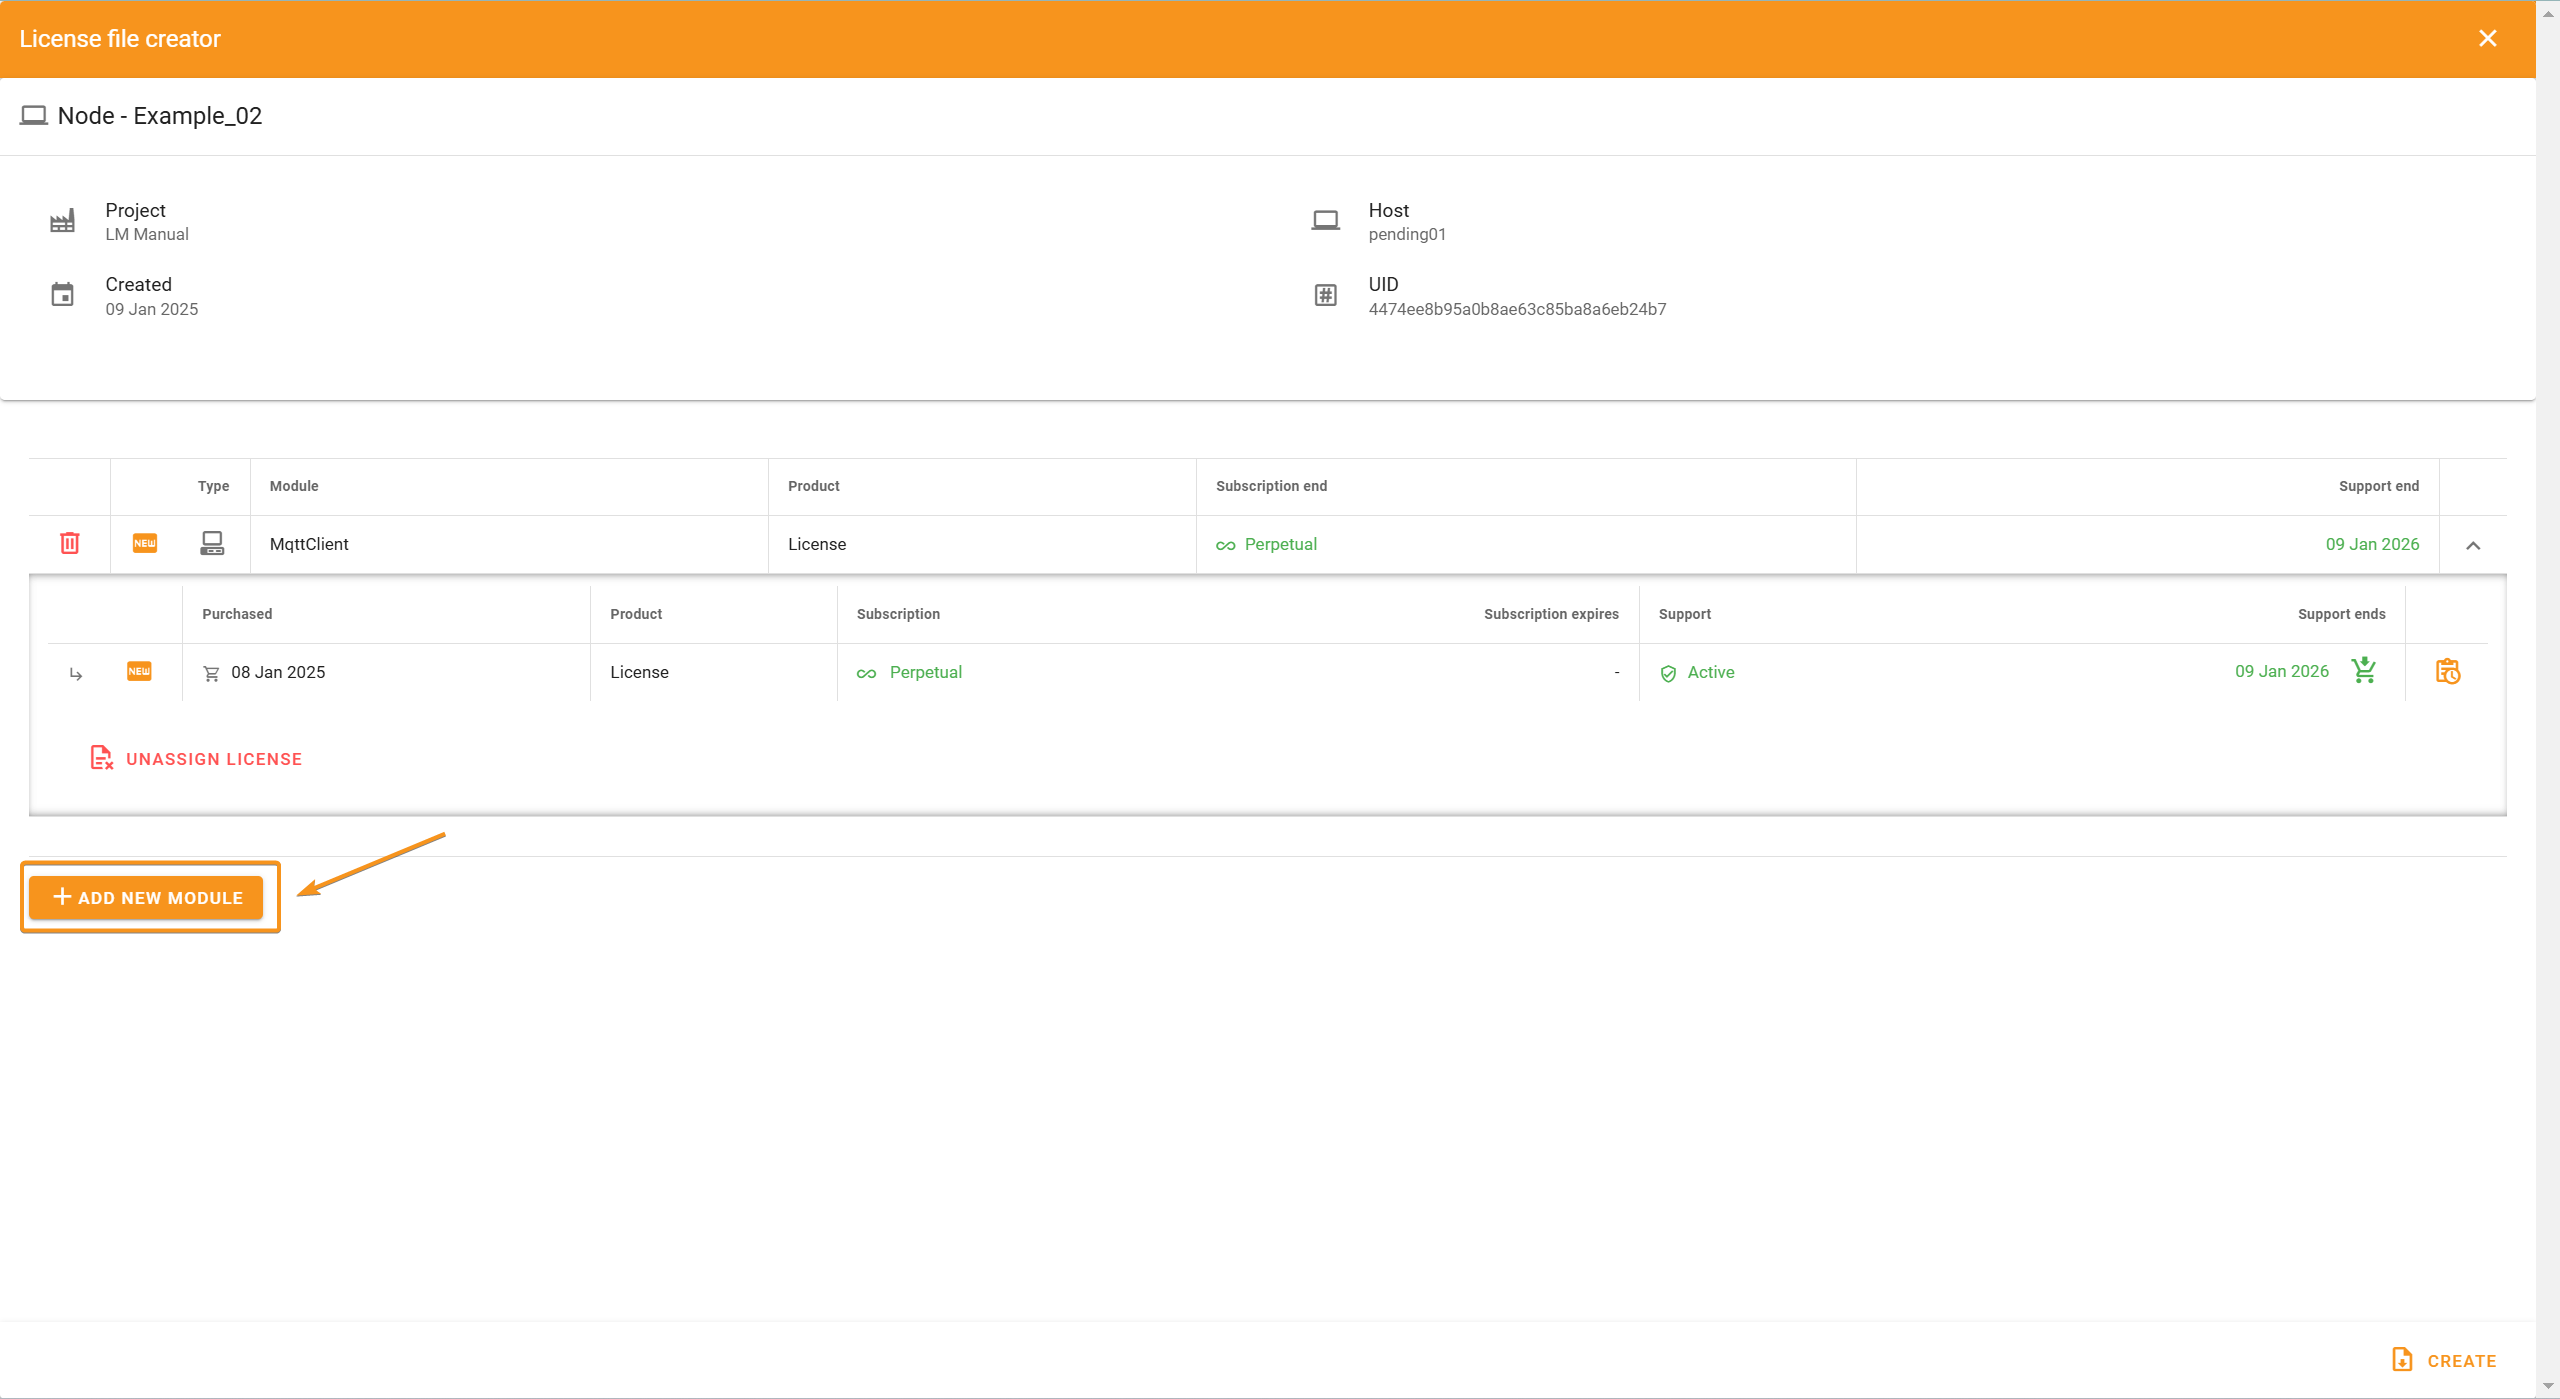
Repeat this process for additional modules as needed.
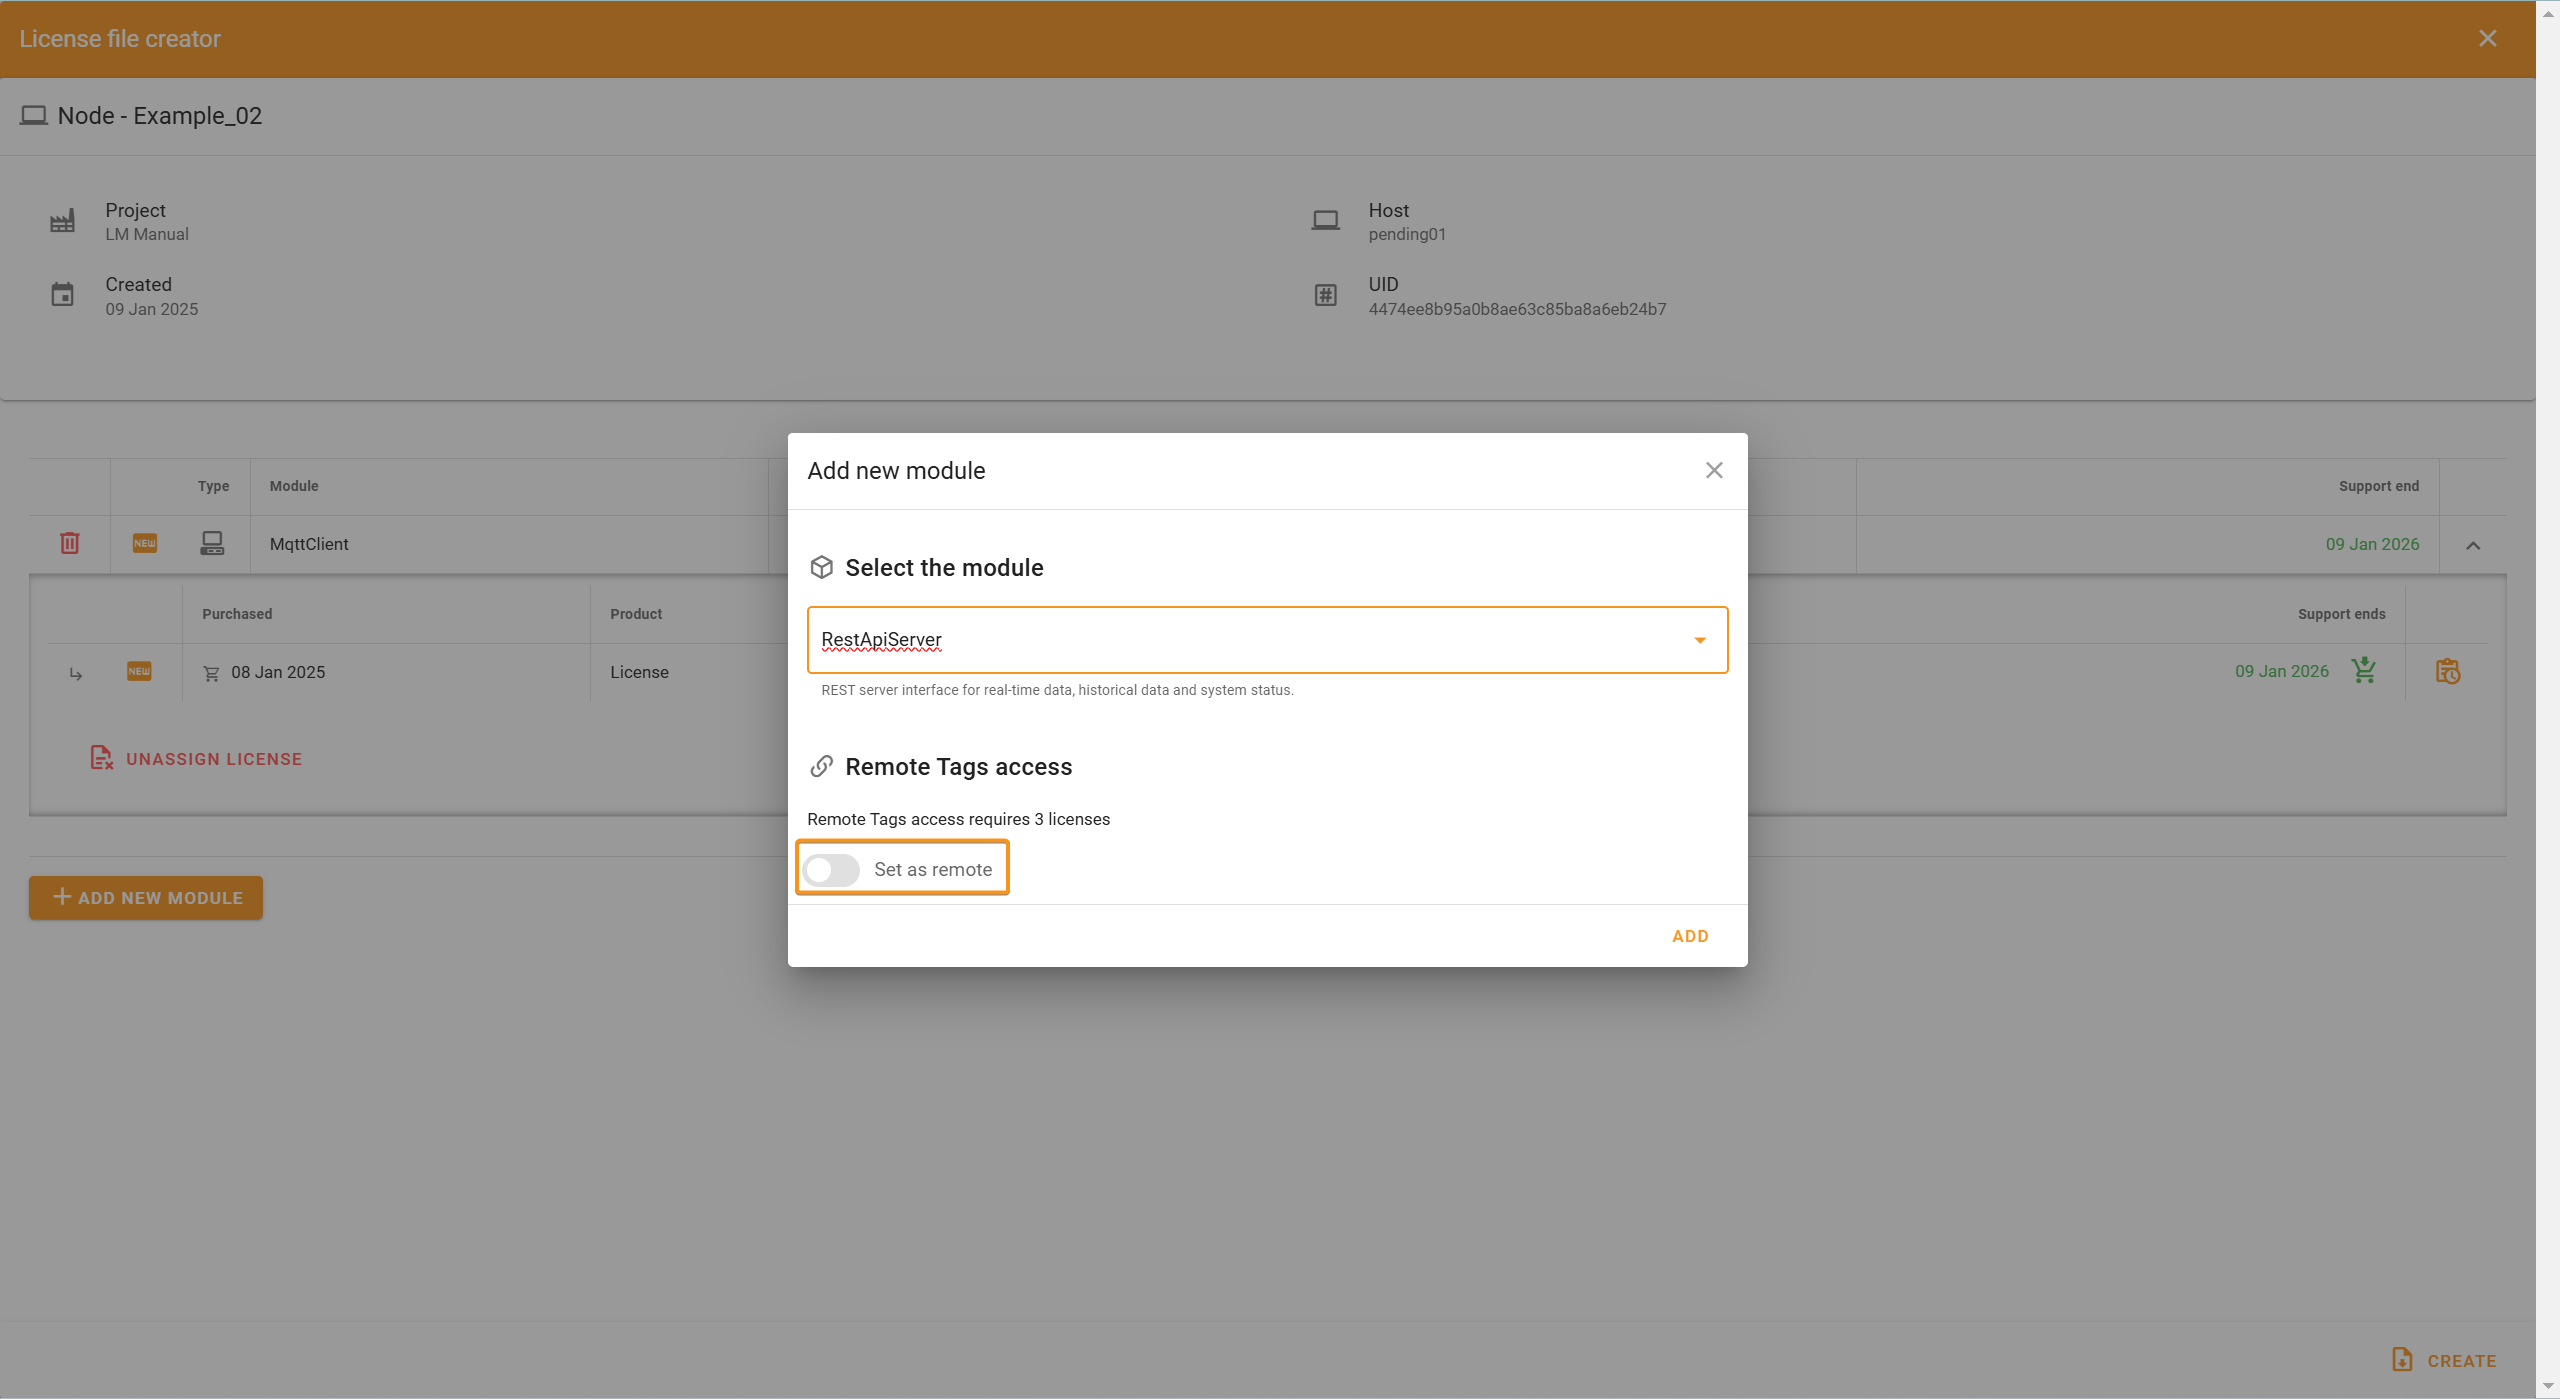
For modules requiring remote licenses, the process is slightly different. Click Add New Module, select REST API Server, and notice the section in the pop-up labeled Remote Tags Access.
If the module will use remote licenses (e.g., when a central node communicates with Links), click Set as Remote. The License Manager will then prompt you to select three licenses instead of one.
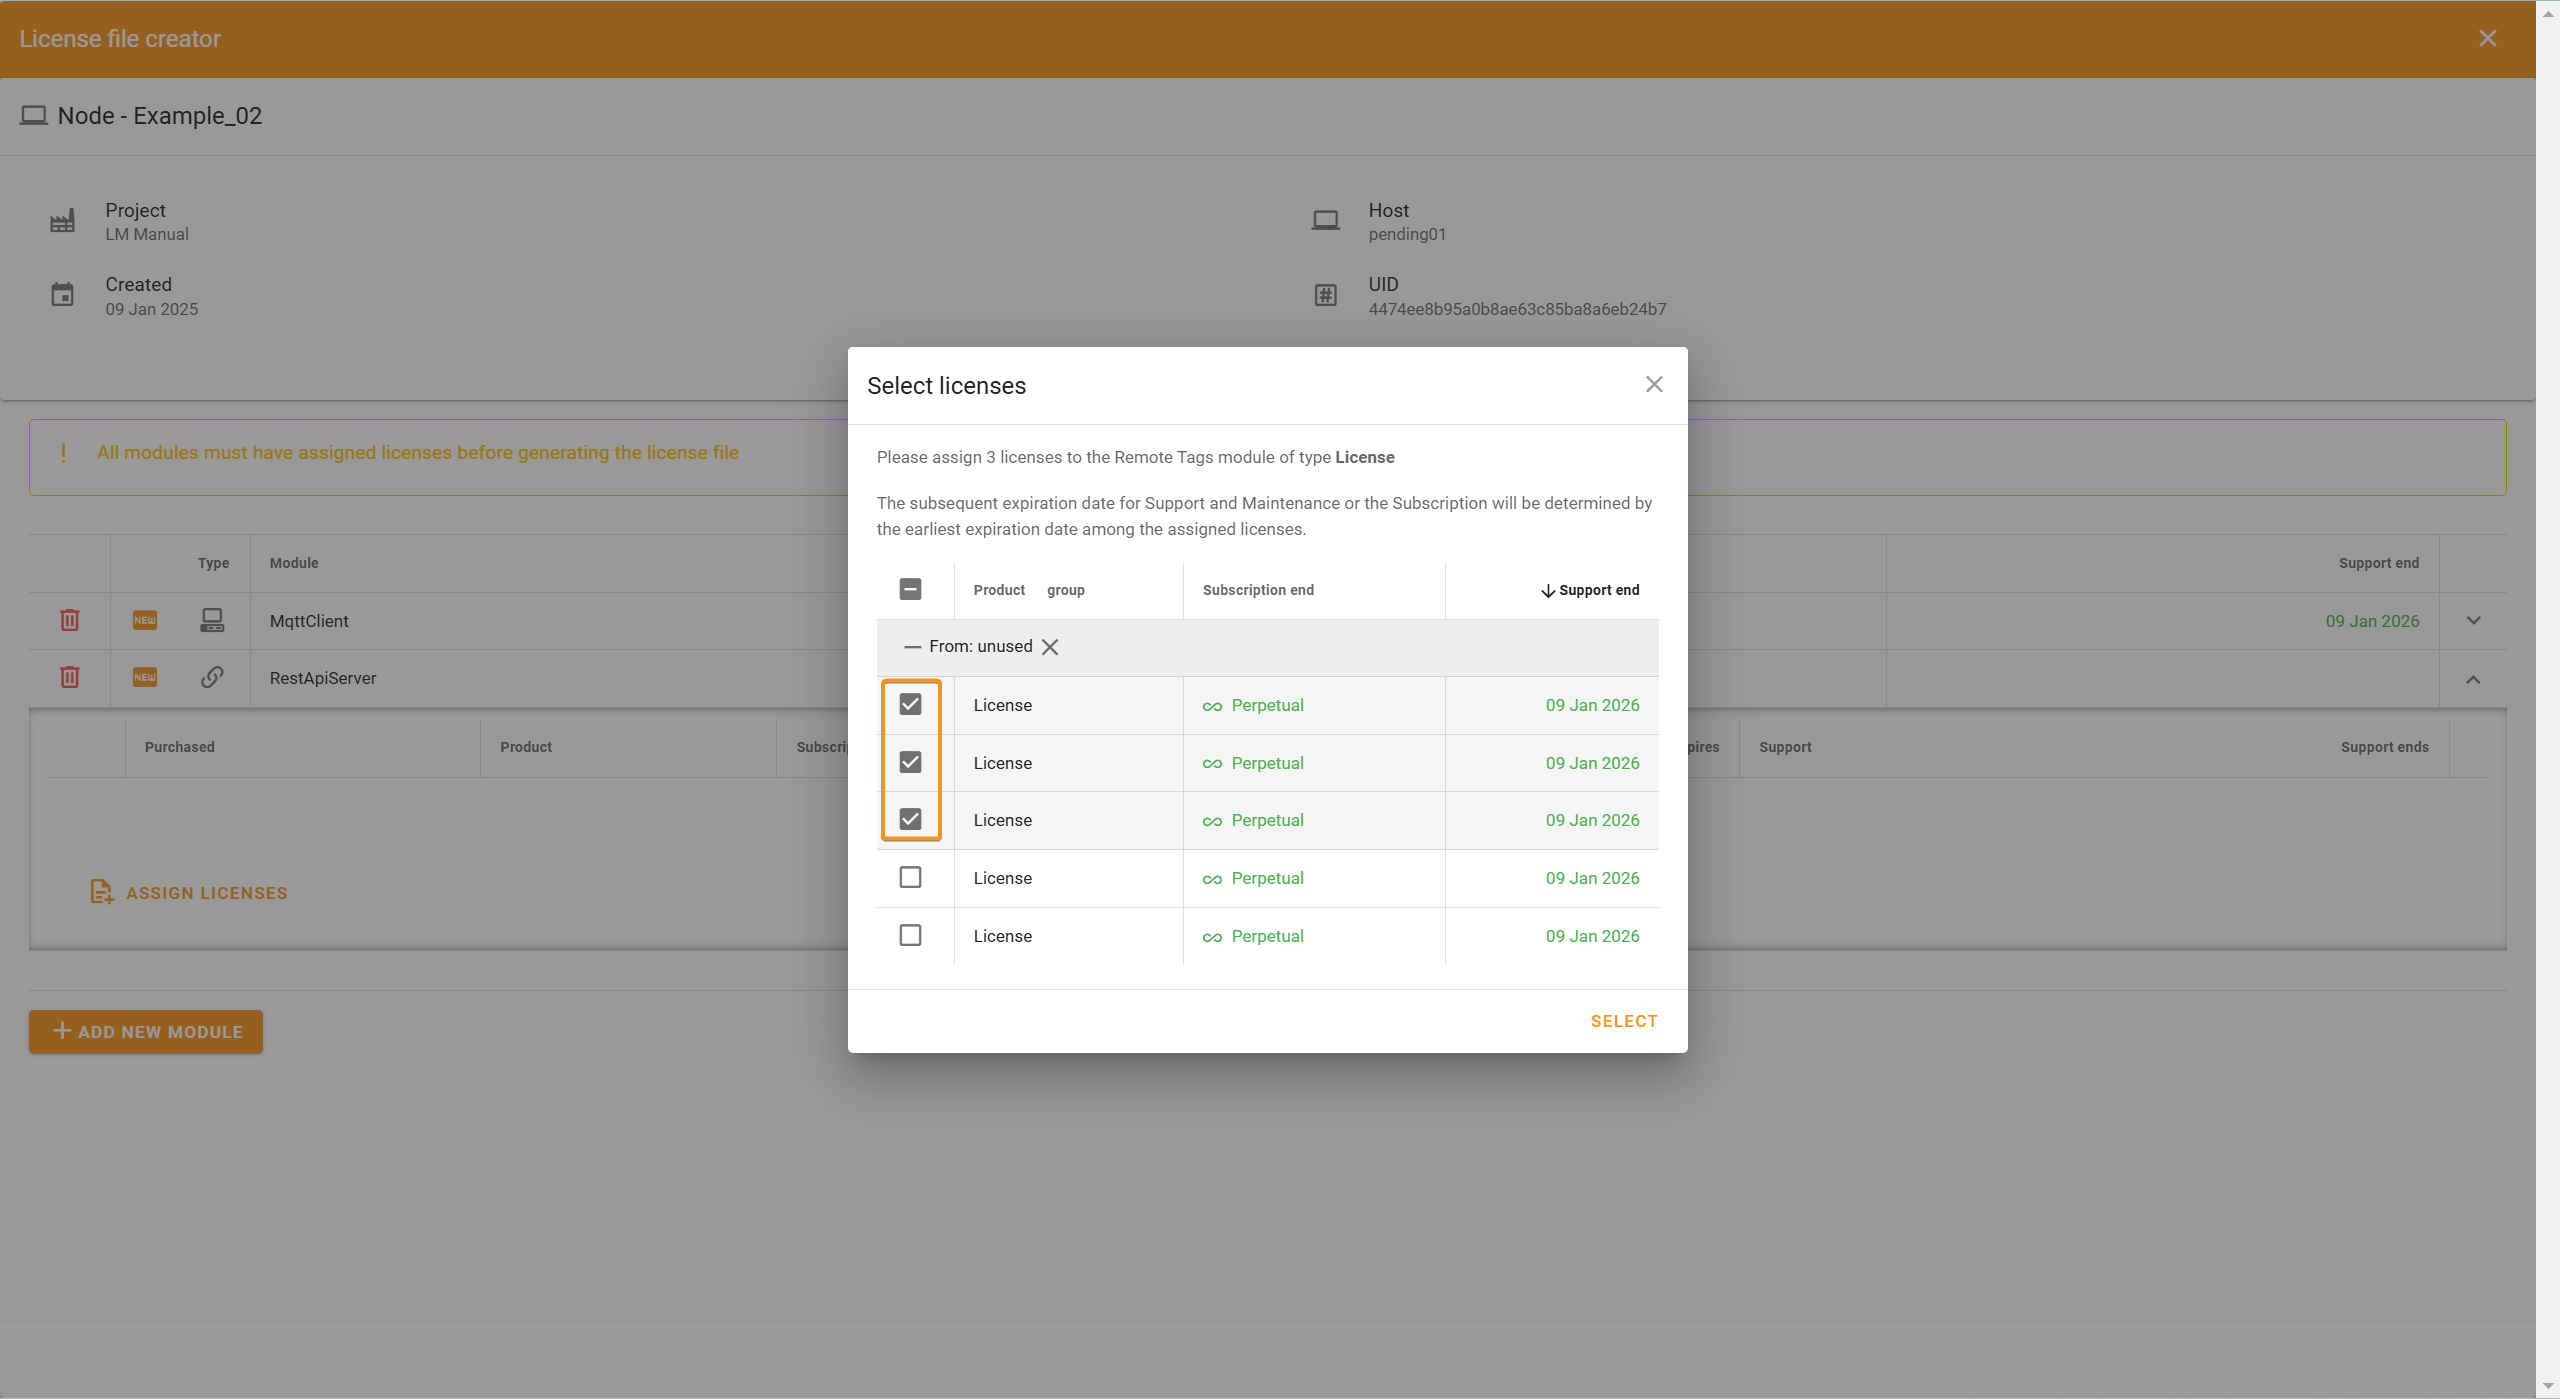
Note:
Remote licenses can only be assigned to specific modules, including Server, Data Exporter, Web Vision, Notifier, Audit Trail, Data Diode, Derived Tags, Scripting, Historian, Linked Tags, and UFL Exporter.
Once all licenses are assigned to the node, click Create to finalize.
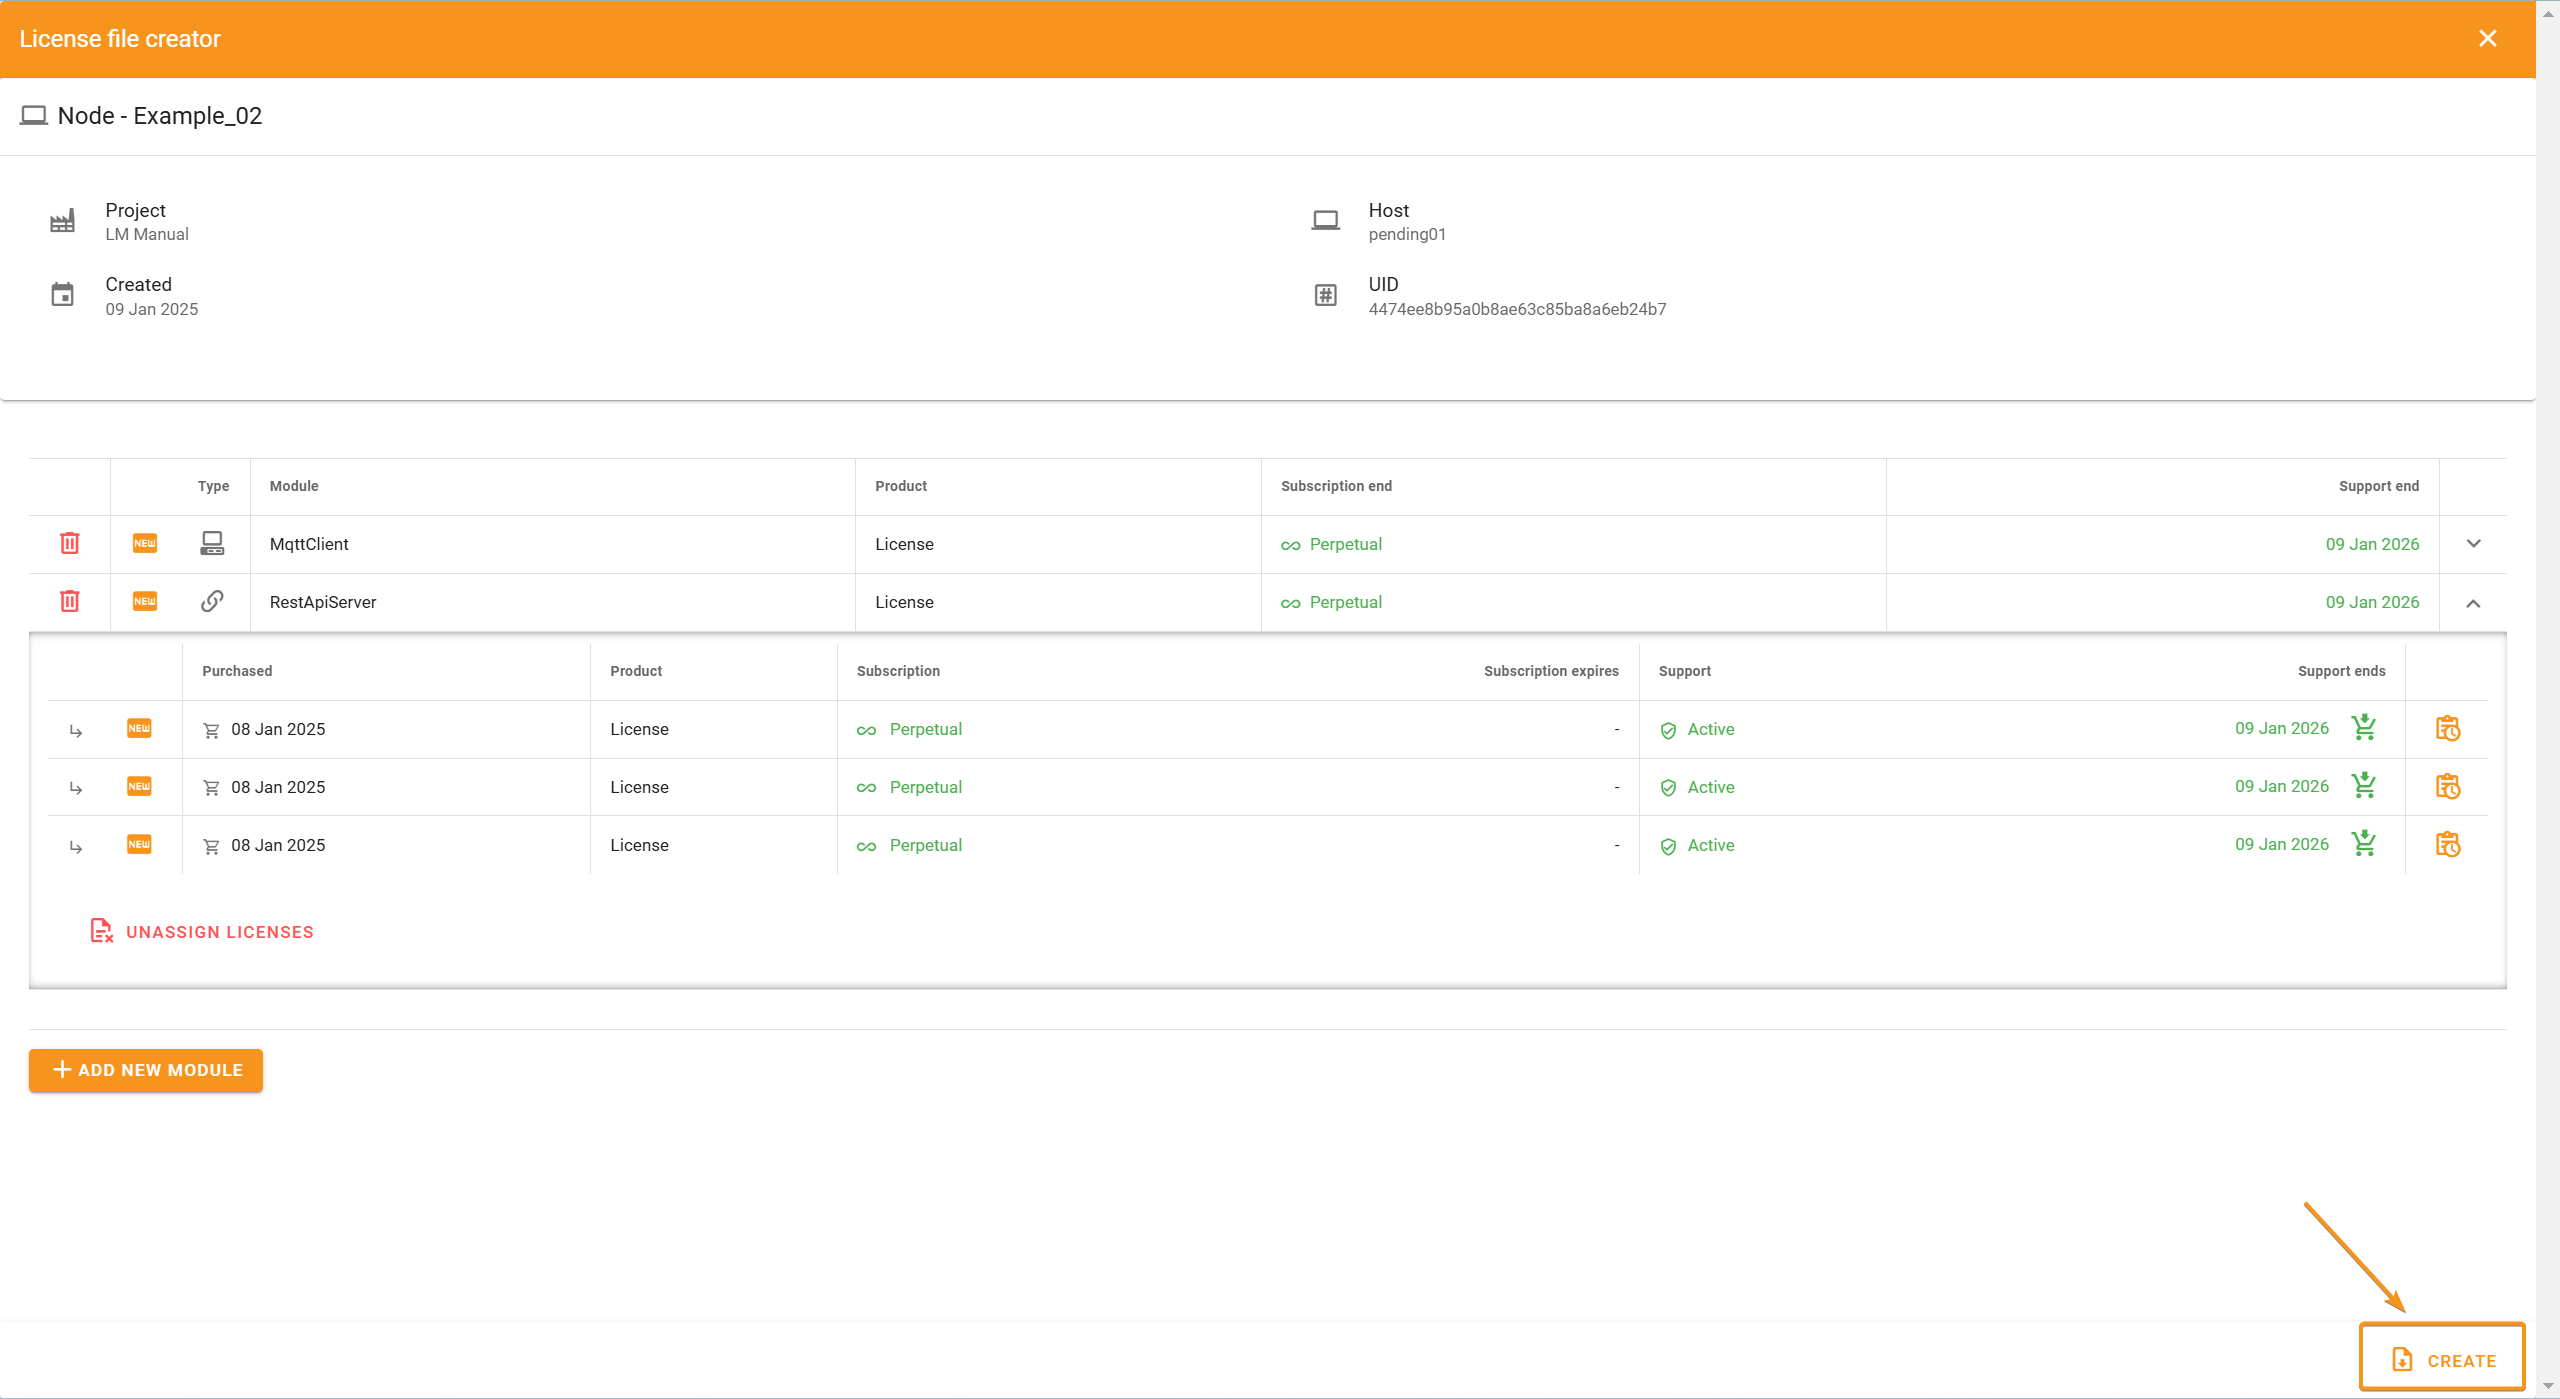
The license file will automatically download, and your node will be ready to use.
.png)