Azure IoT Hub
Creating a new IoT Hub
- Step 1: Log into Microsoft Azure and go to Microsoft Azure Portal.
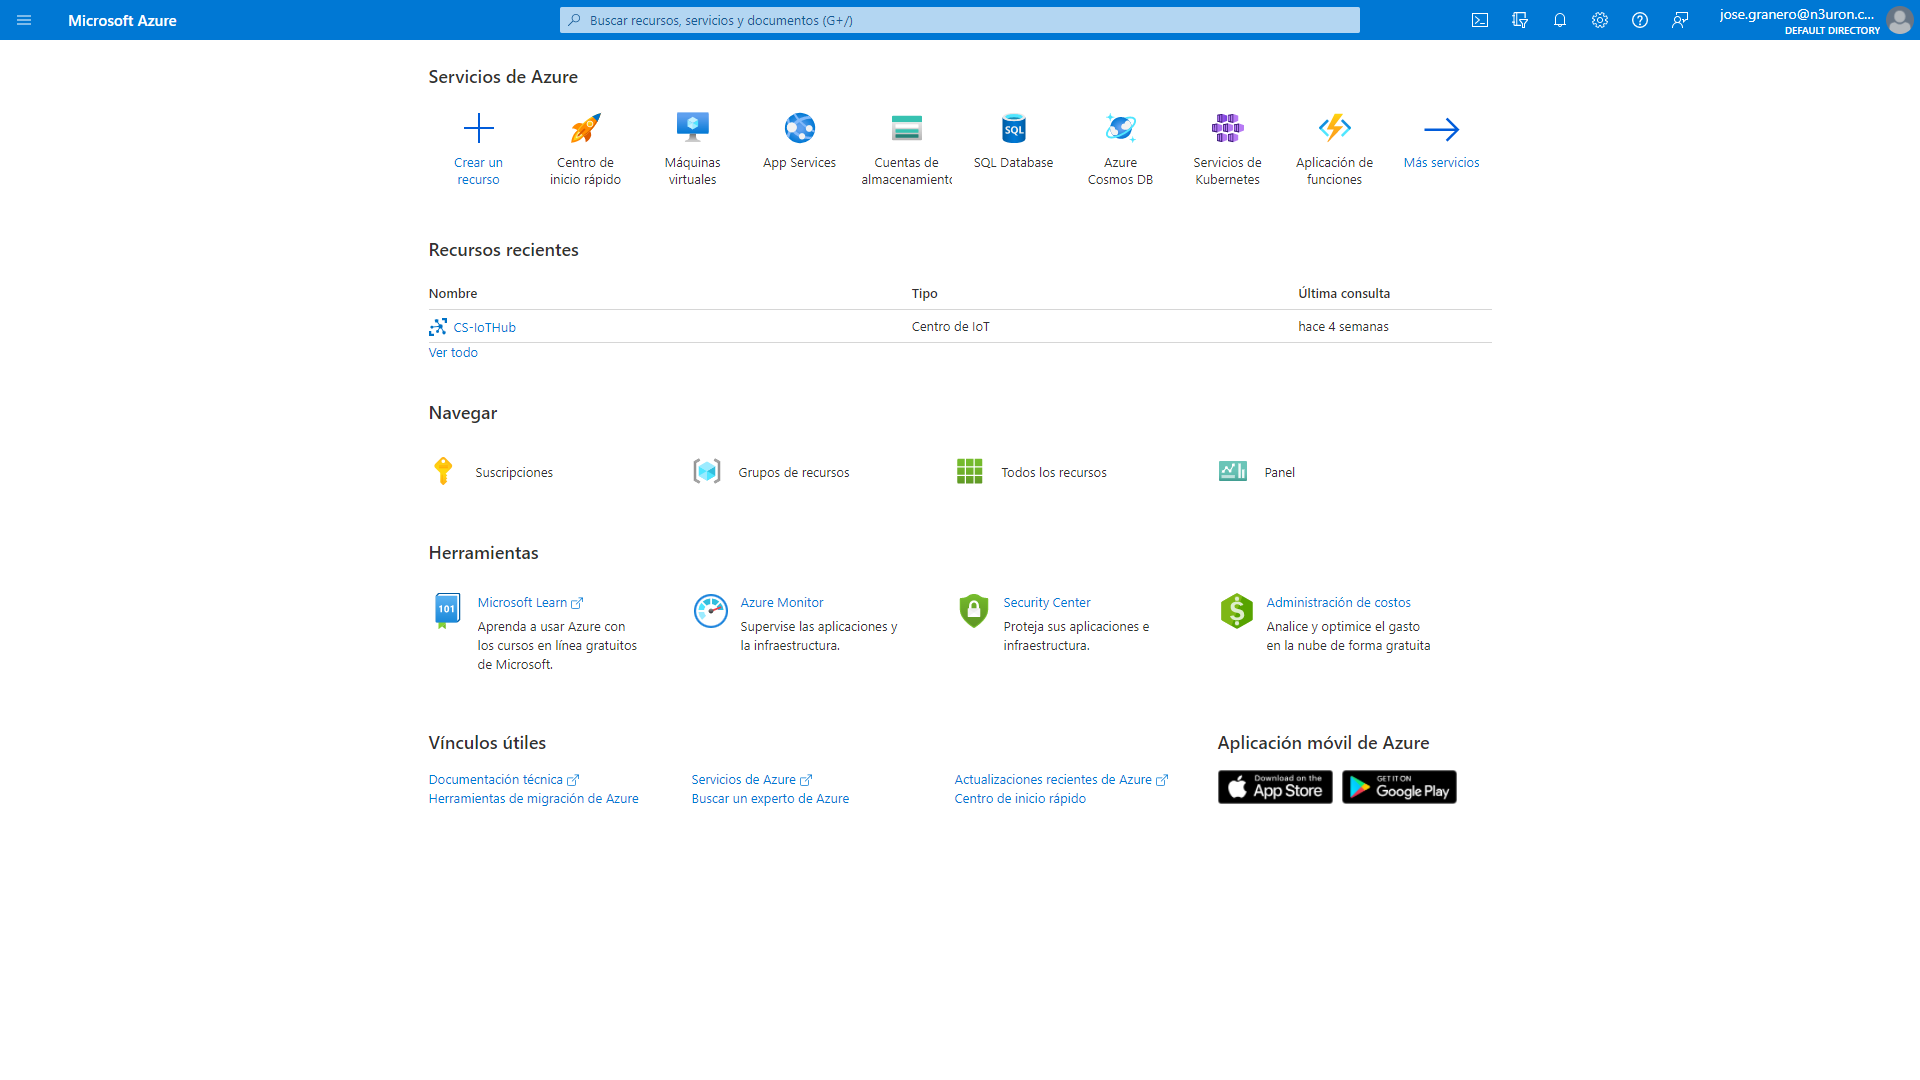
Once logged in, you’ll need to create the Azure resources that your device, in our case a N3uron node, will require to connect to the Azure IoT Hub and start exchanging messages.
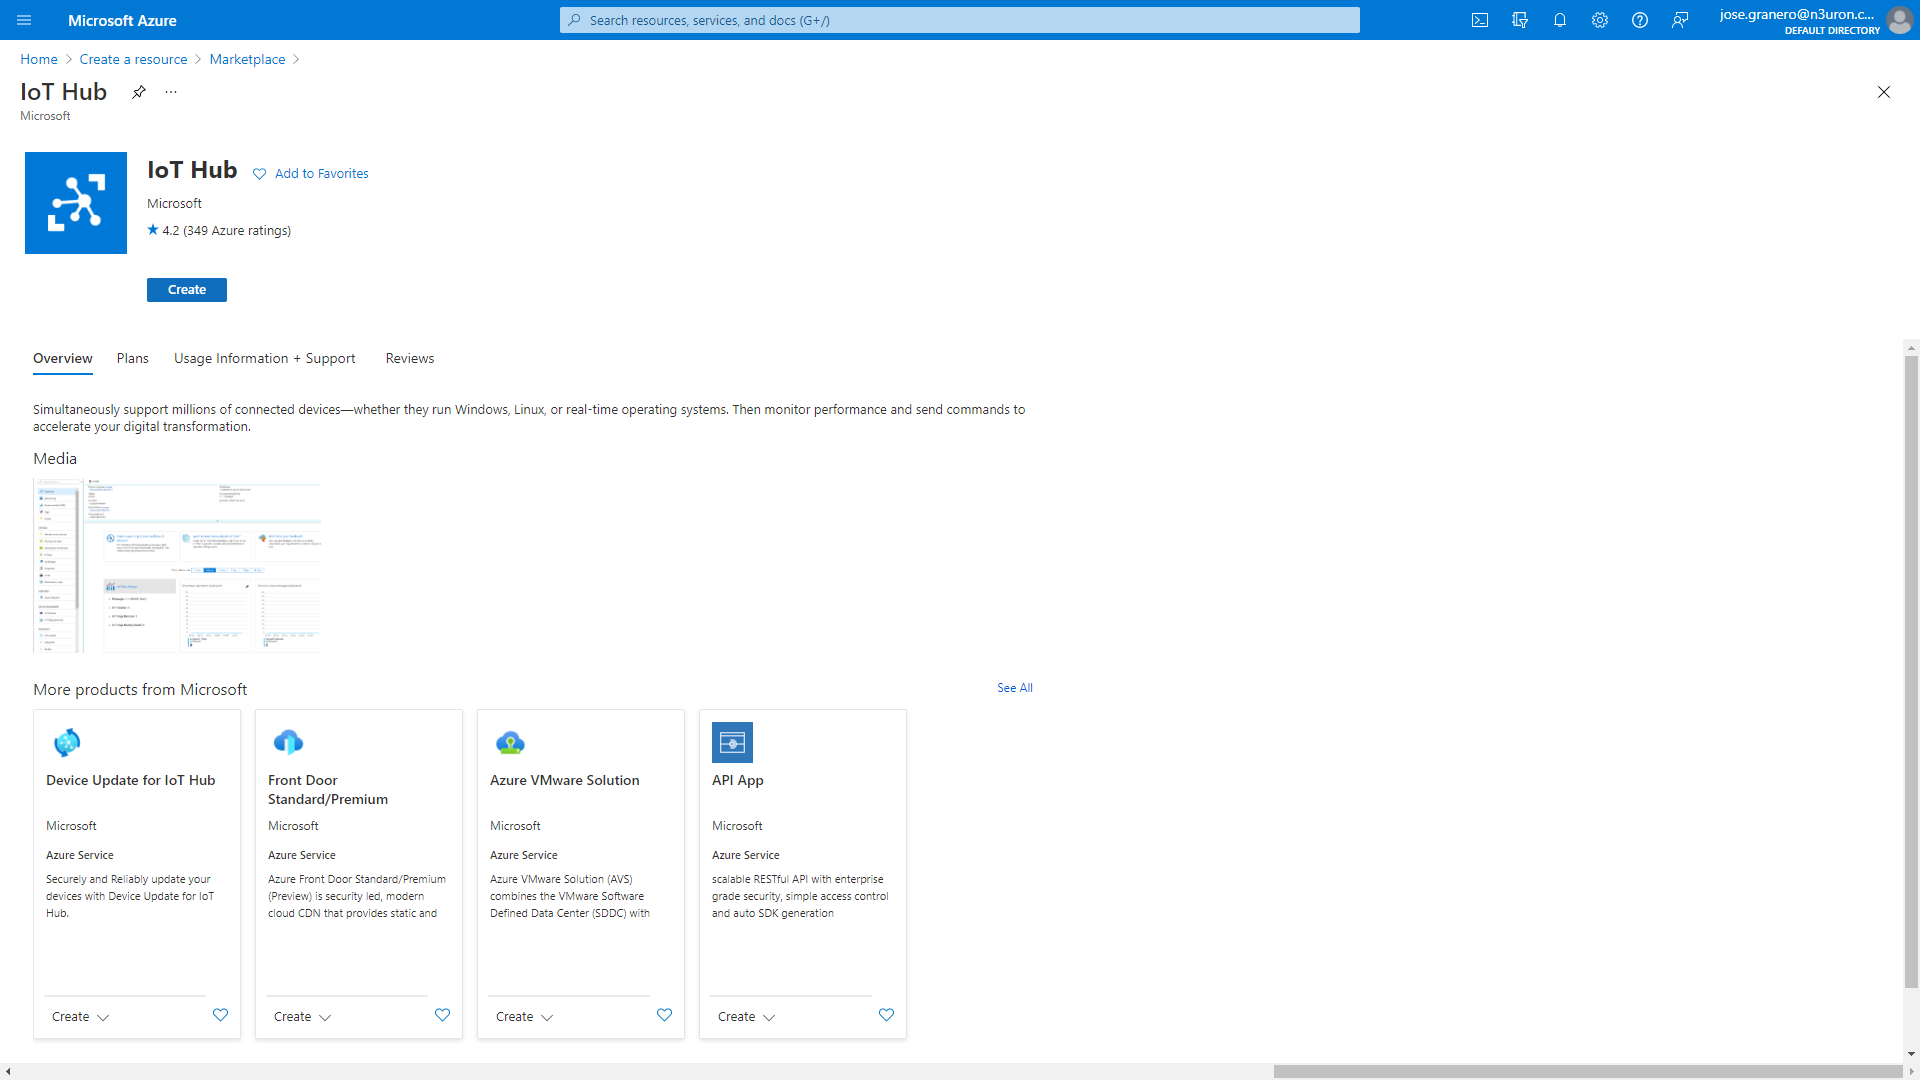
- Step 2: From the Azure homepage, select the + Create a resource option and then enter IoT Hub in the Search the Marketplace field.
- Step 3: Select IoT Hub from the search results and then select Create.
- Step 4: In the Basics tab, complete the fields as follows,
- Subscription: In this case, Azure subscription 1 .
- Resource Group: In this case, CS_N3uron .
- Region: Select the location closest to you.
- IoT Hub Name: In this case, N3-IoT.
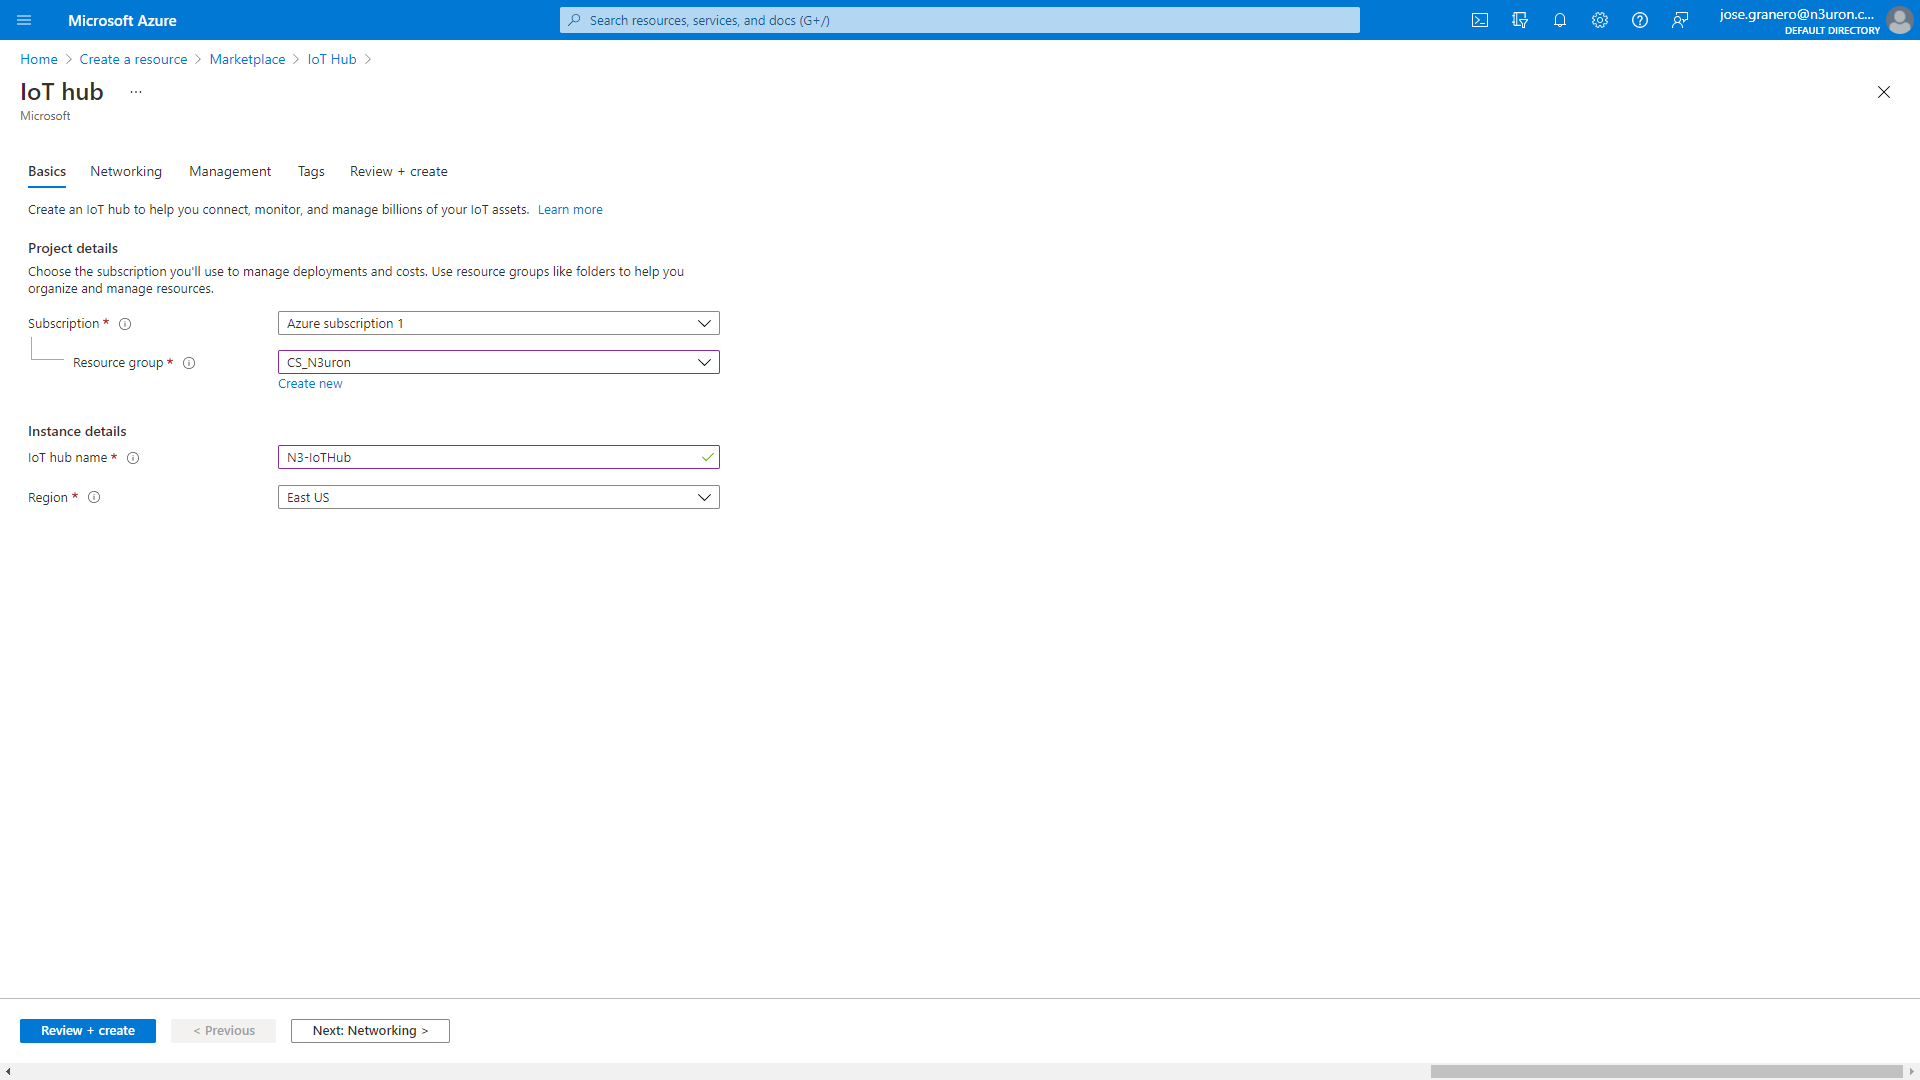
- Step 5: Select Next: Networking to continue creating your hub.
Choose the endpoints that the devices can use to connect to your IoT Hub and select the Public access default setting.
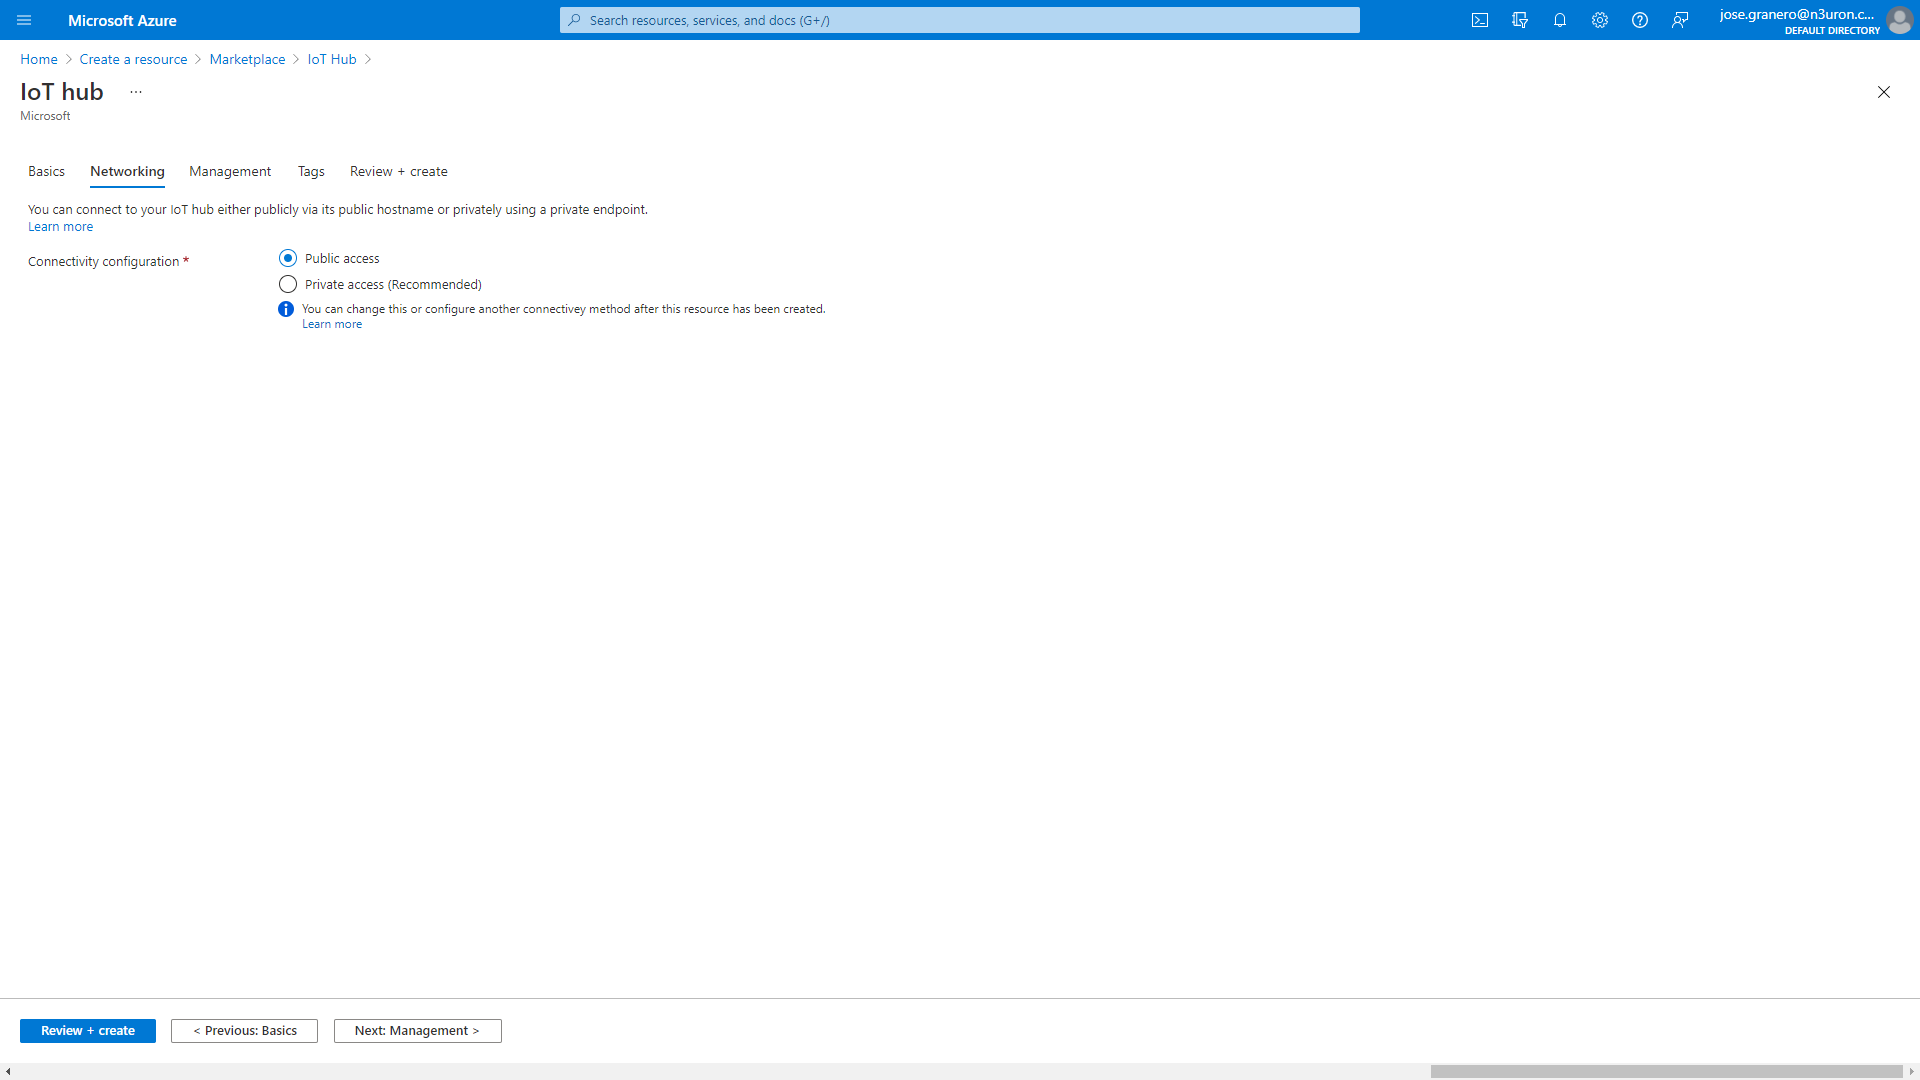
- Step 6: Select Next: Management to continue creating your hub.
- Accept the default settings here.
- Step 7: Select Next: Tags to continue to the next screen.
Accept the default settings here.
- Step 8: Select Next: Review + create to review your choices. You should see something similar to this screen but with the values you selected when creating the hub.
- Step 9: Select Create to start the deployment of your new hub. Your deployment will remain in progress for a few minutes while the hub is being created. Once the deployment is complete, select Go to resource to open the new hub.

Configuring Your Shared Access Policy
You can choose between two different mechanisms provided by Azure IoT Hub to authenticate devices and services: Security Tokens and X.509 Certificates. In this example, we are going to use Security Tokens. These Security Tokens are also known as Shared Access Signature (SAS) tokens.
For more details about configuration using X.509 Certificates, click here.
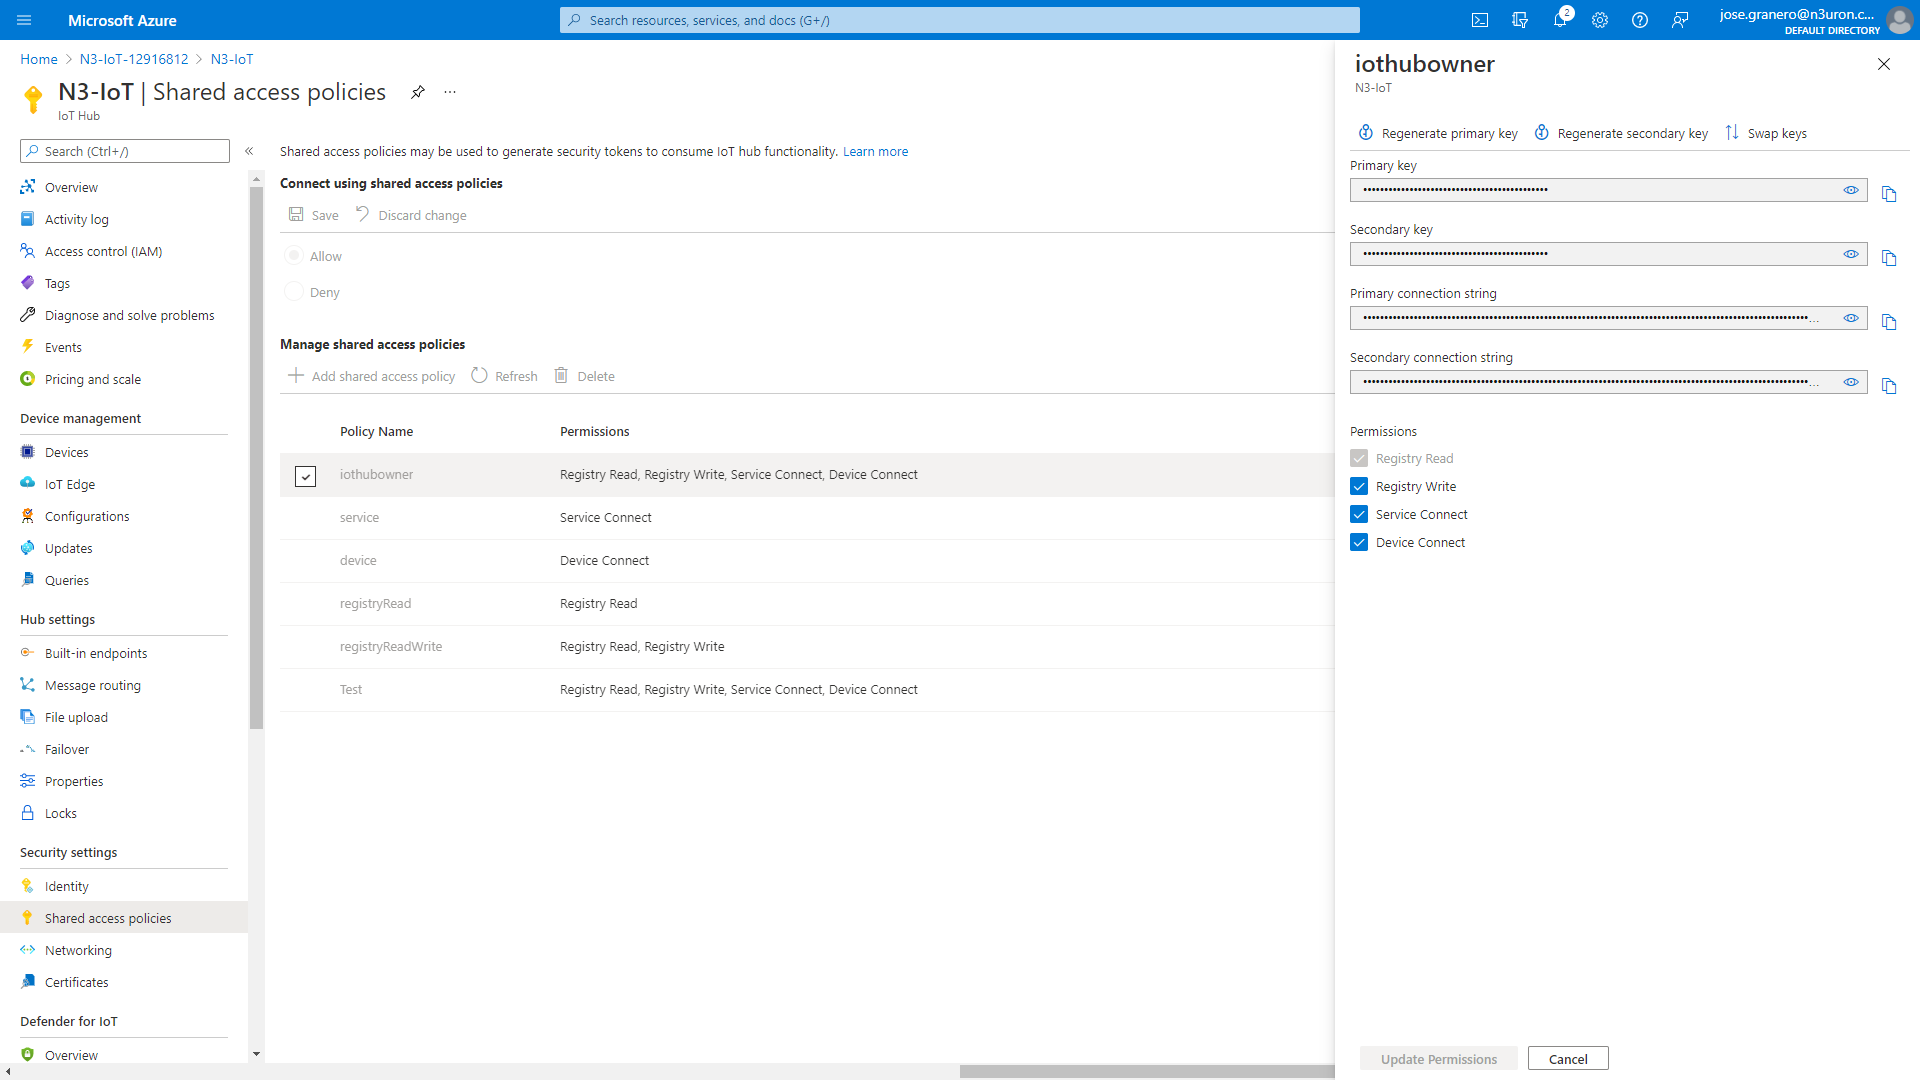
- Step 1: In the resource panel of the IoT Hub you have just created, select Shared access policies.
- Step 2: Click on iothubowner and copy the Primary connection string from the right-hand panel.
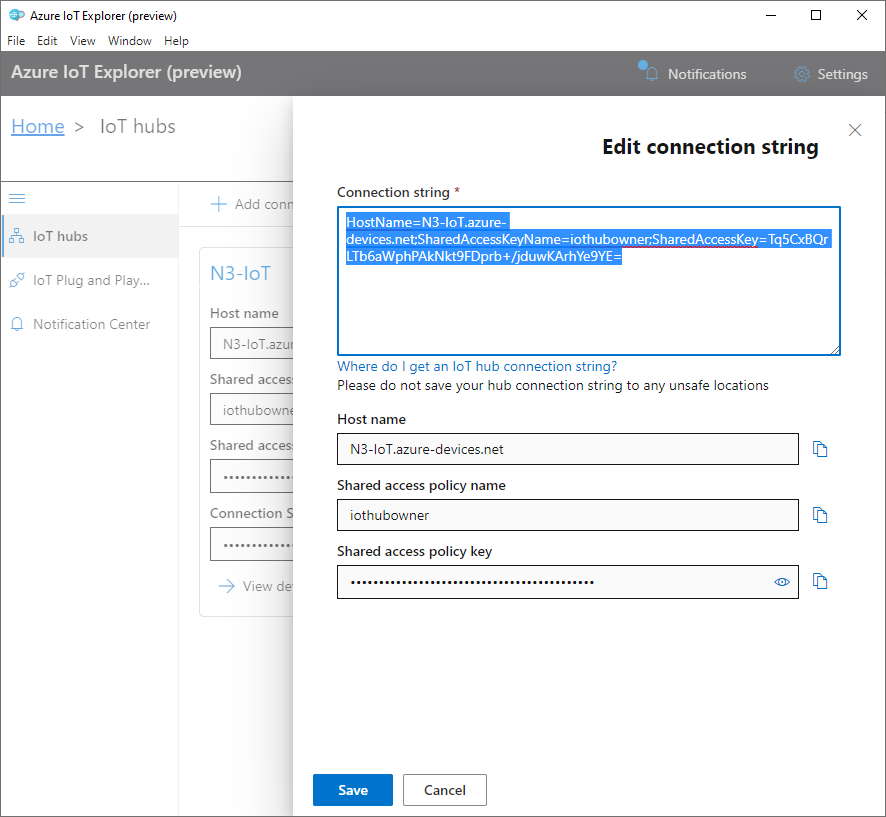
- Step 3: Start the Azure IoT Explorer, click on the + Add connection button, and paste the Primary connection string in the Connection String text box. Next click Save.
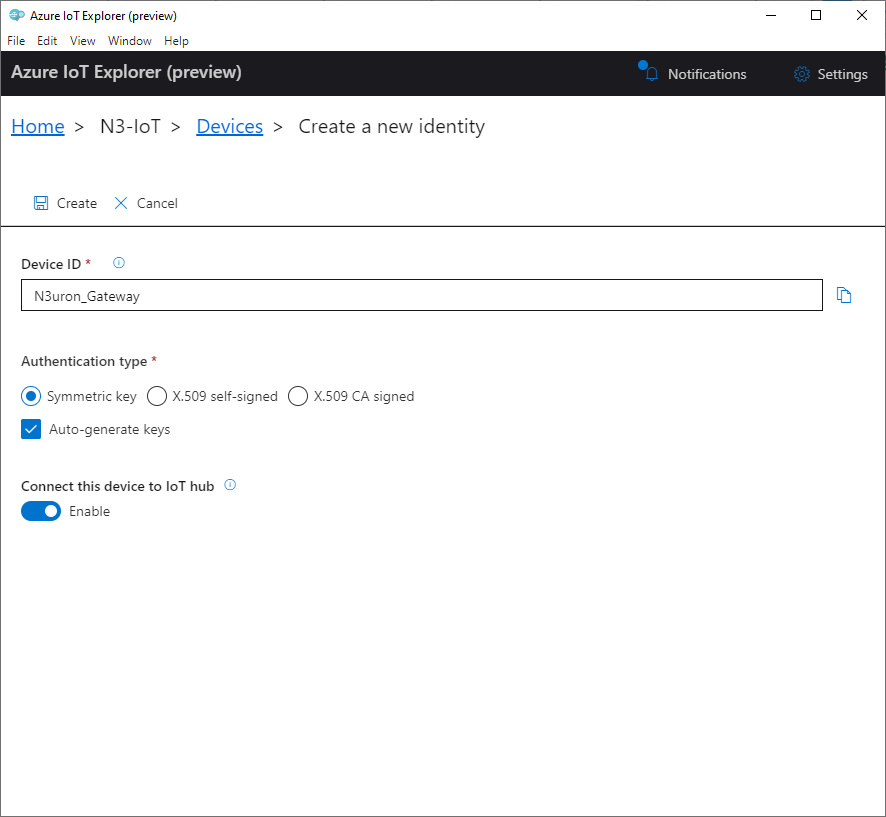
- Step 4: In the Devices section, click on the +New button and enter a name for your device. In this example, we have named it “N3uron_Gateway”. In Authentication type, select Symmetric key, check the Auto-generate keys field, and click on Create.
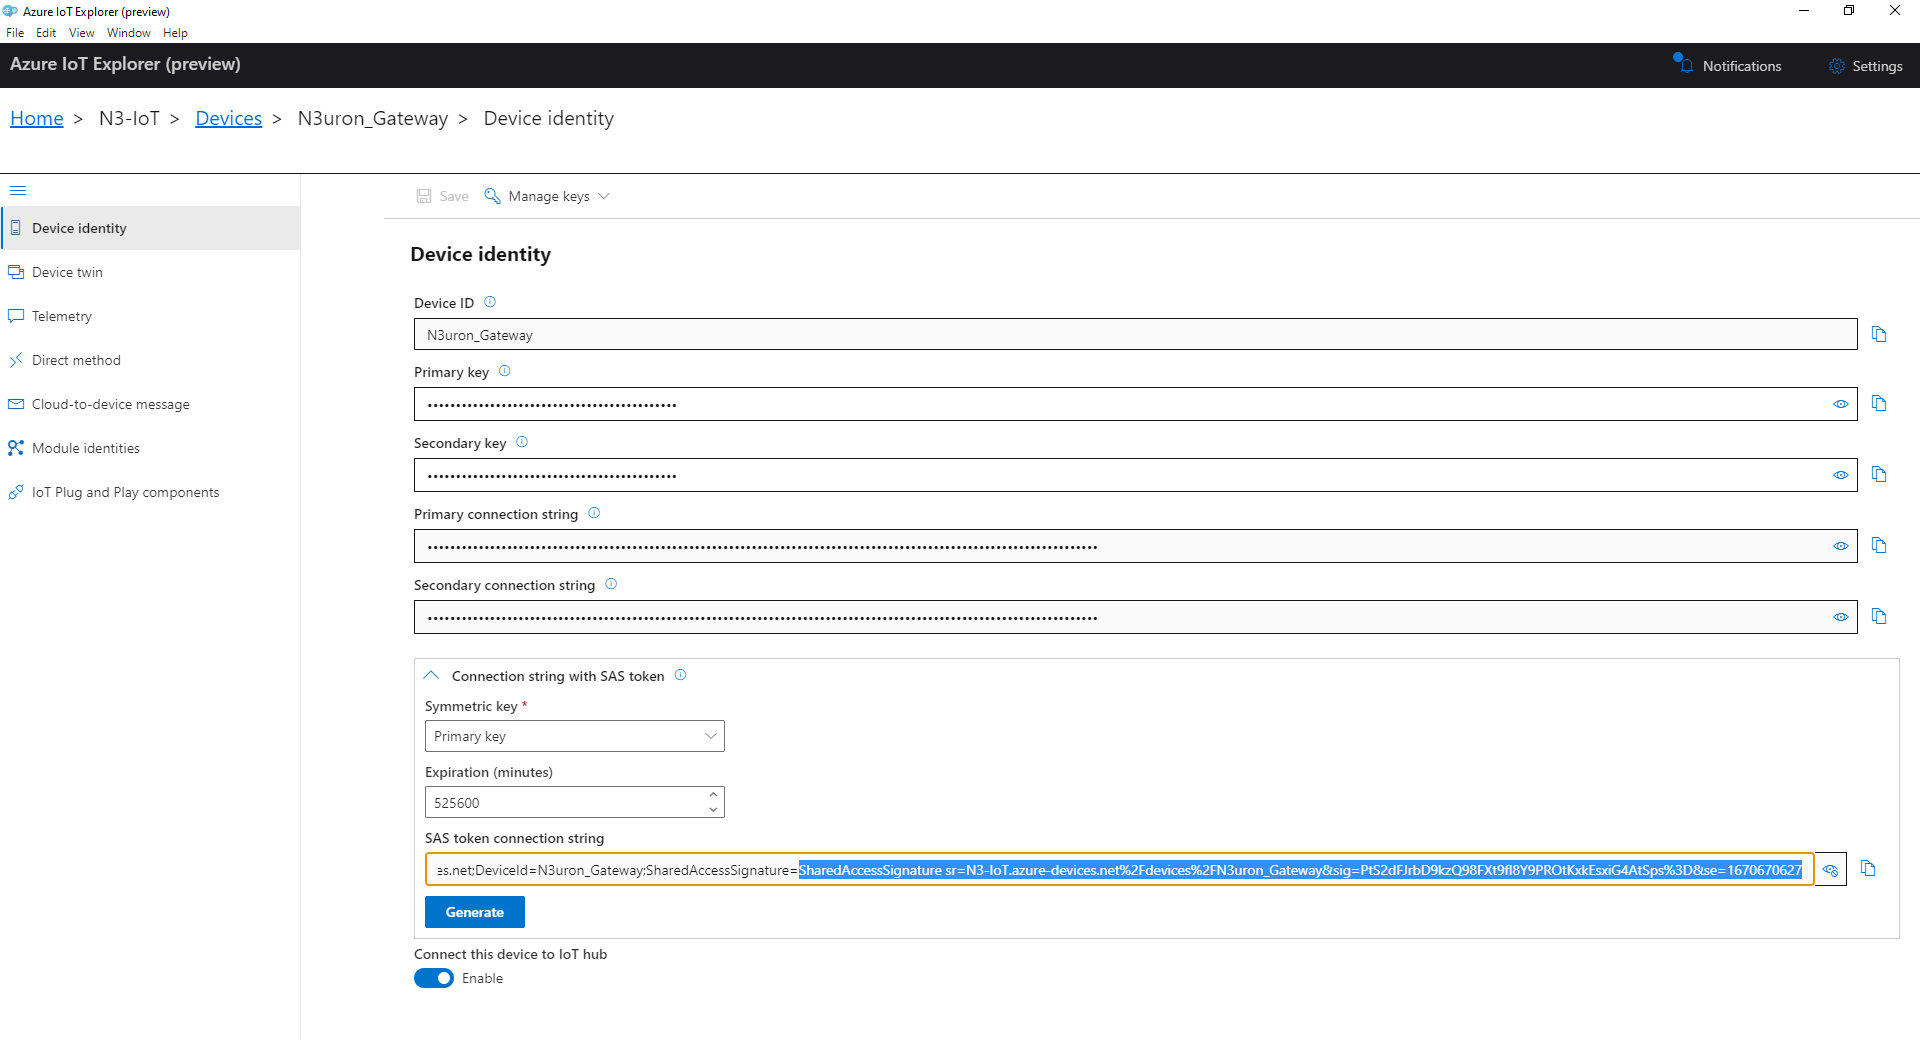
- Step 5: After creating the new identity, expand the Connection string with SAS token section. In the Symmetric key drop-down menu, select Primary Key, enter a sufficiently high figure in Expiration (minutes), click on the Generate Button, and copy the part of the SAS token connection string form SharedAccessSignature= onwards.
Start Configuring the N3uron IIoT Platform
Create a Module Instance Within N3uron's WebUI Interface
- Step 1: In the Navigation panel, select Config.
- Step 2: In the Explorer panel, select Modules.
- Step 3: Click on the Model menu and select New Module.
- Step 4: The instance can be given any name but for this example, we will use MQTT.
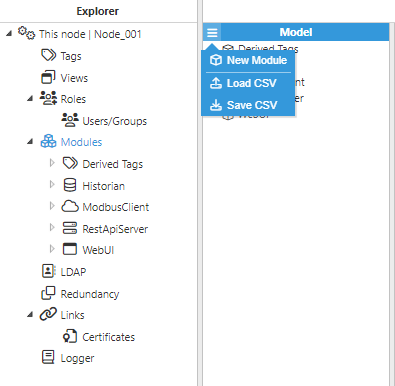
- Step 5: Provide a name for the module, in this case, MQTT, set the module type, in this case, MqttClient. Leave the rest of the properties as their default values and click Save.
.png)
Configuring N3uron's MQTT Module within the WebUI's Explorer Panel
- Step 1: In the Explorer panel, select the MQTT instance you have just created.
- Step 2: Click on the Model menu bottom bar and select New Connection.
- Step 3: Give the new connection a name. In this example, it has been named AZURE.
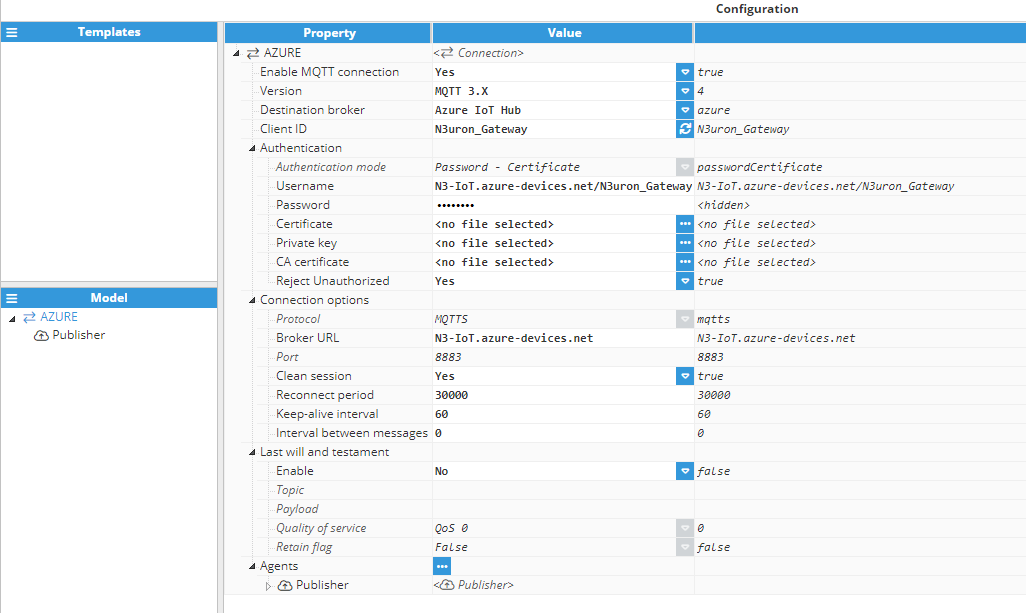
- Step 4: Configure the connection properties:
- Destination Broker: Microsoft Azure.
- Client ID : N3uron_Gateway. Note:Ensure the Client ID matches the device name configured earlier in the Azure IoT Explorer settings.
- Username: Enter the Hostname of your Azure IoT Hub followed by “/” and the name of your device. In this case, N3-IoT.azure devices.net/N3uron_Gateway.
- Password: Enter the string you copied from the SAS Token.
- Broker URL: Enter the Hostname of your Azure IoT Hub. In our case, this is N3-IoT.azure-devices.net.
- Leave the rest of the properties as their default values and click on Save.
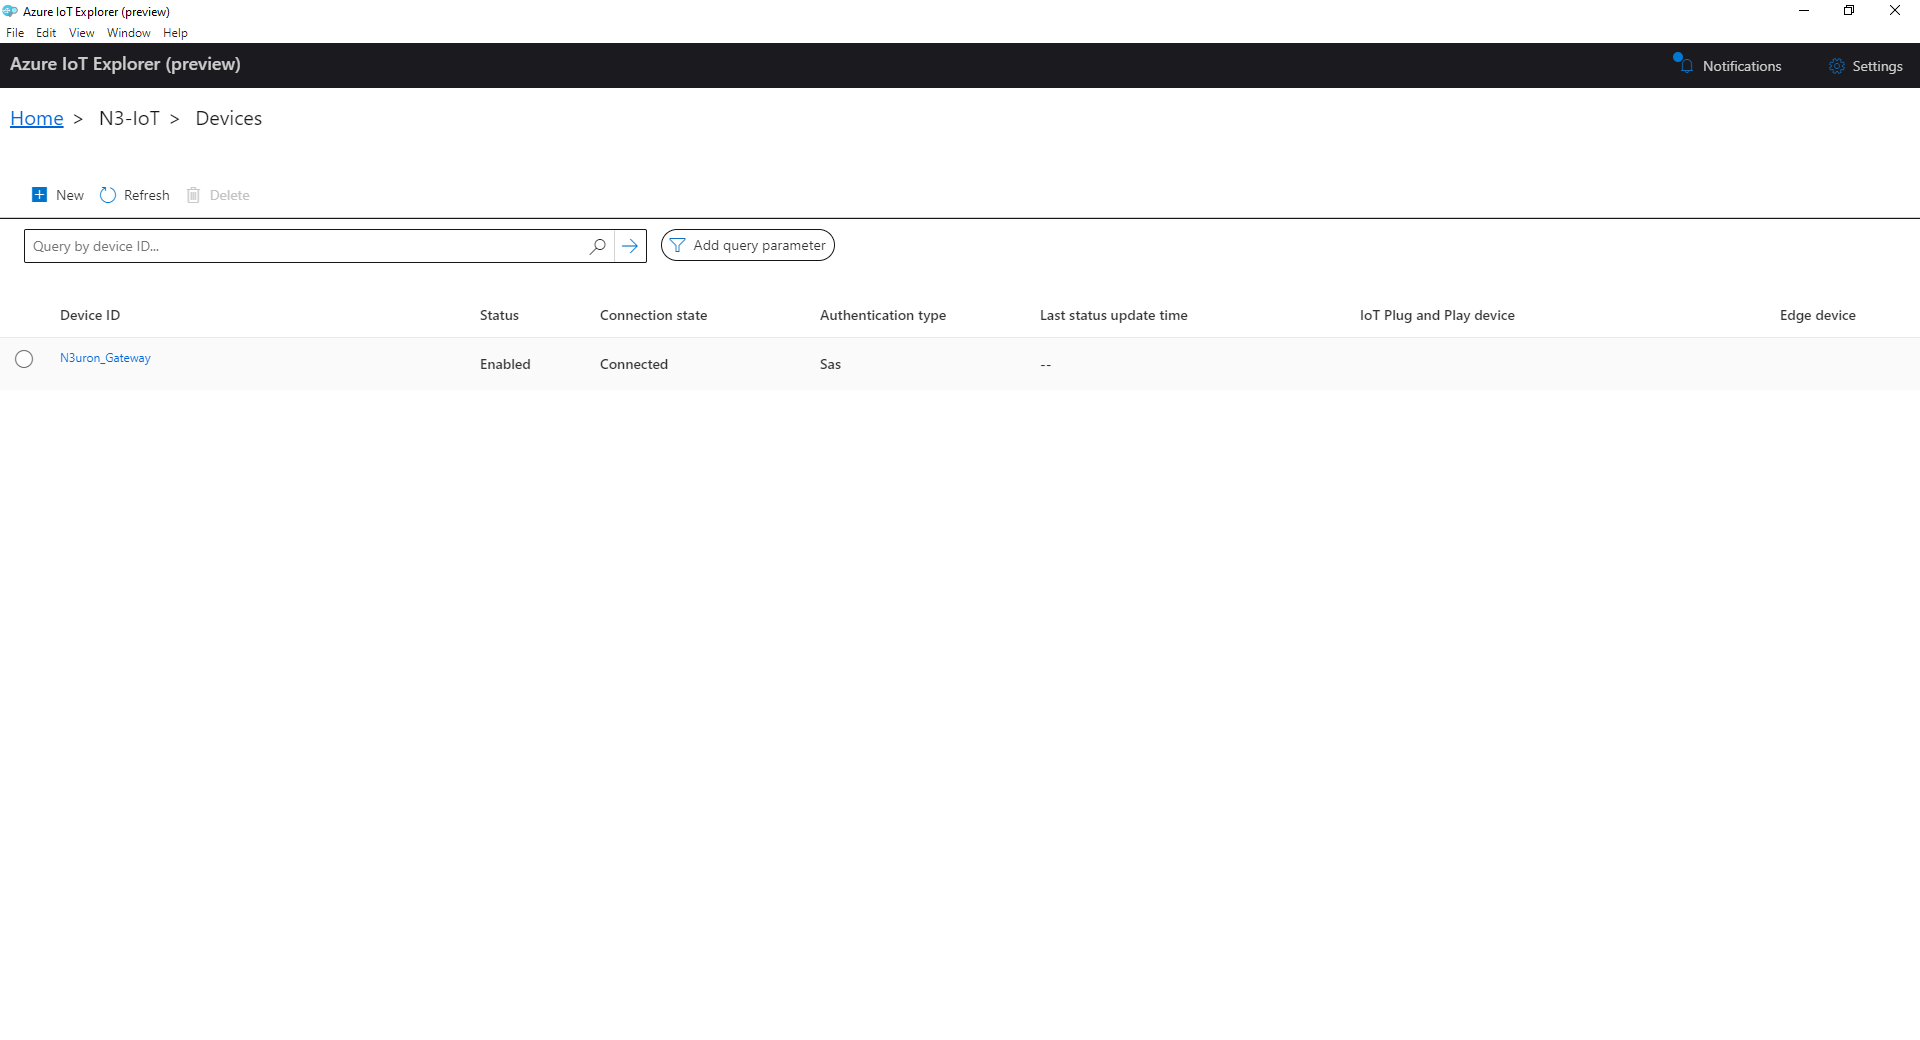
Now, navigate back to Azure IoT Explorer where, providing that everything has been properly configured, you should see your device connected to your IoT Hub.
Publishing & Subscribing Data via N3uron and Azure IoT Hub
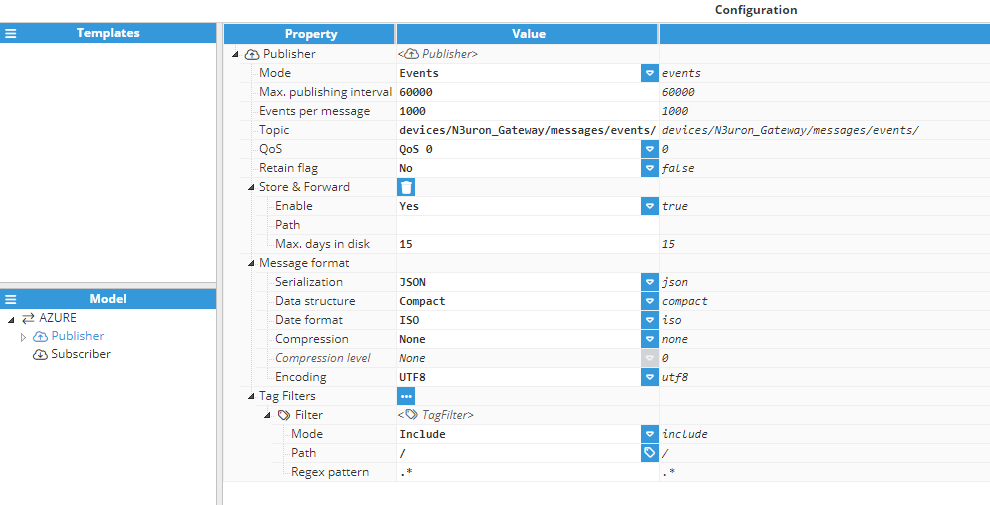
- Step 1: Within the Model panel, right-click on the AZURE Connection you have just configured, select New Publisher, and give it a name. In this example, we will simply use Publisher.
- Step 2: Click on it and add a name in the Topic field. To publish an MQTT message to Azure, you cannot use any topic name, as it must be named according to the following format devices/{device_id}/messages/events/. In our example, we have used devices/N3uron_Gateway/messages/events/
- Step 3: Click on the Tag Filter button, select New Tag Filter, and change the default name. In this example, we have used Filter. Leave Mode, Path, and Regex pattern as their default values.
With this configuration, every tag configured in N3uron will be published to our Azure Broker.
- Step 4: In the Explorer panel, select Tags.
- Step 5: In the Model menu, right-click on the folder icon, select New Tag, and give it a name. In this example, we will use Process_value.
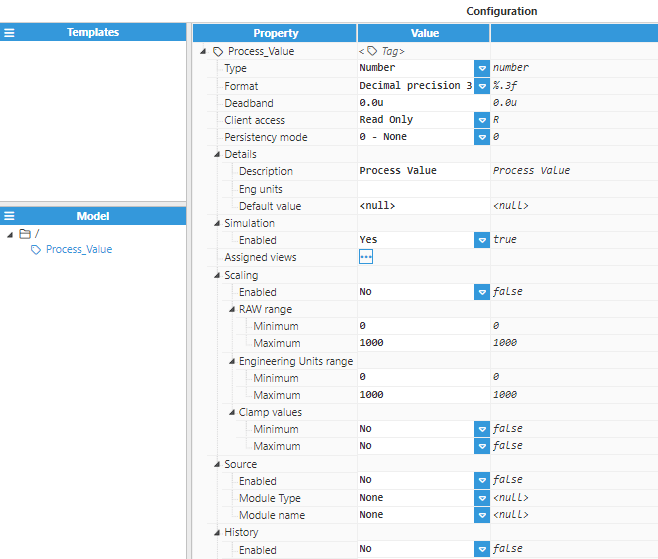
- Step 6: Within the Configuration panel, set the following properties using the values shown below, leaving the rest of them as their default values:
- Type: Number.
- Simulation/Enabled: Yes
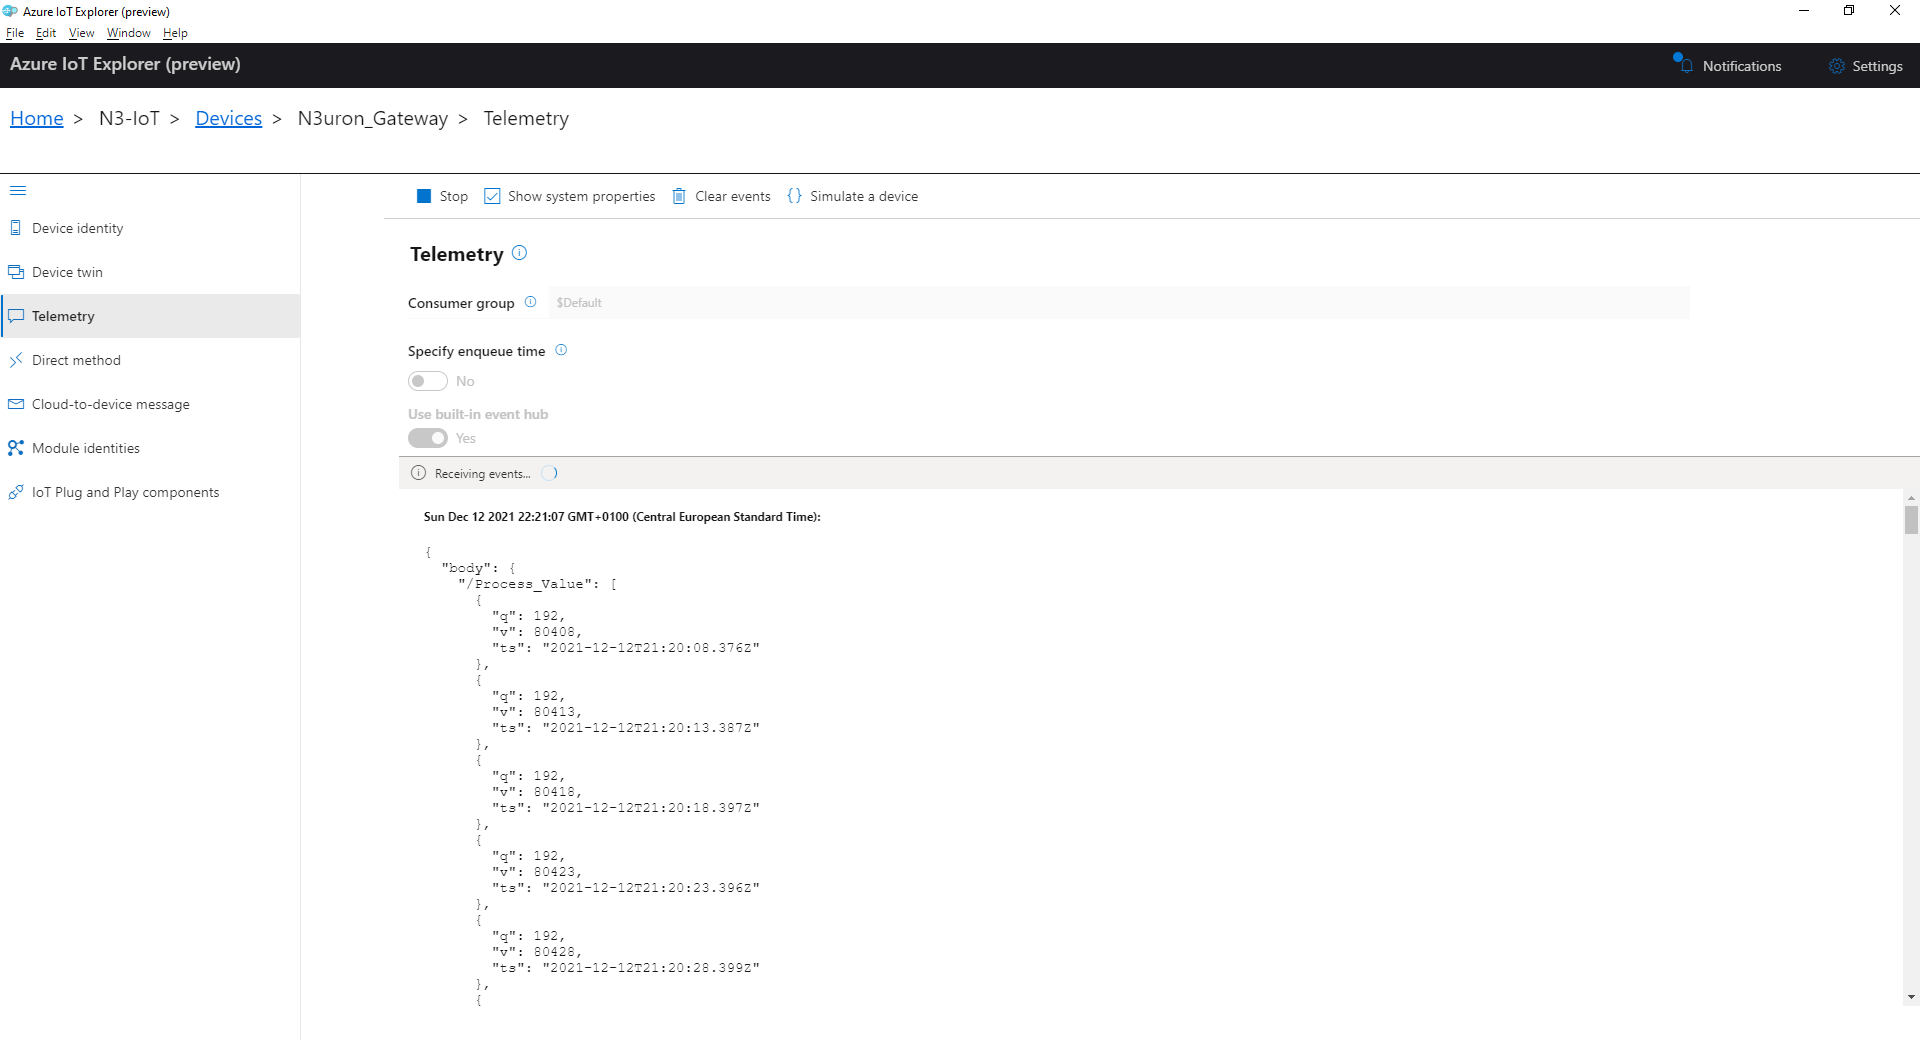
- Step 7: Go to the Azure IoT Explorer and in the Telemetry Tab of your device, you should see the messages being sent by your N3uron node in real-time, as shown in the image below.
Subscribe to a Topic Using N3uron's MQTT Module
- Step 1: In the Model panel, right-click on the AZURE Connection, select New Subscriber and give it a name. In this example, we will simply use Subscriber.
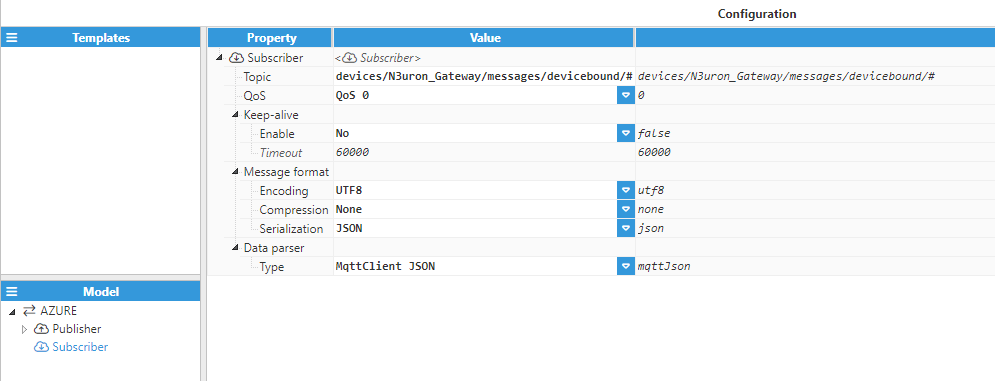
- Step 2: Click on it and add a name in the Topic field. Since IoT Hub is not a general-purpose pub-sub messaging broker, it only supports the documented topic names and topic filters. IoT Hub delivers messages with the Topic Name devices/{device_id}/messages/devicebound/, or devices/{device_id}/messages/devicebound/{property_bag} if there are any message properties. In this example, we are going to enter the following string in the Topic: devices/N3uron_Gateway/messages/devicebound/#
- Step 3: Set the following properties using the values shown below, leaving the rest of them as their default values:
- Qos: QoS 0.
- Encoding: UTF8
- Compression: None
- Serialization: JSON
- Data parser/Type: MqttClient JSON
- Step 4: Within the Explorer panel, select Tags.
- Step 5: In the Model menu, right-click on the folder icon, select New Tag, and give it a name. In this example, we will use Subscribed_Value.
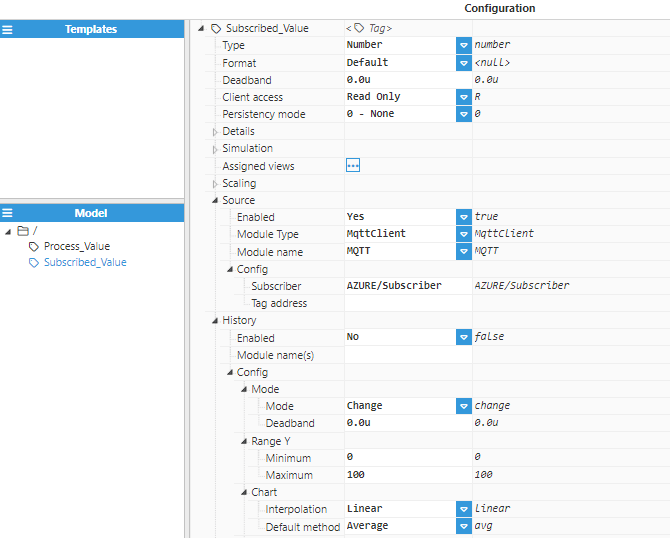
- Step 6: In the Configuration panel, set the following properties using the values shown below, leaving the rest of them as their default values:
- Type: Number
- Source/Enabled: Yes
- Module Type: MqttClient
- Module name: MQTT
- Config/Subscriber: Azure/Subscriber
- Step 7: Click Save.
- Step 8: Go to the Azure IoT Explorer, and click on the Cloud-to-device-message tab of your device.
- Step 9: In the Message Body enter the following in Message Payload:
{
    "/Subscribed_value": [{
        "v": 3.14159,
        "q": 192,
        "ts": 1630668488618
    }]
}
- Step 10: Click on the Add system property drop-down menu and select messageid. In the Value field enter Test2, as shown below.
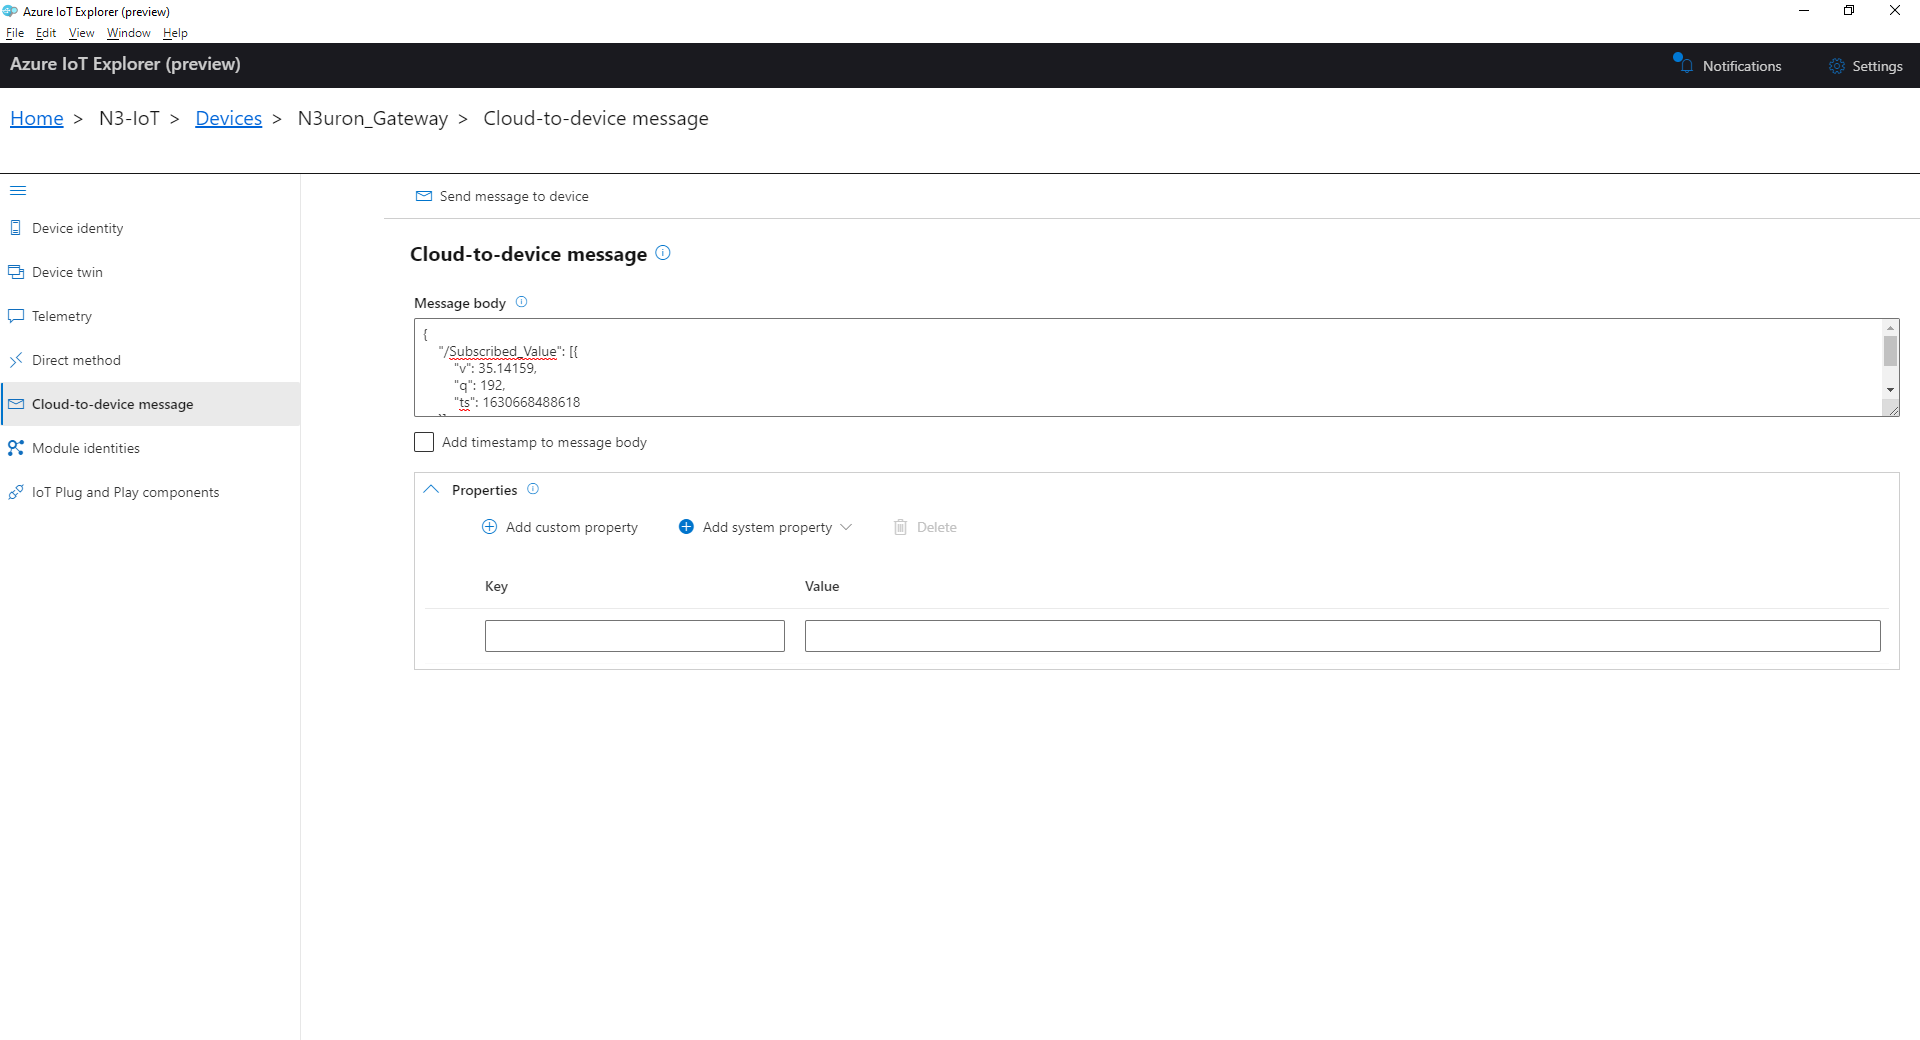
- Step 11: Click on the Send message to device button.
- Step 12: Navigate back to the N3uron WebUI interface and select Data/Real Time from the left-hand panel. You should now see the Subscribed_Value tag you created previously with a value of 3.14159.
