How to create a Custom Payload
Note:
This feature is new in N3uron version 1.21.3
- Step 1: Create the module: (Config => Modules =>Model=> New module)
.png)
- Step 2: Provide a name for the module (in this case MQTTClient), assign the module type to MqttClient and save the new configuration.
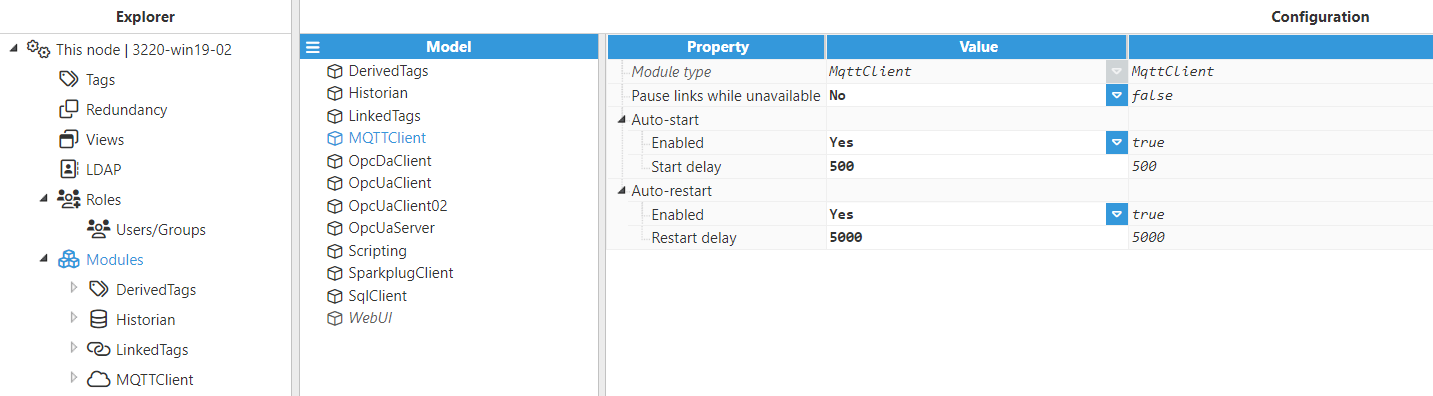
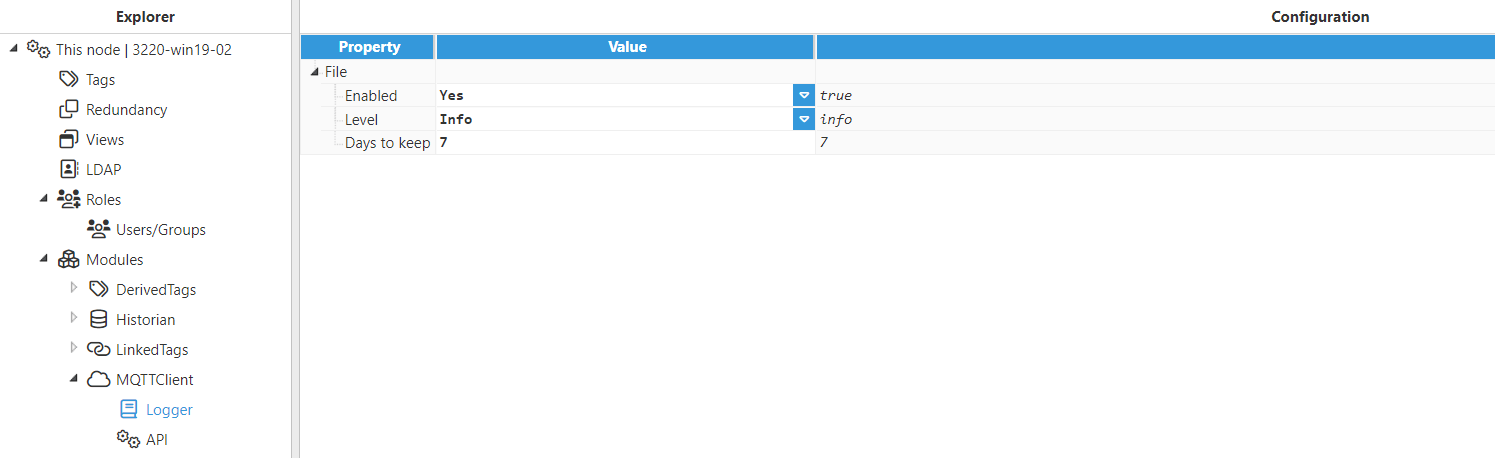
- Step 3: Configure the Logger and API sections (usually the default values are sufficient). Save the configuration.
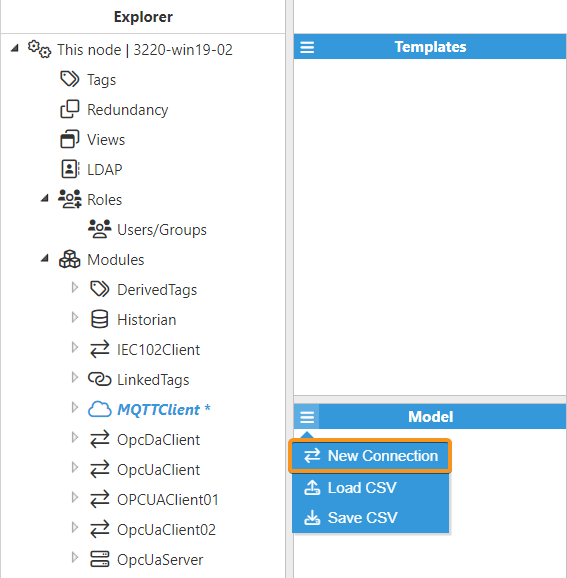
- Step 4: Create the connection to the MQTT Server. Each connection is an independent MQTT client.
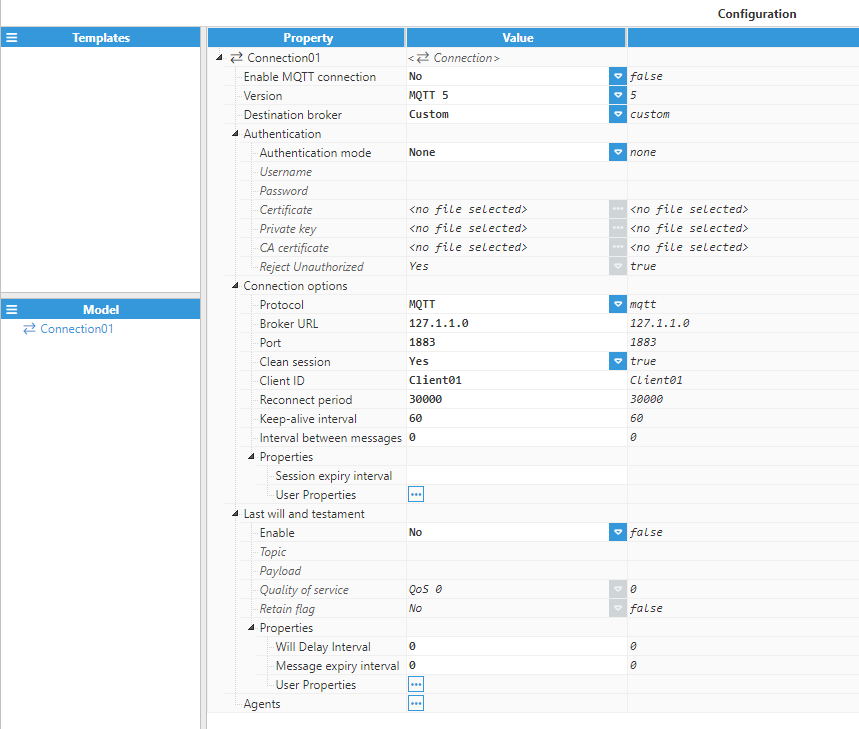
- Step 5: Configure the MQTT Client. In this case, select version MQTT 5.
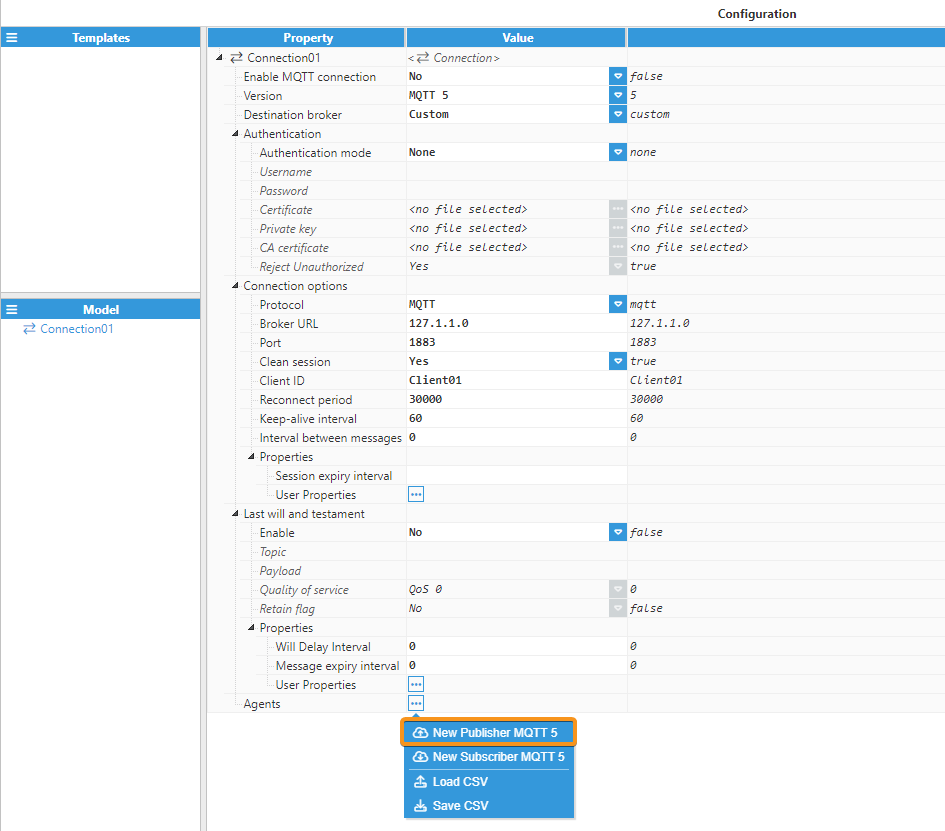
- Step 6: Once configured, let's create a new Publisher. To do this, click on Agents and select New Publisher MQTT 5.
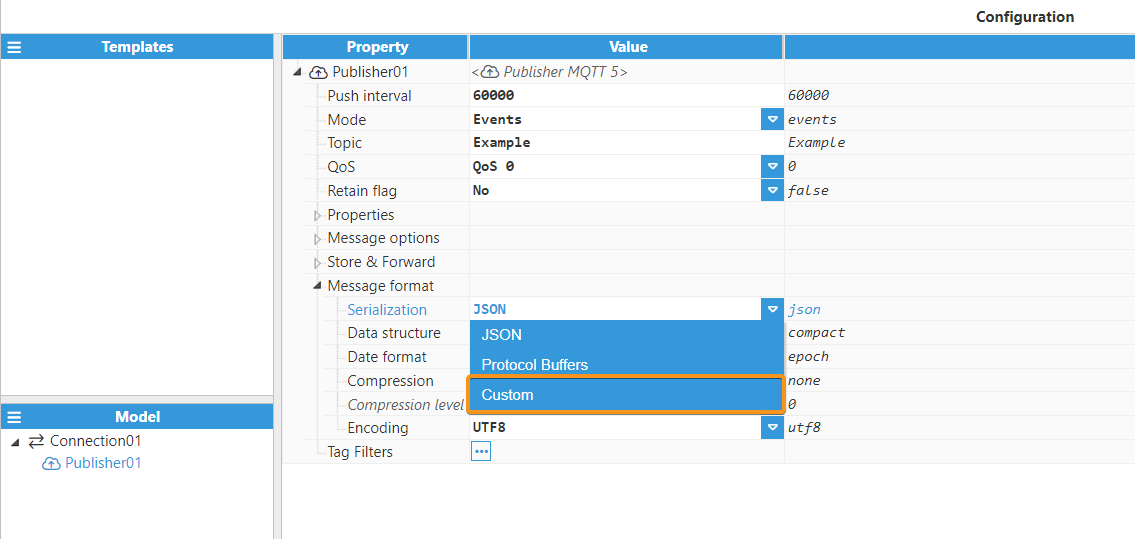
- Step 7: Now, select Custom in Serialization, to allow the creation of a Custom Payload.
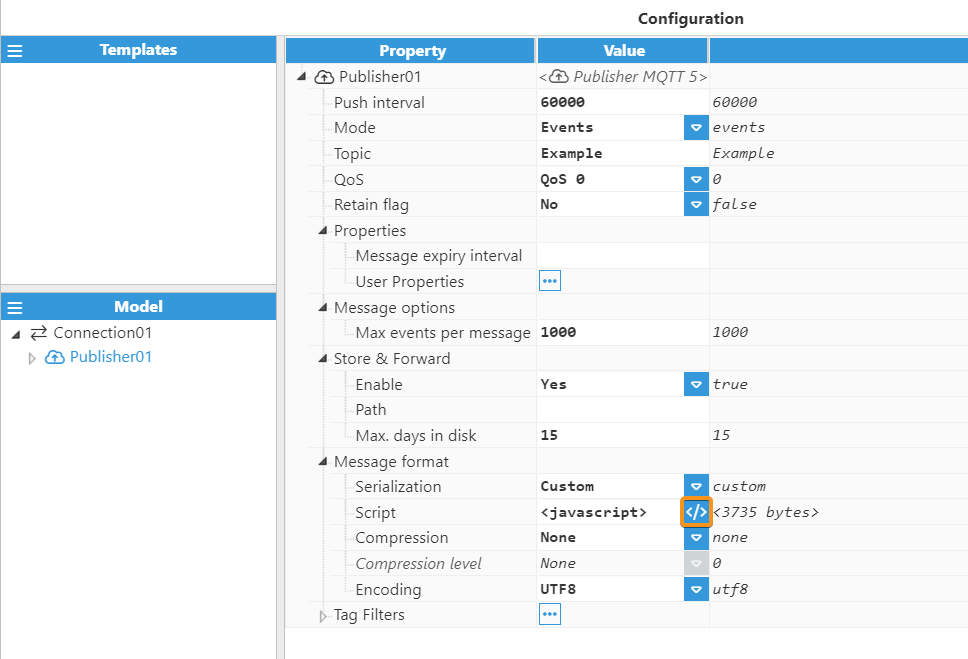
- Step 8: As we can see, when Custom is selected, the possibility to create the corresponding script is available. To do so, click on the button to the left of the Script field.
- Step 9: The following figure shows an example of a script that can be used to parse events to the custom payload.
.png)