Creating node backups and restoring from a node backup is super easy in N3uron. Node backups are all-inclusive, and typically take less than a minute to run. It includes everything you'll find in the configuration folder inside the directory where N3uron is installed, except for external scripting libraries, the embedded MongoDB database, all certificates, and pending store & forward data.
Regular backups are strongly recommended in order to prevent the loss of important data in the event of a system failure or even to comply with certain processes.
Node Backup
The easiest way to create a backup of the node is using WebUI.
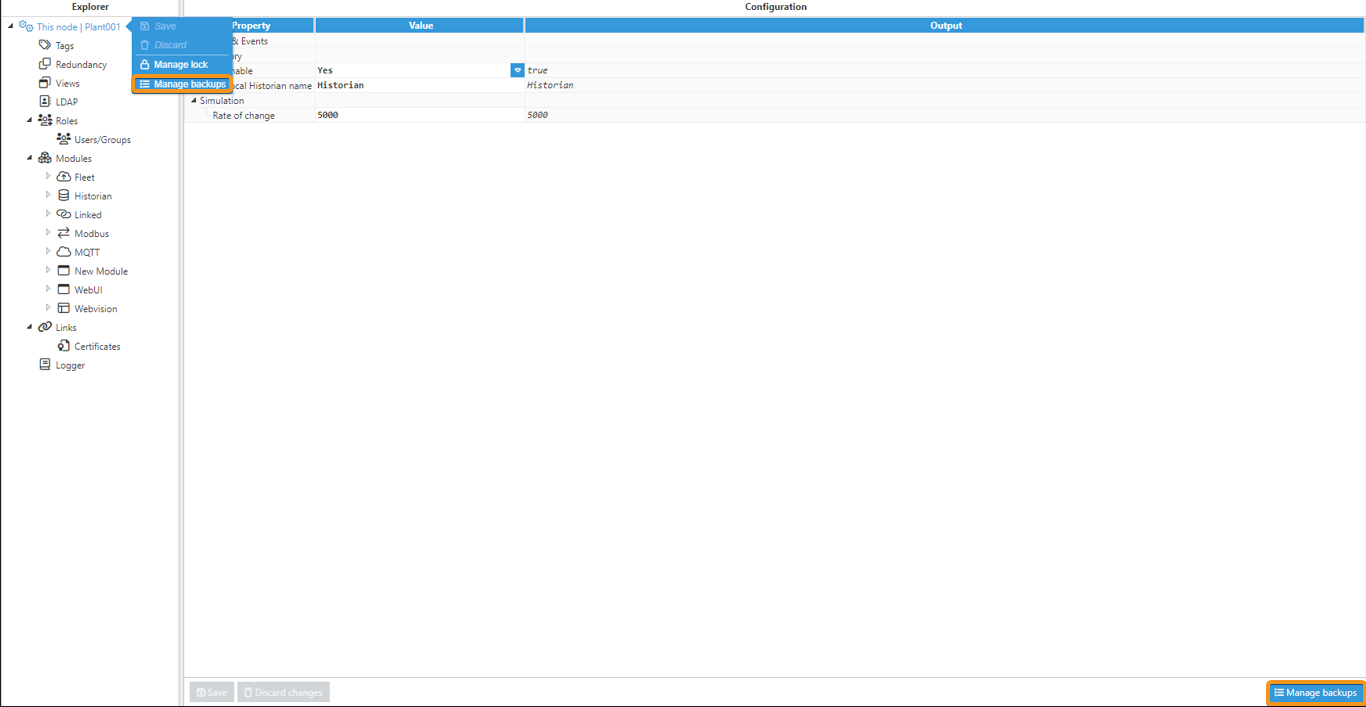
- Step 1: Go to System-->Config and in the Explorer panel, click on This node and either right-click on the header or click on the Manage Backups button located in the lower right corner of the screen.
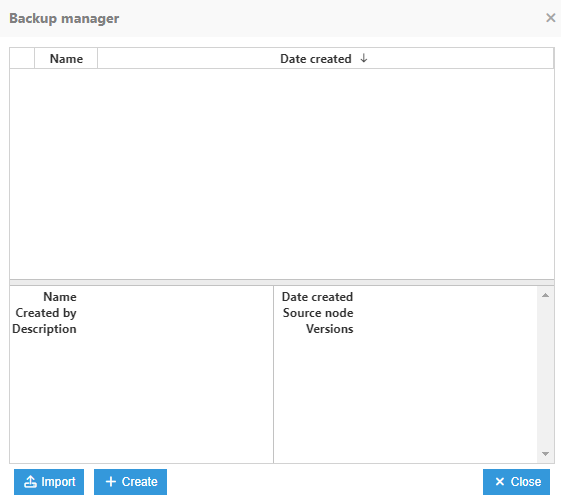
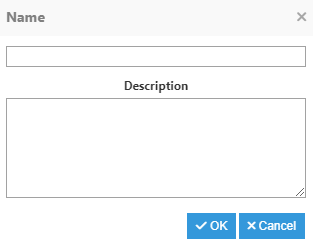
- Step 2: The Backup manager window will be displayed. Click on create, and you will be prompted to enter a Name and a Description for the new backup.Note:Starting from N3uron version 1.21.13, existing backups can no longer be overwritten when saving with the same name, to prevent data loss.
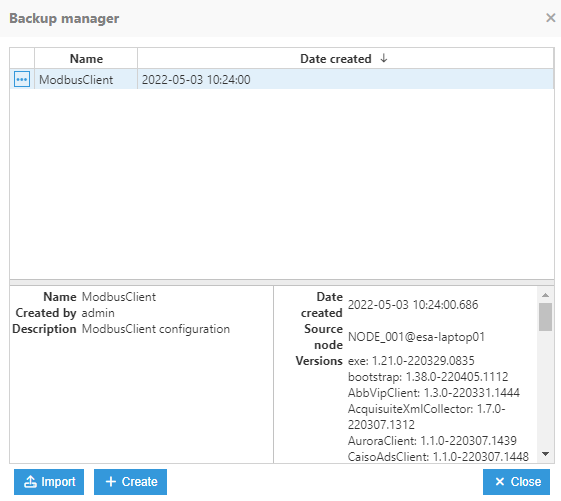
- Step 3: Click OK, and the new backup will be displayed in the Backup manager, including some detailed information at the bottom, such as the creation date, the source node, or the software version of the different modules.
Node Restore
Restoring a Node backup is just as easy as backing it up and can also be done from the WebUI.
- Step 1: Go to System-->Config and in the Explorer panel, click on This node and either right-click on the header or click on the Manage Backups button located in the lower right corner of the screen.
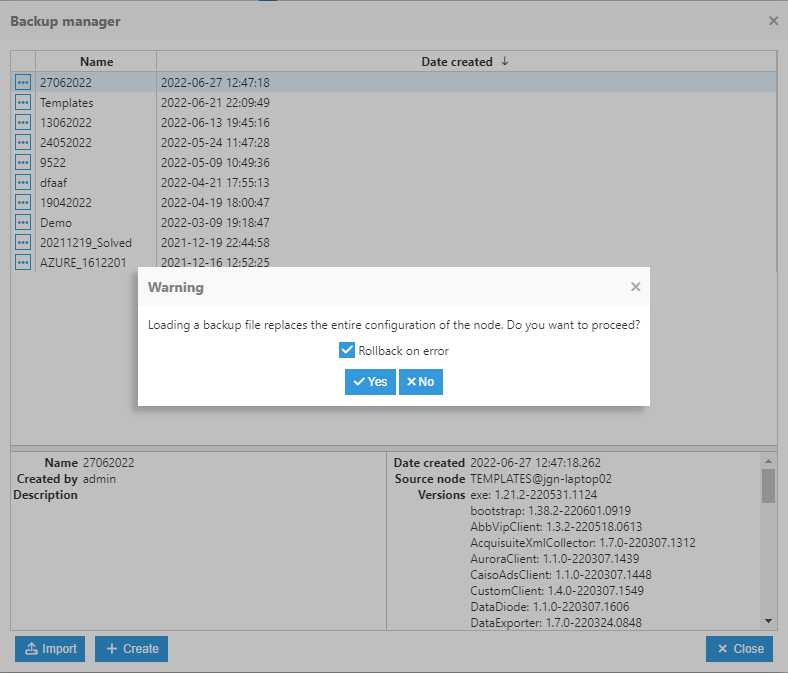
- Step 2: The Backup manager window will be displayed. Click on the ellipsis button next to the Backup you want to restore and select Load. A warning message will now be shown asking for confirmation. Once you click on Yes, the node backup will be restored.
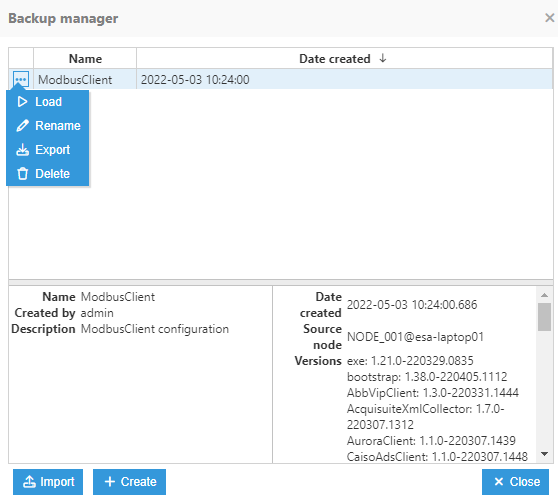
Besides creating and loading a backup, the Backup manager also provides the following options:
- Import: Allows backup files imports.
- Rename: Is used to change the name of a backup.
- Export: Is used to export the backup file to a zip file
- Delete: Allows old backups to be deleted.