N3uron is available at the AWS Marketplace as an Amazon Machine Image (AMI), offering a simple, fast, and secure way to deploy N3uron in the AWS Cloud. The N3uron AMI is built on Ubuntu 24.04 LTS and uses the ARM64 architecture, suitable for EC2 instances powered by AWS Graviton processors.
Note:
N3uron on AWS uses the same licensing model as the on-premise version of N3uron. For more details, see Licensing.
Launch an EC2 instance from the Marketplace
Configure and launch
Step 1: Go to the AWS Marketplace website and search for the N3uron IIoT & DataOps Platform product or access it directly through this link.
Step 2: Click on View purchase options.
.png)
Step 3: Review and accept the End User License Agreement (EULA) of N3uron.
.png)
Step 4: Wait for AWS to process your request and click on Continue to Configuration.
.png)
Step 5: Select the desired N3uron version and AWS Region to deploy this solution, then click on Continue to Launch.
.png)
Step 6: You can choose to continue configuring the instance from the Marketplace website or go to EC2. In this case, we select Launch through EC2 and click on Launch.
.png)
Step 7: In the EC2 console, proceed to configure a name for the instance, a security group to allow SSH access and inbound HTTP to port 8003 (N3uron WebUI).
.png)
.png)
Configure the storage capacity and click on Launch instance.
.png)
Access the N3uron WebUI
Step 1: Once the instance is launched, click on its ID to view the instance details in the EC2 console.
.png)
Step 2: Access the N3uron WebUI using the public IPv4 address or public DNS name at port 8003.
.png)
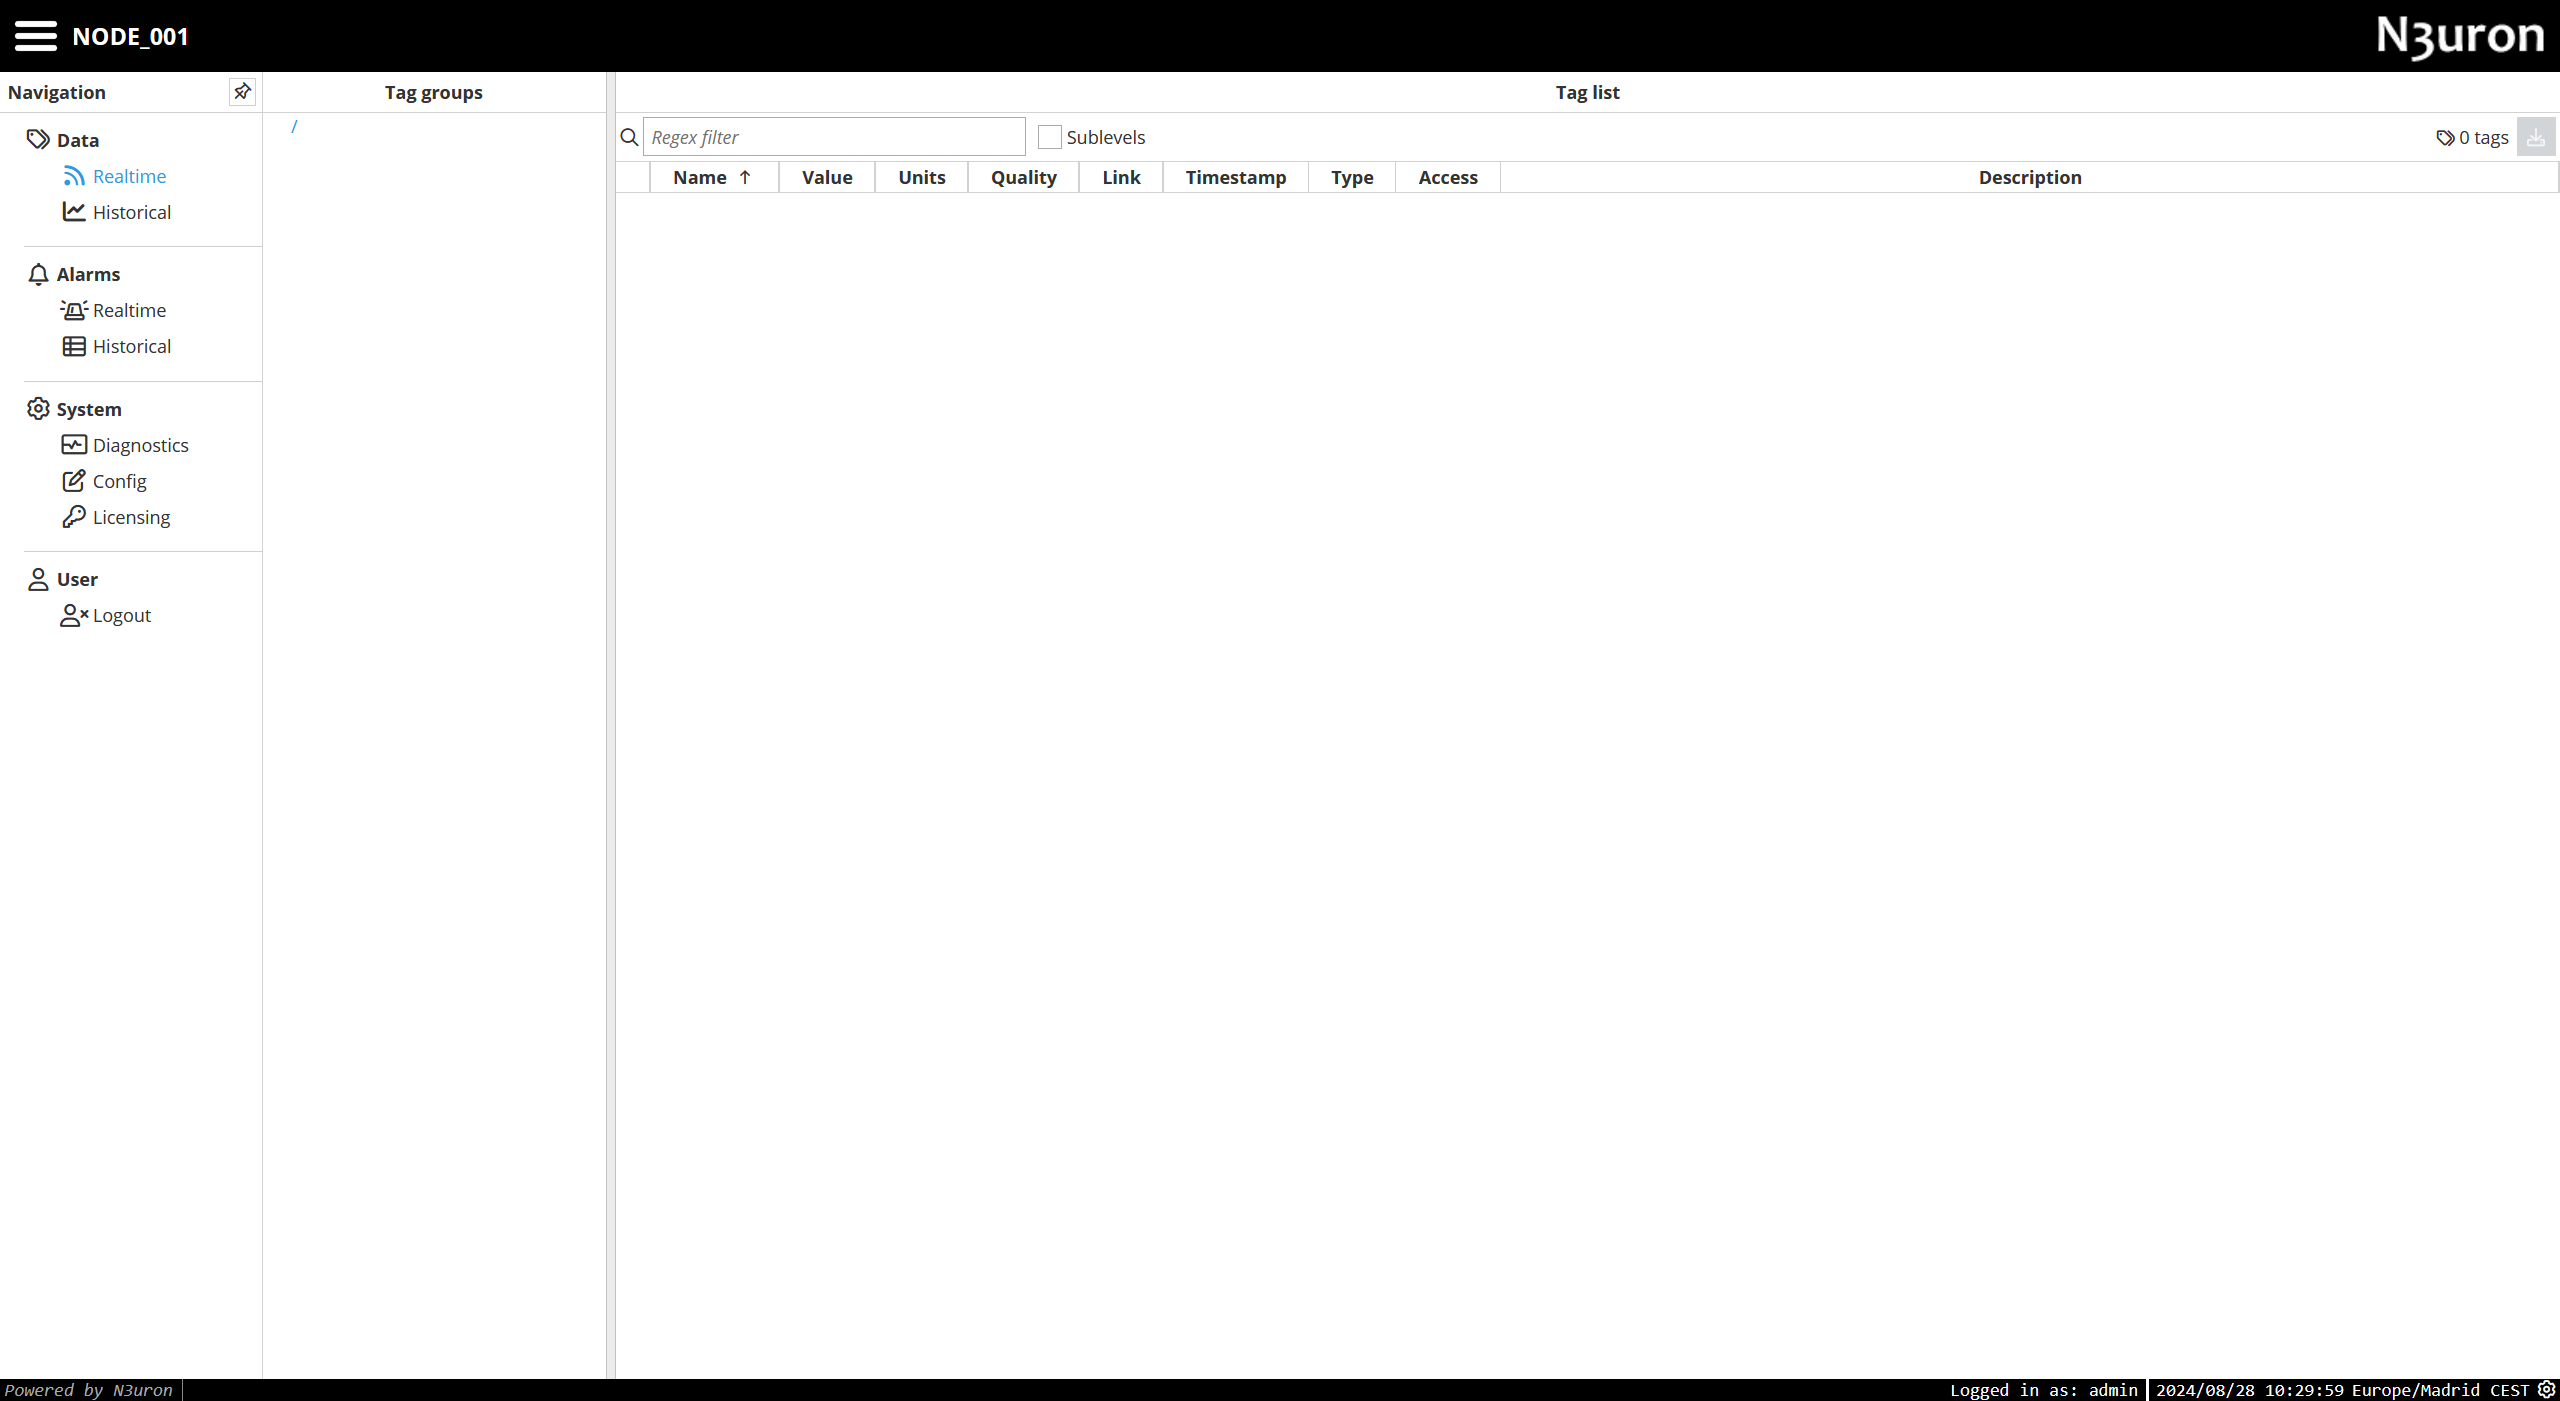
Step 3: Login to the N3uron WebUI using the default admin username and the EC2 instance ID (see the previous screenshot) as password.

You can now access the N3uron IIoT & DataOps Platform running in AWS Cloud. Take a look at our modules.

Access the instance using SSH
The N3uron AMI supports EC2 Instance Connect to securely access the instance through SSH using the user ubuntu. See the AWS documentation to use Instance Connect.
Deploy with CloudFormation templates
Our AWS Marketplace solution provides two CloudFormation templates to deploy either a standalone or redundant N3uron setup with a MongoDB Atlas cluster as the data historian database.
Getting Started
Before deploying the architectures outlined below, you need to configure the API keys in AWS Secrets Manager to access MongoDB Atlas and enable the MongoDB Atlas resources in CloudFormation.
Configure your MongoDB Atlas API Keys
Step 1: Generate an API key pair (public and private keys) for your Atlas organization and configure them to grant CloudFormation access to your Atlas project. Refer to the Atlas documentation for detailed instructions.
Step 2: Create a new secret in AWS Secrets Manager (in the same region you want to deploy the solution) to store the Atlas “profile”.
The secret should follow this format:
SecretName: cfn/atlas/profile/{ProfileName}
SecretValue: {"PublicKey": "YourPublicKey", "PrivateKey": "YourPrivateKey"}
Example:
  ProfileName: default
  SecretName: cfn/atlas/profile/default
  SecretValue = {"PublicKey": "YourPublicKey", "PrivateKey": "YourPrivateKey"}
Alternatively, you can use this simple CloudFormation template to create a “default” profile.
Create an IAM execution role for Atlas
To activate and use the MongoDB Cloudformation resources, you need to create and configure an IAM role in the target region with the following permissions:
{
    "Version": "2012-10-17",
    "Statement": [
        {
            "Action": [
                "secretsmanager:CreateSecret",
                "secretsmanager:CreateSecretInput",
                "secretsmanager:DescribeSecret",
                "secretsmanager:GetSecretValue",
                "secretsmanager:PutSecretValue",
                "secretsmanager:UpdateSecretVersionStage",
                "ec2:CreateVpcEndpoint",
                "ec2:DeleteVpcEndpoints",
                "cloudformation:CreateResource",
                "cloudformation:DeleteResource",
                "cloudformation:GetResource",
                "cloudformation:GetResourceRequestStatus",
                "cloudformation:ListResources",
                "cloudformation:UpdateResource",
                "iam:AttachRolePolicy",
                "iam:CreateRole",
                "iam:DeleteRole",
                "iam:GetRole",
                "iam:GetRolePolicy",
                "iam:ListAttachedRolePolicies",
                "iam:ListRolePolicies",
                "iam:PutRolePolicy"
            ],
            "Resource": "*",
            "Effect": "Allow"
        }
    ]
}
And the following trust policy:
{
    "Version": "2012-10-17",
    "Statement": [
        {
            "Effect": "Allow",
            "Principal": {
                "Service": [
                    "lambda.amazonaws.com",
                    "cloudformation.amazonaws.com",
                    "resources.cloudformation.amazonaws.com"
                ]
            },
            "Action": "sts:AssumeRole"
        }
    ]
}
Recommendation: You can use this Cloudformation template to automatically create the IAM role in the desired region.
Activate the MongoDB Atlas resources in CloudFormation
To use the deployment templates provided in this solution, you need to enable the following resources in the target region:
MongoDB::Atlas::Project
MongoDB::Atlas::Cluster
MongoDB::Atlas::DatabaseUser
MongoDB::Atlas::PrivateEndpointService
MongoDB::Atlas::PrivateEndpointAWS
Step 1: In the AWS CloudFormation console of the target region, go to Registry and select Third party.
.png)
Step 2: Search for the specific resource by name.
.png)
Step 3: Click on Activate, set the ARN identifier of the IAM role created in the previous section and click on Activate extension.
.png)
.png)
Repeat the steps 2-3 to enable all the required resources.
Architectures
Standalone
This template deploys a standalone N3uron node and a MongoDB Atlas cluster securely connected using an AWS PrivateLink endpoint.
.png)
We provide two deployment options:
Deploy N3uron into a new VPC: This template creates a new VPC with the subnets, security groups, private endpoints, etc., and deploys N3uron in an EC2 instance.
Deploy N3uron into an existing VPC: This template deploys the solution into an existing VPC in your infrastructure.
Redundant
This option template deploys a redundant pair of N3uron nodes, each in a different availability zone and a highly-available MongoDB Atlas cluster securely connected using an AWS PrivateLink endpoint.
.png)
We provide two deployment options:
Deploy N3uron into a new VPC: This template creates a new VPC with the subnets, security groups, private endpoints, etc., and deploys each N3uron in an EC2 instance in different availability zones.
Deploy N3uron into an existing VPC: This template deploys the solution into an existing VPC in your infrastructure.