Note:
N3uron 1.22 is compatible with the following Linux distributions:
Debian 10 and newer; Debian-based like Ubuntu 20.04 and newer versions; Raspberry PI OS (64-bit).
RHEL 7, 8 and 9; Red Hat-based like CentOS 7, 8 and 9; Oracle Linux 7, 8 and Amazon Linux 2, 2023.
For other distros please contact your N3uron distributor or email us at support@n3uron.com
Minimum system requirements:
Single-core 1GHz processor.
1GB RAM.
1GB free HD space (Requirements vary by usage).
Install N3uron
Automated Install
To install or upgrade N3uron to the latest version, run the following command:
curl -fsSL https://get.n3uron.com/install.sh | sudo bashManual Install
The following procedure will install N3uron in the recommended /opt/n3uron folder. It is also possible to install N3uron in a different folder, depending on the end user’s preferences.
Step 1: Download the N3uron setup file for Linux from our Downloads page.
Step 2: Decompress the setup file, where <arch> is the architecture of the target machine and <version> corresponds to the N3uron version.
sudo tar -xvzf n3uron-setup-<arch>-<version>.tar.gz -C /opt/Step 3: Install N3uron as a system service.
sudo /opt/n3uron/bin/n3uron installNote:
N3uron includes an embedded database for the Historian module in both the x64 and ARM64 architectures.
The user can choose to use either the embedded database instance or install an external MongoDB or TimescaleDB.
To use the embedded database make sure to have the following requirements:
x64: The CPU must support AVX instructions
ARM64: The CPU must use the ARMv8.2-A microarchitecture or later
Step 4: Start the N3uron service.
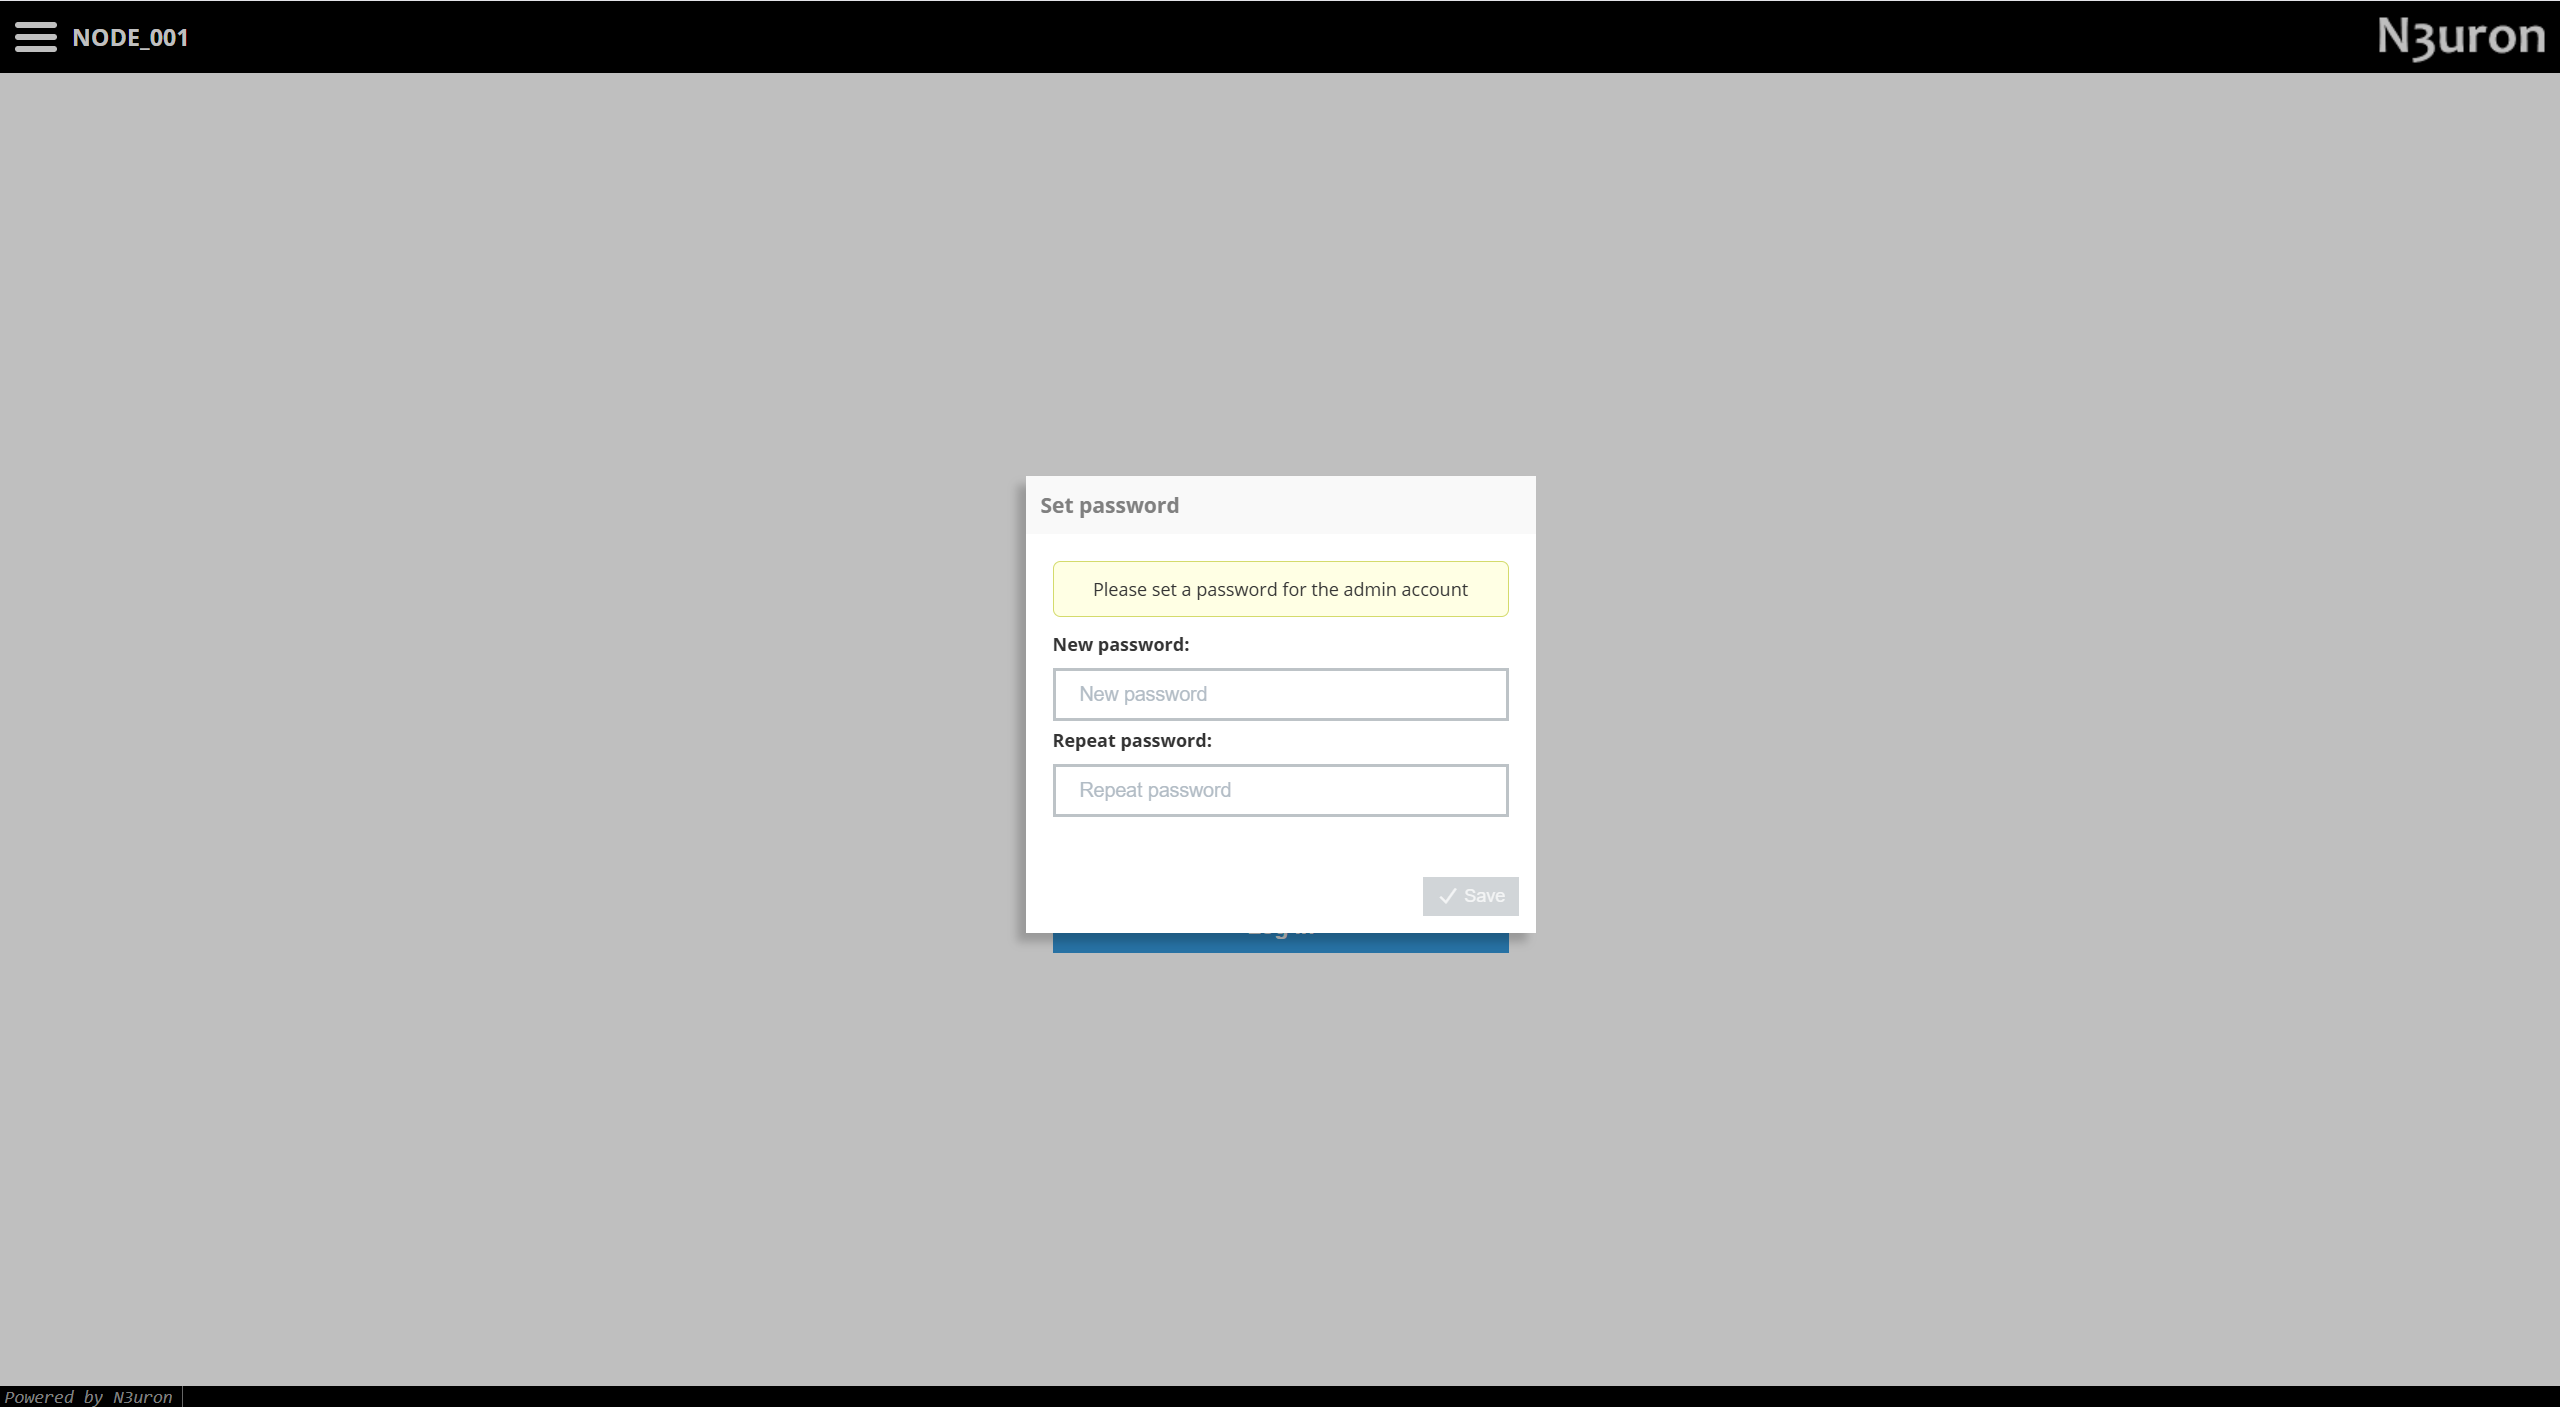
sudo systemctl start n3uronStep 5: Log in to the WebUI at http://localhost:8003 (to access the WebUI from a different machine use the IP instead of localhost). You will be prompted to set the admin password during the initial login.
Note:
The N3uron AMI available at the AWS Marketplace uses the Instance ID of the EC2 machine as the default password.
Note:
To access the N3uron WebUI from a different machine, make sure that the N3uron host machine is reachable and that there are no firewalls blocking the port assigned to N3uron WebUI (8003 and/or 8443 by default).
In demo mode, N3uron operates with full functionality for a two-hour period.
To restart the demo period, perform one of the following actions:
Restart each module directly from the WebUI.
Restart the service through the Windows Services console (look for the "n3uron" service).
The N3uron service can be controlled from the console using the following commands:
# Start the service.
sudo systemctl start n3uron

# Stop the service.
sudo systemctl stop n3uron

# Restart the service.
sudo systemctl restart n3uron

# Check the status of the service.
sudo systemctl status n3uron

# View the logs of the service.
sudo journalctl -u n3uron
Upgrade N3uron
Note:
Before proceeding with an upgrade, ensure that the Support and Maintenance (S&M) of your license is active for the version you plan to install.
Step 1 (Recommended): Create a node backup to restore the N3uron configuration if something goes wrong during the update. You can find the steps to perform a node backup in the Backup and Restore section.
Step 2 (Optional): Review the release notes for the target N3uron version to identify any breaking changes that might affect your current configuration.
Note:
It is strongly recommended to apply the update in a testing environment before implementing it in a production environment.
Automated Upgrade
Run our automated script to upgrade your current installation to the latest release of N3uron.
curl -fsSL https://get.n3uron.com/install.sh | sudo bashManual Upgrade
Step 1: Stop the N3uron service by running the following command:
sudo systemctl stop n3uronStep 2: Extract the new version of the binary files from the setup, where <arch> is the architecture of the target machine and <version> corresponds to the downloaded N3uron version. The following command assumes N3uron is installed in /opt/n3uron:
sudo tar -xvzf n3uron-setup-<arch>-<version>.tar.gz -C /opt/ n3uron/binNote:
Given that version 1.21 includes significant modifications related to managing Users and Roles, upgrading from a previous version will automatically overwrite all the users previously configured for the WebUI and WebVision. Therfore, it will be required to recreate them. To ensure compatibility with the new version, the following command needs to be executed:
sudo tar -xvzf n3uron-setup-linux-<arch>-<version>.tar.gz --skip-old-files -C /opt/ n3uron/config
Step 3: Start the service and log into the WebUI to check everything is running correctly:
sudo systemctl start n3uronUninstall N3uron
To uninstall n3uron from your system, use following commands:
Step 1: Stop the N3uron service.
sudo systemctl stop n3uronStep 2: Uninstall the N3uron service.
sudo /opt/n3uron/bin/n3uron uninstallStep 3 (Optional): Delete the N3uron installation directory.
Note:
This command will remove all the existing data and configuration of N3uron.
sudo rm -r /opt/n3uron