Connecting to a SolarMax inverter
This example illustrates how to exchange data with a SolarMax inverter.
In the Templates Catalog, you will find three files containing template examples for an inverter, a weather station and a power meter. These templates will make it much easier for users to get started using the module and creating a model in no time, with minimal adjustments.
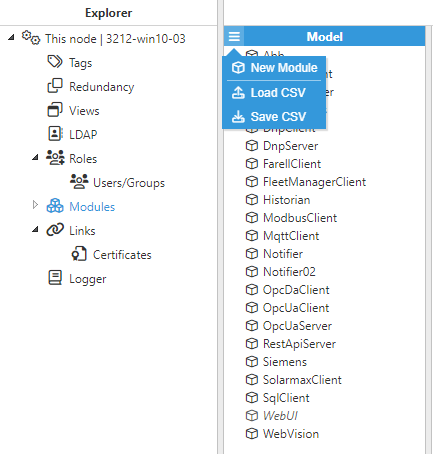
- Step 1: Create a new module: (Config => Modules => New module)
- Step 2: Provide a name for the module (in this case SolarmaxClient), and set the module type to SolarmaxClient in Module Type.

- Step 3: Configure the Logger and API for the module instance, the default values are usually sufficient. Save the configuration settings.
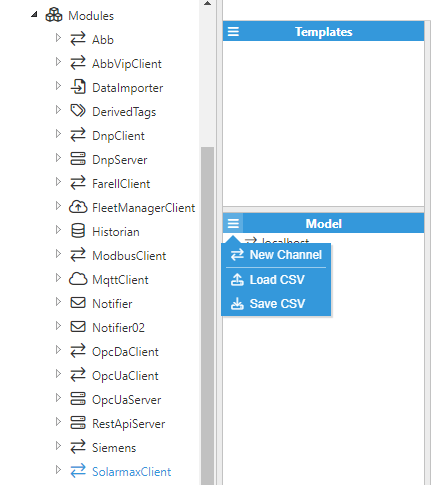
- Step 4: Create a new channel (Config => Modules => SolarmaxClient => Model => New channel),
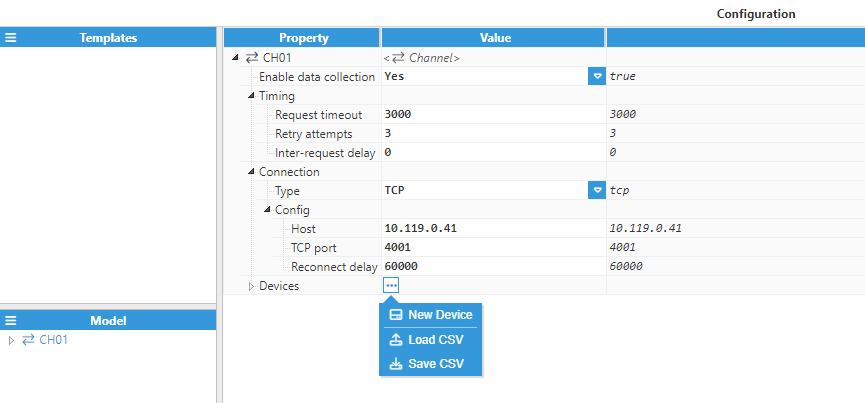
- Step 5: Configure the channel as appropriate.

For this example, the following settings have been used:
- Enable data collection: Yes.
- Connection:
- Type: TCP.
- Config:
- Host: 10.119.0.41.
- TCP Port: 4001.
- Reconnect delay: 60,000.
- Step 6: Create a new Device (Config => Modules => SolarmaxClient => Model => CH01 => New device),
- Step 7: Configure the device and give it a name. In this case, the device's name is 001.
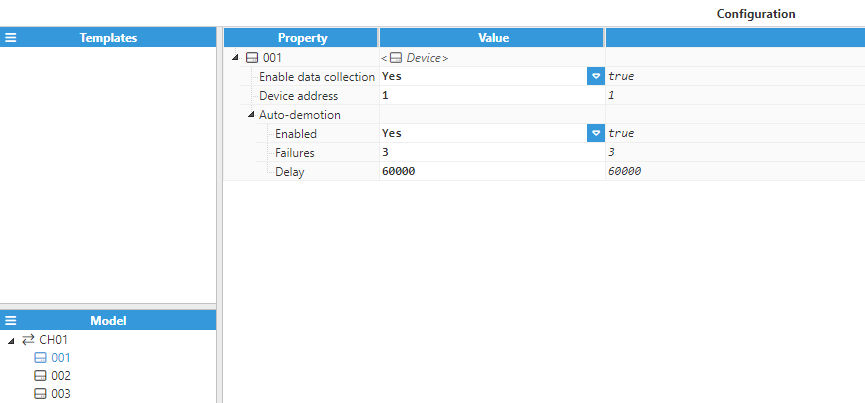
For this example, the following settings have been used:
- Enable data collection: Yes.
- Device address: 1.
- Auto-demotion:
- Enabled: Yes.
- Failures: 3.
- Delay: 60000.
The rest of the parameters have been left as their default values.
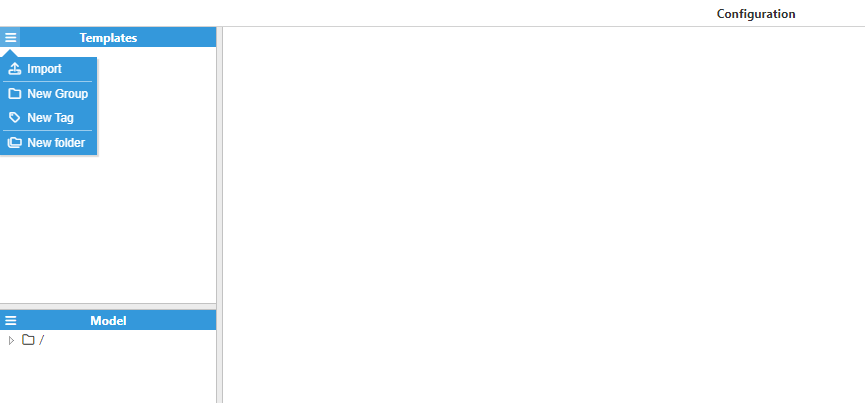
At this point, the connection is ready and we can now move on to creating new tags using the templates provided above.
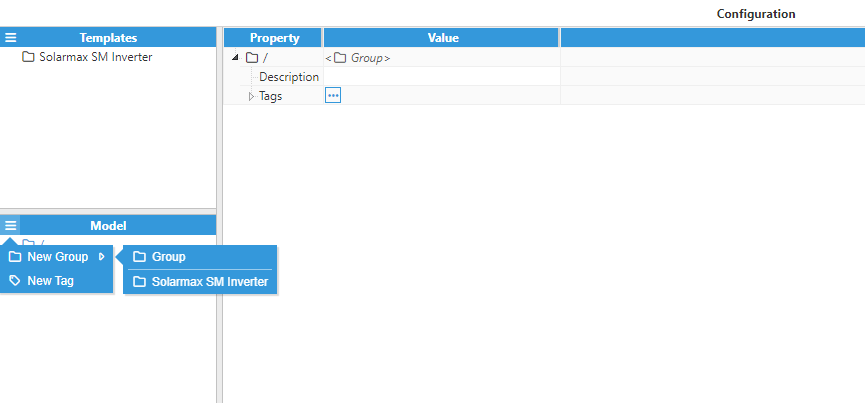
- Step 8: Import the inverter template and adapt it for your specific application. Users can modify, add, or remove Custom properties as well as tags for each template according to their needs.
- Step 9: Create a new instance for the template Solarmax SM Inverter and give it a name, in this example SOLARMAX.
- Step 10: Assign values to the Custom Properties.
.png)
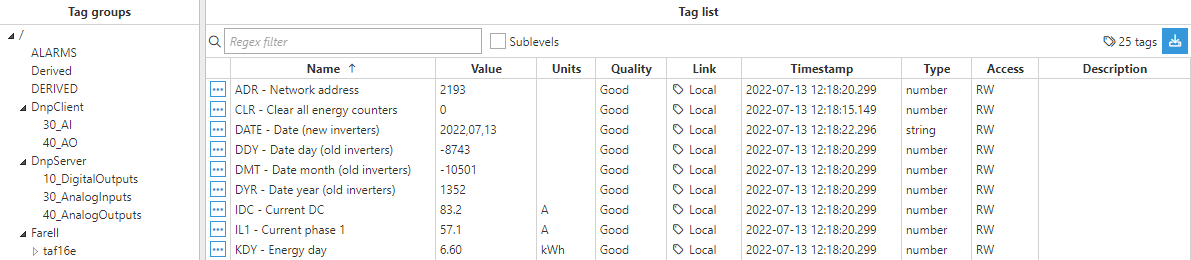
- Step 11: Once you are done with the configuration navigate to the Real Time section and check that everything is working properly.