Note:
N3uron 1.22 is compatible with the following Windows versions:
Windows 8, 10 and 11
Windows Server 2012, 2012 R2, 2016, 2019, 2022 and 2025
Windows IoT Enterprise 10 and 11
Minimum system requirements:
Single-core 1GHz processor.
1GB RAM.
1GB free HD space (Requirements vary by usage).
Install N3uron
Windows Package Manager
Note:
The Windows Package Manager is available on all Windows 11 installations and on Windows 10 starting from version 1809 (October 2018 Update) and later.
The recommended method for installing N3uron on Windows systems is through the Windows Package Manager, which provides a fast, secure, and frictionless installation experience.
To install the latest version of N3uron, run the following command as an Administrator:
winget install n3uron --source wingetYou can list all available versions by running:
winget search n3uron --versions --source wingetThen, install the desired version using:
winget install n3uron --version 1.22.0 --source wingetManual Installation
Note
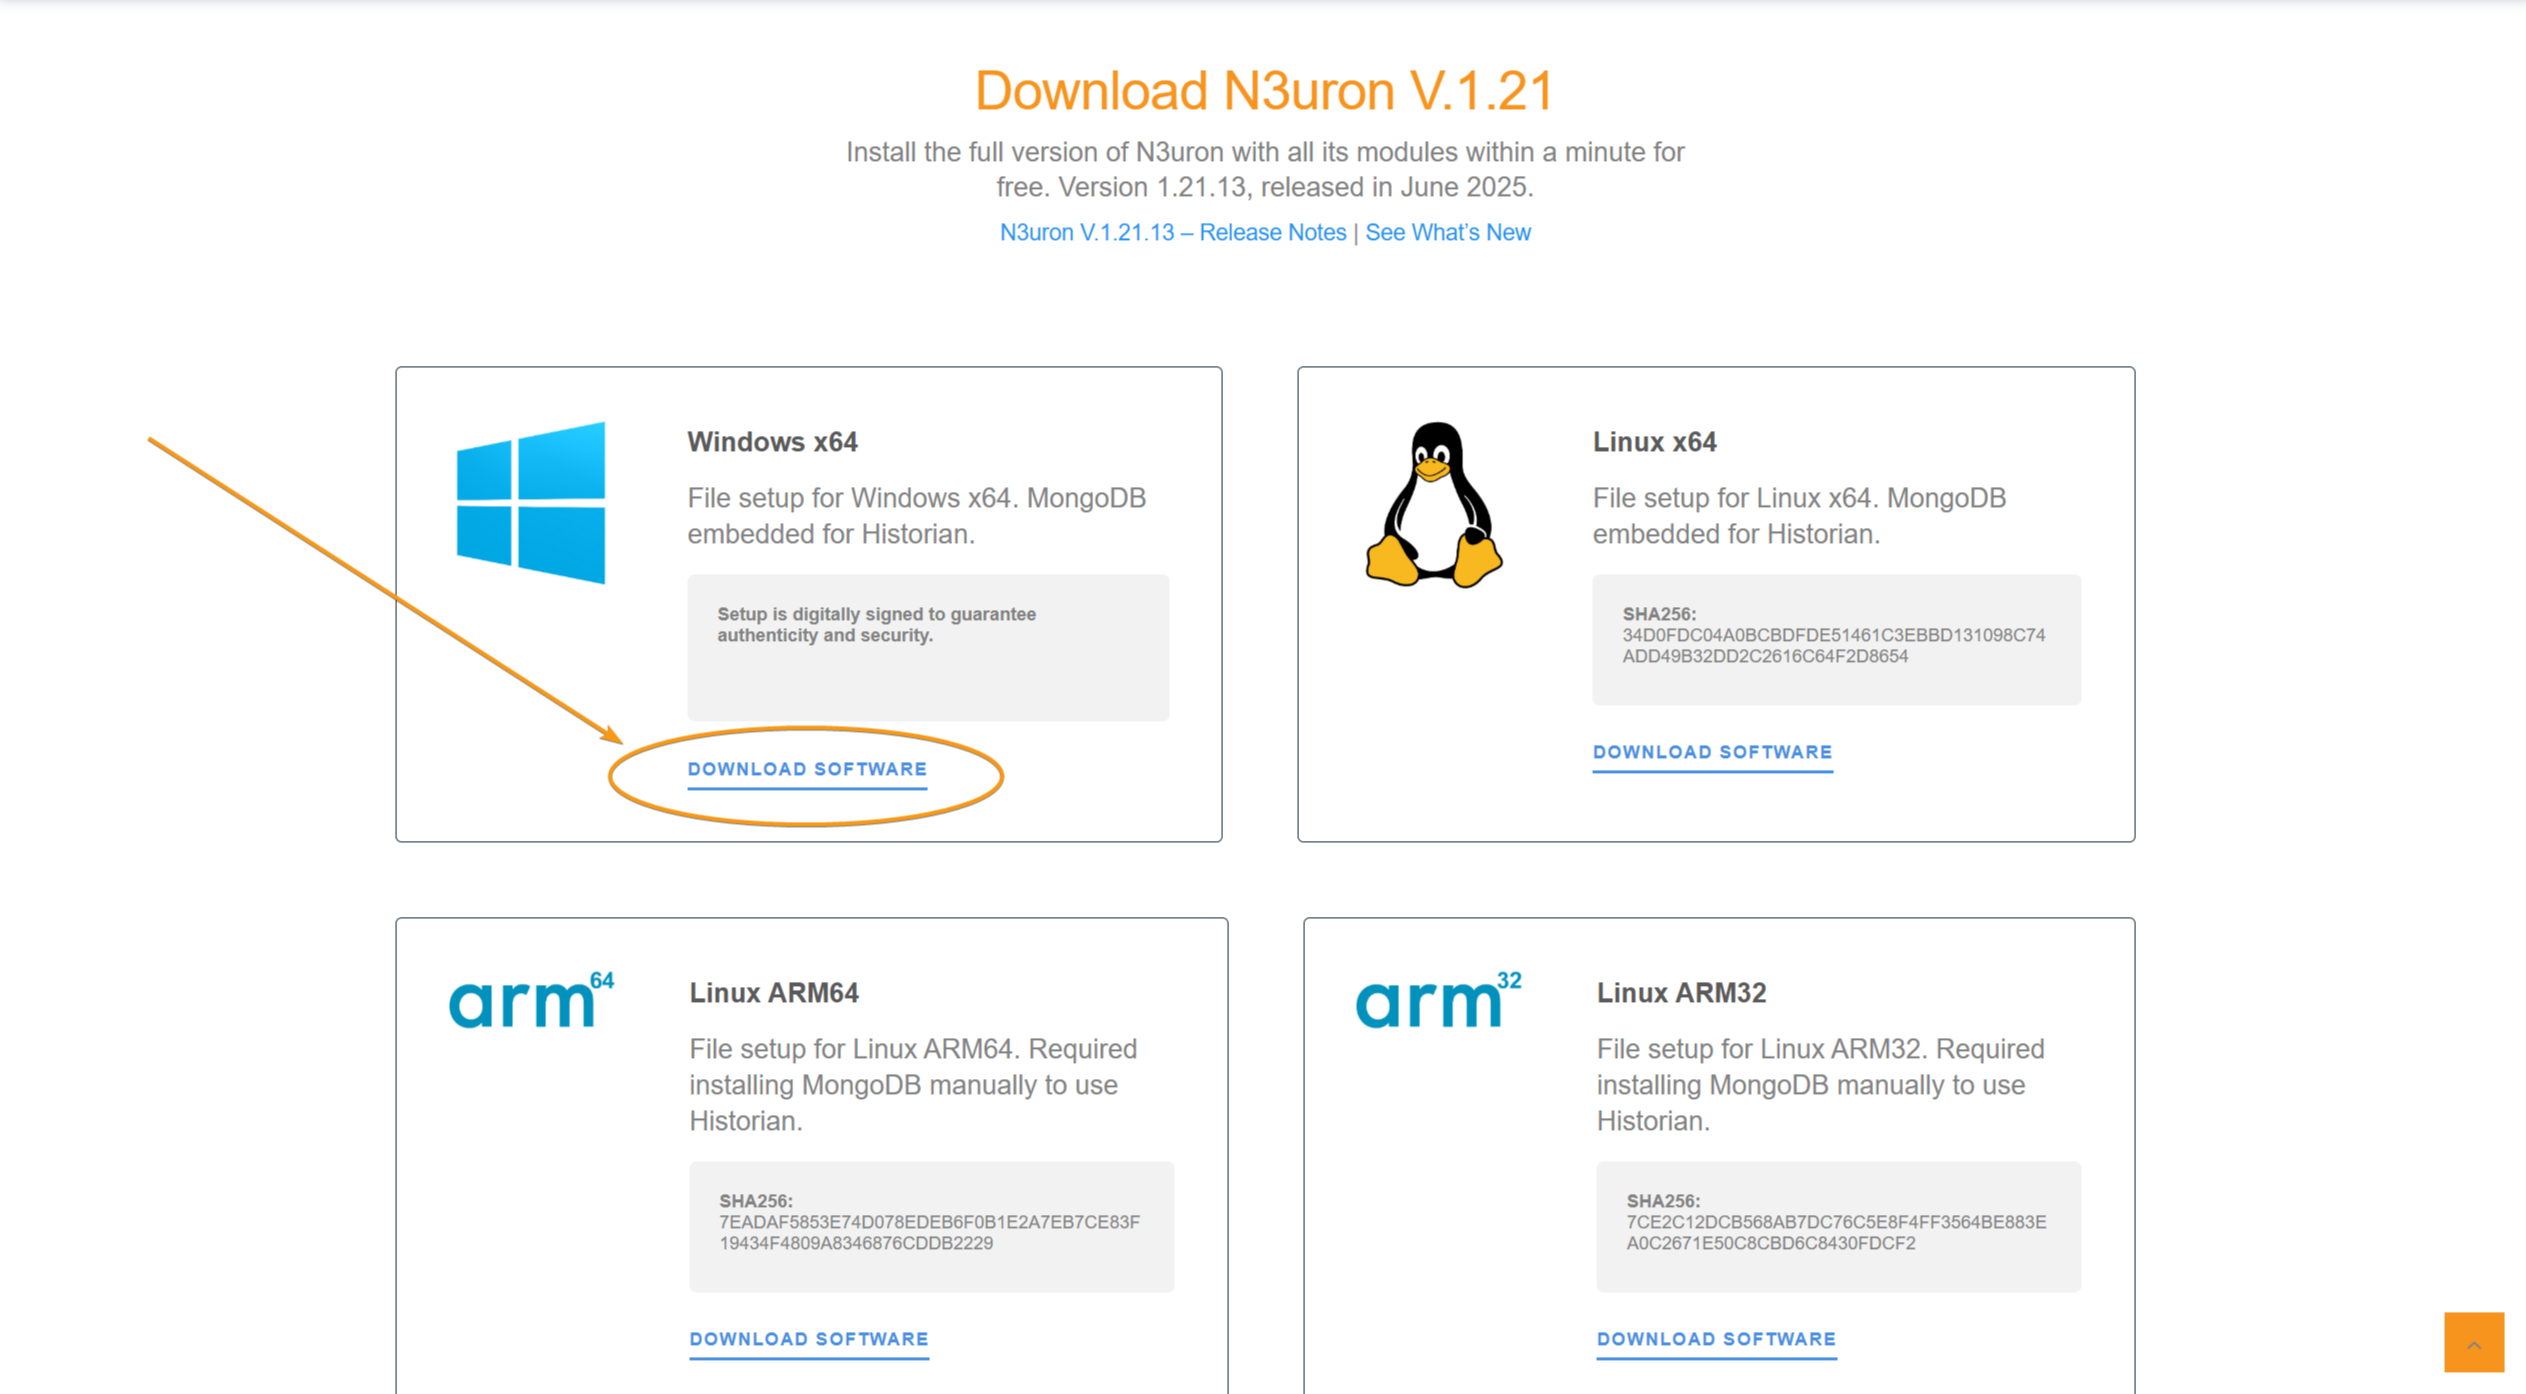
The N3uron setup file is digitally signed with a certificate issued to N3uron Connectivity Systems SL. This signature ensures the file's authenticity and integrity.
Step 1: Download the Windows x64 setup available from our Downloads page.
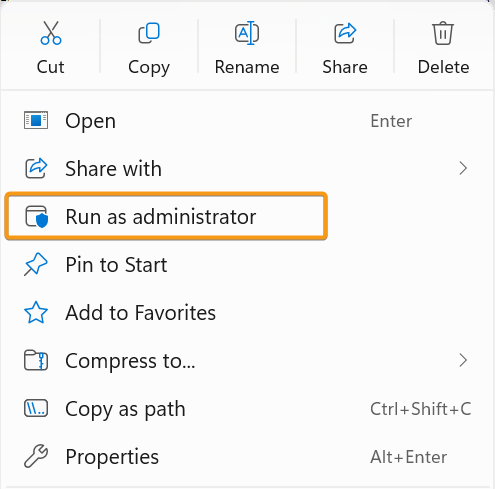
Step 2. Right-click on the setup file and select Run as administrator.
Step 3: Approve the User Account Control (UAC) prompt.

Step 4: Review and accept the N3uron End User License Agrement.

Step 5: Set the installation directory. The default and recommended location is C:\Program Files\N3uron.

Step 6: Select the modules to be installed, we recommend installing everything

Step 7: Configure the port used to access the WebUI, or accept the default setting. Verify that the chosen port is not currently in use by another application.

Step 8: Set a node name, or accept the default. This name serves as the node's unique identifier.

Step 9: Confirm the settings and proceed with the installation.

Step 10: Register N3uron to run as a Windows service. This allows N3uron to start automatically when the system boots.

Step 11: The WebUI will automatically launch in your default web browser. You will be prompted to set the admin password during the initial login.
Note:
To access the N3uron WebUI from a different machine, you must configure the Windows Firewall on the host machine. Ensure the firewall is set to allow external access to the specific port assigned to the N3uron WebUI during installation.

Note:
In demo mode, N3uron operates with full functionality for a two-hour period.
To restart the demo period, perform one of the following actions:
Restart each module directly from the WebUI.
Restart the service through the Windows Services console (look for the "n3uron" service).
Upgrade N3uron
Note:
Before proceeding with an upgrade, ensure that the Support and Maintenance (S&M) of your license is active for the version you plan to install.
Step 1 (Recommended): Create a node backup to restore the N3uron configuration if something goes wrong during the update. The steps to perform a node backup can be found in the Backup and Restore section.
Step 2 (Optional): Review the release notes for the target N3uron version to identify any breaking changes that may affect your current configuration.
Note:
It is strongly recommended to apply the update in a testing environment before implementing it in the production environment.
Step 3: Stop the N3uron service by running the following command inside a PowerShell (Administrator) console or by using the Services management panel in Windows.
Stop-Service -Name "n3uron"Step 4: Proceed with the installation using the Windows Package Manager or following the steps for a manual installation as described in the previous section.
Note:
Starting with version 1.21, N3uron runs natively as a 64-bit application and will default to being installed in C:\Program Files. Be careful to modify this path in the installer when upgrading from previous versions to C:\Program Files (x86). Additionally, since version 1.21 includes substantial changes in managing Users and Roles, upgrading from a previous version will automatically overwrite all previously configured users for the WebUI and WebVision, requiring to re-create them.
Step 5: Log in to the WebUI to verify everything is running as expected.
Uninstall N3uron
To uninstall n3uron from your system, use one of the following methods:
Navigate to Uninstall a program in the Windows Control Panel, and then select N3uron.
Execute the following command in a terminal:
winget remove n3uron